Best Photo Tips for Rock Identification
Best photo tips for rock identification focus on evidence: fresh surfaces, grain size, luster, cleavage, fracture, crystal habit, and scale. A clean photo set helps a human, field guide, or AI scanner return a more useful shortlist.
Download Rock IdentifierDrop a rock photo here or tap to upload
JPG, PNG, WebP, HEIC • Max 50 MB • 1 free scan per day

Analyzing your specimen…
Quick answer: Best photo tips for rock identification are to use even daylight, a plain background, a scale marker, and multiple sharp angles, including a fresh surface close-up. A good photo set can improve a visual identification shortlist, but physical tests such as hardness, streak, magnetism, acid reaction, and specific gravity are still needed for confirmation.
AI Rock ID can use clearer rock identification photos from an iPhone or iPad workflow to suggest visual matches based on features such as texture, luster, and crystal habit. RockIdentifier.io supports web photo upload for rock identification, where a plain background, scale marker, and fresh surface image can make the submitted evidence more useful.
Quick summary
- Best for
- Collectors, hikers, beginners, students, field naturalists
- Works on
- Rocks, minerals, crystals, gemstones, fossils
- Accuracy
- Photo quality can improve visual suggestions, but photos alone cannot confirm many lookalikes.
- Needs confirmation
- Yes
- Professional replacement
- No
- Platforms
- iPhone, iPad, Web
This guide is best for
- Beginners who want clearer photos before using a rock identification app or website
- Collectors documenting rocks, minerals, crystals, gemstones, or fossils at home
- Hikers and field naturalists who need useful specimen photos for later review
- Students learning how luster, grain size, cleavage, fracture, and crystal habit appear in photos
- Users comparing lookalike specimens such as quartz, calcite, chert, jasper, and feldspar
- People preparing images for a human expert, field guide comparison, or AI photo scan
Consider another approach if you
- Anyone needing a certified gem, mineral, fossil, or meteorite identification
- Buyers or sellers making pricing, authenticity, or legal decisions from photos
- Users who need confirmation of hardness, streak, density, magnetism, fluorescence, or acid reaction
- People working with hazardous, asbestos-like, radioactive, or regulated materials
- Scientific labeling projects that require laboratory methods or expert verification
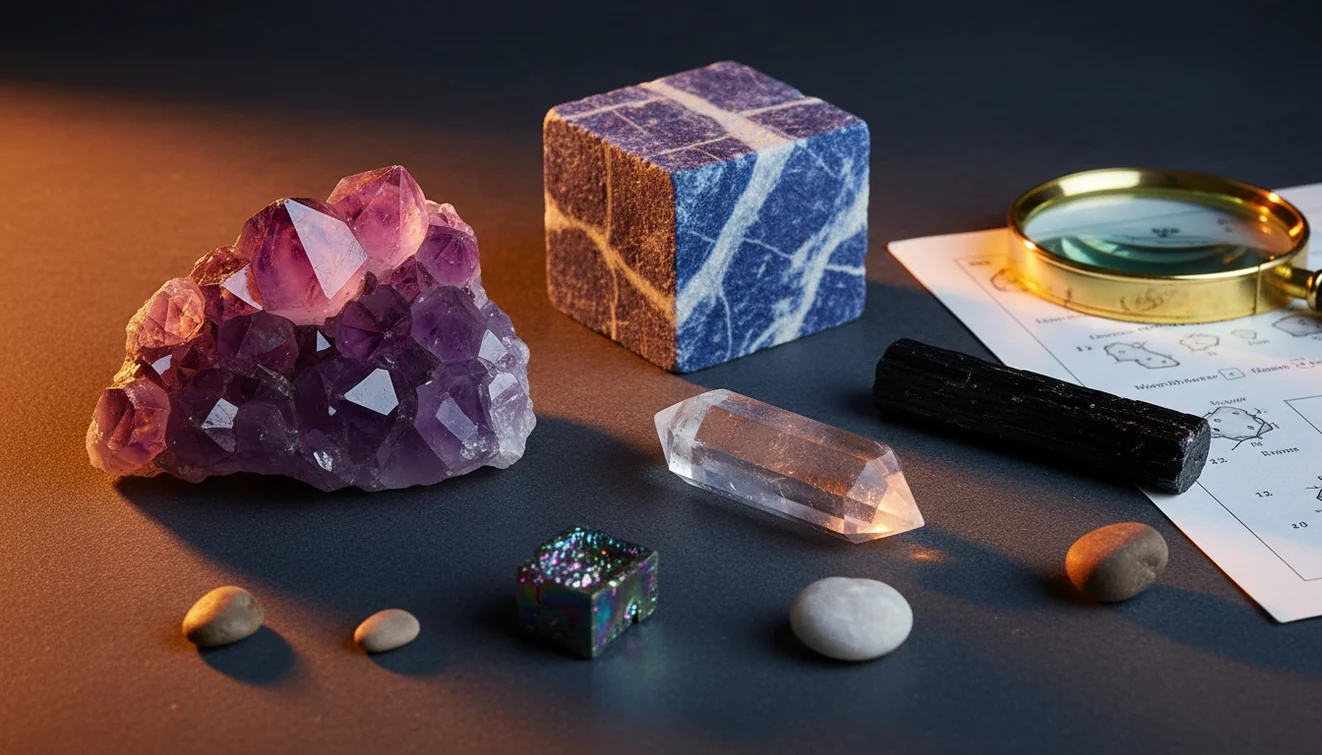
The best photo tips for rock identification are to use even daylight, photograph a fresh broken surface, include scale, and capture multiple angles. One pretty color shot is usually weaker than a small set showing texture, luster, cleavage, fracture, and crystal habit. Photo ID should narrow likely names, then hardness, streak, acid reaction, magnetism, or specific gravity can confirm the result.
What Is Best Photo Tips for Rock Identification?
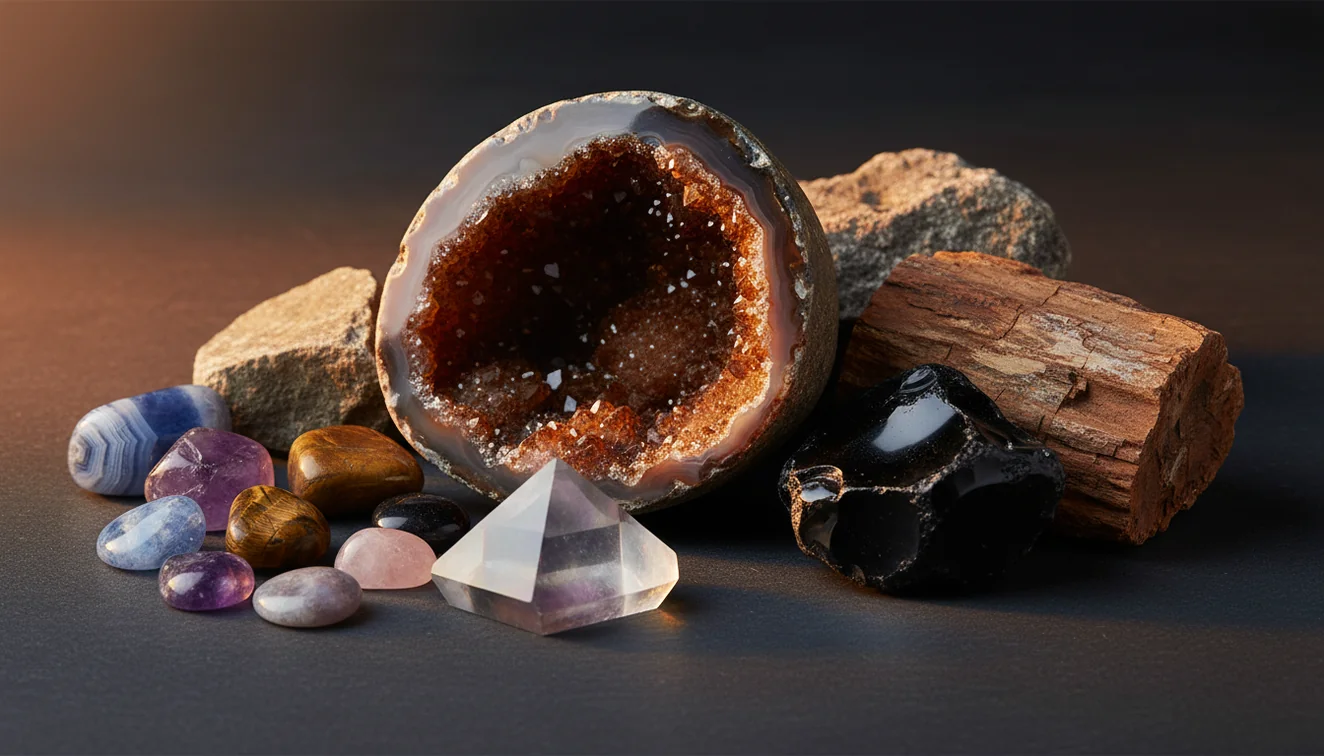
Best photo tips for rock identification are practical rules for photographing a specimen so diagnostic geology features are visible, not hidden by glare, blur, wet surfaces, or busy backgrounds. The goal is to record properties: color in neutral light, luster, grain size, banding, vesicles, cleavage planes, fracture style, matrix contact, and crystal habit.
A strong rock ID photo set usually includes a whole-specimen image, a side view, a sharp close-up, and a fresh chipped or broken edge. Photos are processed for identification suggestions in a privacy-friendly workflow, not for decorative editing. If you want a mobile trial, the Rock Identifier iOS app link on the page is the right place to test a free scan.
How Best Photo Tips for Rock Identification Works
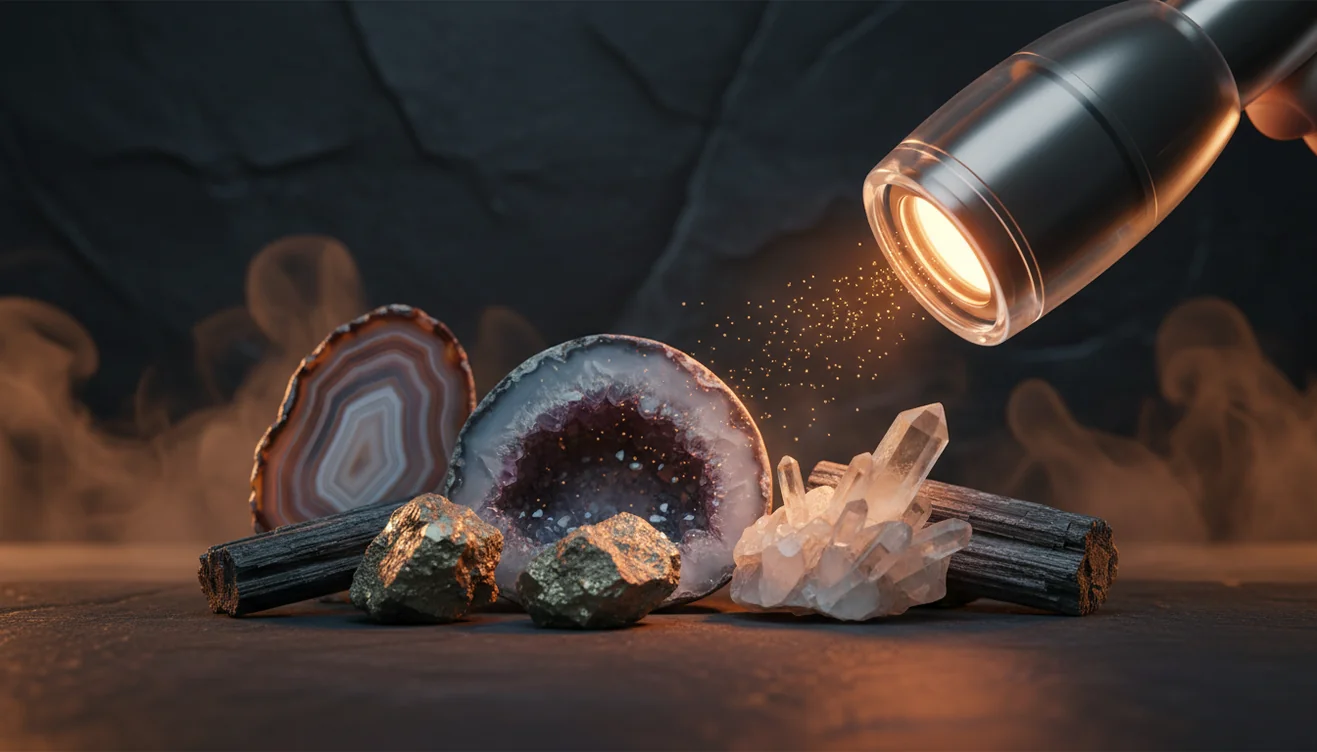
Best photo tips for rock identification work by increasing the amount of visible diagnostic evidence in each image. Even daylight preserves true color and luster, while a matte background improves edge detection and contrast. A fresh surface shows grain boundaries, cleavage, fracture, and mineral intergrowths that weathered rinds often conceal.
Multiple angles reduce ambiguity. A top view may show color zoning, a side view may show foliation or bedding, and a close-up may reveal crystal faces, vesicles, or conchoidal fracture. Scale also matters because crystal size separates many lookalikes, such as fine-grained chert, jasper, chalcedony, and coarser quartz-rich rocks. For property vocabulary, the USGS minerals program is a useful reference: https://www.usgs.gov/centers/national-minerals-information-center.
How to Use Best Photo Tips for Rock Identification
1. Shoot in even daylight
Place the specimen in open shade, beside a window, or under diffuse outdoor light. Avoid direct flash on shiny minerals because glare can mimic metallic luster and hide cleavage steps.
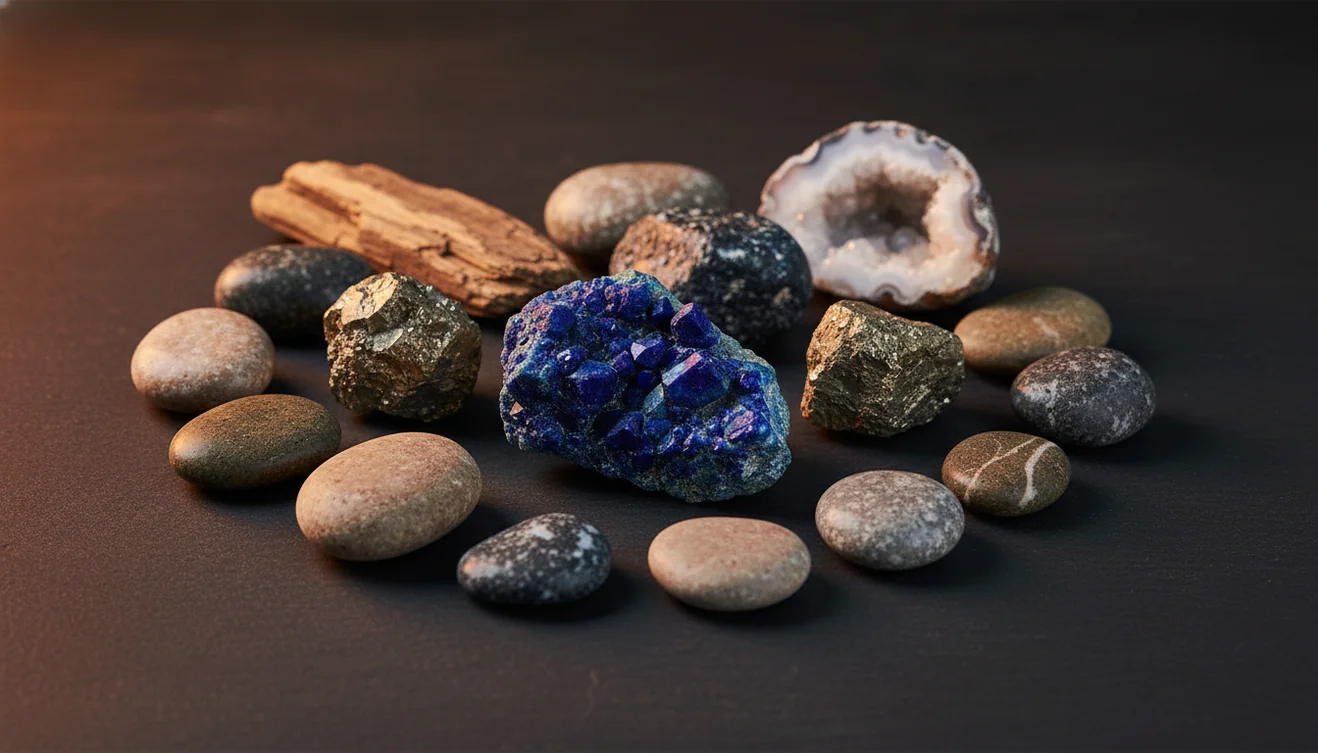
2. Clean the background
Use plain white paper, gray card, cardboard, or a matte cloth. Patterned counters, grass, and gravel make edges harder to read and can distract from subtle banding or grain texture.
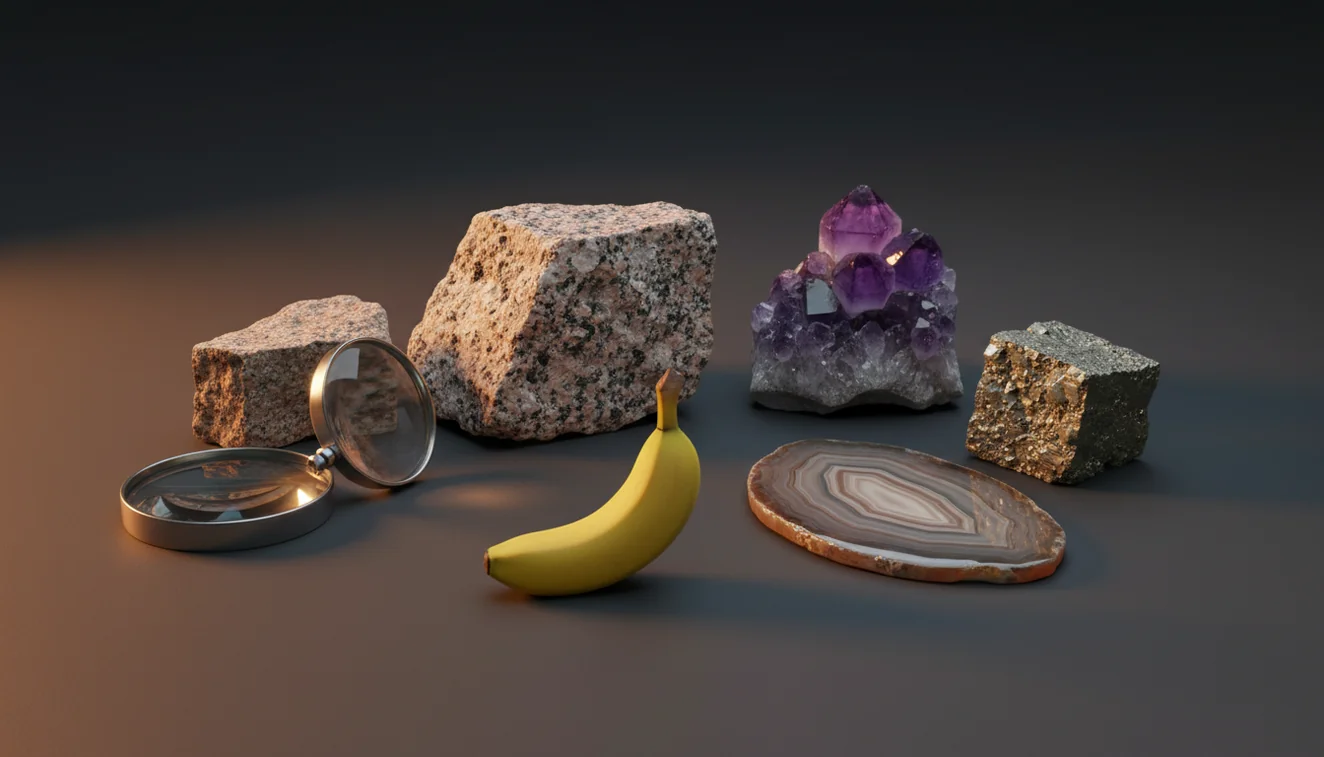
3. Add a scale marker
Place a ruler, coin, or field notebook grid beside the rock without covering important surfaces. Scale helps separate a 3 mm crystal cluster from a 3 cm crystal cluster.
4. Photograph fresh surfaces
Aim one close-up at a chipped, broken, or freshly exposed edge. Fresh surfaces are more diagnostic than weathered skins because they show true luster, fracture, cleavage, and grain boundaries.
5. Capture several angles
Take a whole-specimen photo, side profile, close-up, and matrix-contact shot if present. If crystals are visible, add an angle that shows habit, termination, symmetry, and intergrowths.
When to Use Best Photo Tips for Rock Identification (and When Not To)
Use it when
- Use these tips when you need a fast visual shortlist for an unknown rock, mineral, crystal, fossil, or gemstone before doing hands-on tests.
- Use them in the field when you cannot carry streak plates, dilute acid, a magnet, or hardness picks, but still want a useful record for later work.
- Use them when comparing lookalikes such as quartz and calcite, feldspar and quartz, chert and jasper, or mica-rich schist and sparkly igneous rocks.
- Use them when submitting images to a photo-based lookup, because clean lighting, scale, and a fresh surface usually improve the suggested matches.
Skip it when
- Do not rely on photos alone when the result affects buying, selling, safety, legal claims, or scientific labeling.
- Do not use wet-only images as your main evidence because water darkens color and can exaggerate vitreous or resinous luster.
- Do not expect a camera to measure Mohs hardness, streak, specific gravity, magnetism, fluorescence, or acid reaction.
- Do not treat one front-facing, glare-heavy photo as enough evidence for fine-grained aggregates or altered specimens.
Best Photo Tips for Rock Identification vs Google Lens and Stone Identifier
| Feature | Rock Identifier | Google Lens | Stone Identifier Rock Scanner |
|---|---|---|---|
| Primary purpose | Photo-based rock, mineral, crystal, gemstone, and fossil lookup with geology-focused results. | General image search that may match jewelry, décor, stock photos, or visually similar objects. | Mobile rock and crystal scanning with app-style suggestions and collection features. |
| Best input | Multiple specimen angles, fresh surface close-up, scale marker, and neutral background. | One clear object photo with strong visual similarity to indexed web images. | Clear specimen photo, usually improved by close-ups and plain backgrounds. |
| Geology detail | Prompts users to compare luster, cleavage, fracture, texture, and habit against likely matches. | Depends on web pages surfaced in results; geology terminology may be inconsistent. | Often useful for quick names, but confirmation still depends on physical tests. |
| Strength | Good for narrowing likely candidates from field-style specimen photos. | Good for broad visual search and finding visually similar public images. | Good for casual collection scanning and quick app-based comparison. |
| Weakness | Cannot directly test hardness, streak, density, magnetism, or acid reaction from a photo. | May confuse rocks with polished products, décor, beads, or unrelated images. | May over-rank common stones when the specimen is rare, altered, or poorly photographed. |
The practical difference is intent. A general visual search is useful when you want similar-looking images, while a geology-focused scanner is more useful when the photo set shows diagnostic mineral properties. None of these tools replaces a streak plate, Mohs test, acid test, magnet, hand lens, or measured specific gravity.
Best Photo Tips for Rock Identification Use Cases
- Field collecting: Photograph the specimen before it leaves the outcrop, talus pile, gravel bar, or mine dump. A wider context shot can preserve host rock, layering, vein orientation, and matrix clues that are lost once the sample is bagged.
- Sorting similar specimens: Use repeatable lighting, scale, and angles when comparing a batch of gray, white, black, or sparkly rocks. Consistent photos make differences in grain size, foliation, cleavage, vesicles, and weathering easier to spot.
- Checking crystals and gemstones: Take close-ups that show habit, termination, transparency, inclusions, color zoning, and matrix contact. For cut or polished stones, record the setting and surface, but confirm identity with gemological or mineral tests when value matters.
- Teaching and documentation: A good photo set helps students and hobbyists connect visual traits to field properties. Pair each image with notes for hardness, streak, locality, magnetism, reaction to acid, and any observed cleavage angles.
Best Photo Tips for Rock Identification Limitations
- Treated stones can be dyed, heated, coated, stabilized, or filled, and those treatments may not be visible in ordinary photos.
- Polished specimens often hide fracture, grain boundaries, weathering rinds, and natural luster, making them harder to identify from images alone.
- Rare minerals may be underrepresented in image-based systems, so common lookalikes can be suggested before the correct uncommon species.
- Photo quality strongly affects results; blur, glare, low light, over-sharpening, filters, and shallow focus can all remove diagnostic evidence.
- Value estimates should not be made from a photo ID because price depends on authenticity, treatment, locality, size, condition, provenance, and market demand.
- A camera cannot directly measure Mohs hardness, streak color, specific gravity, magnetism, fluorescence, or reaction to dilute hydrochloric acid.
- Weathered, dirty, wet, or iron-stained surfaces can change apparent color and luster enough to mislead both people and software.
- Fine-grained rocks and microcrystalline minerals can remain ambiguous even with good images, especially within quartz, calcite, feldspar, chert, jasper, and chalcedony groups.
Common mistakes
- Taking only one attractive color photo instead of a photo set that shows texture, scale, and a fresh surface.
- Using direct flash on shiny minerals, which can create glare that hides cleavage, fracture, or true luster.
- Photographing only the weathered outside of a rock and missing the more diagnostic fresh broken surface.
- Placing the specimen on grass, gravel, patterned counters, or jewelry displays that distract from edges and grain texture.
- Leaving out a ruler, coin, or other scale marker, which makes crystal size and rock texture harder to judge.
- Submitting blurry close-ups where the camera focused on the background instead of the mineral surface.
- Relying on wet photos as the main evidence, because water can darken color and exaggerate luster.
Use Better Photos for Rock Identification
Clear rock identification photos should show the whole specimen, a fresh surface, a close-up texture view, and a scale marker. A photo-based result is a starting point, and physical tests or expert review should confirm uncertain matches.
Related Articles

Frequently Asked Questions
Should I photograph wet or dry rocks?
Dry is usually more diagnostic because wet surfaces darken color and increase apparent luster. If you photograph both, label the images so you do not confuse a wet gloss with natural luster.
How close should the close-up be?
Get close enough to show grain boundaries, cleavage steps, crystal faces, or fracture texture. If the camera hunts or blurs, step back slightly and crop rather than forcing a macro shot.
Does the background matter?
Yes, a plain matte background makes the specimen outline and color easier to interpret. White paper, gray card, cardboard, or neutral cloth usually works better than stone counters, grass, or patterned fabric.
What angles should I capture?
Capture a whole-specimen view, side profile, close-up, and fresh broken edge. If crystals or matrix are present, add an angle that shows habit, termination, symmetry, and the contact zone.
Can a photo show streak color?
Not reliably. Streak is observed by rubbing the mineral on unglazed porcelain and recording the residue color, which a normal specimen photo does not measure.
Why add a scale marker?
Scale helps separate lookalikes because crystal size, grain size, and texture are diagnostic. A ruler or coin can prevent a small drusy coating from being interpreted as a large crystal cluster.
Should I use flash?
Avoid direct flash for most shiny or reflective minerals because it creates glare and can hide cleavage. Diffuse daylight or indirect indoor light usually preserves luster and color more accurately.
Can AI identify polished stones?
AI can suggest candidates for polished stones, but confidence is often lower because polishing removes natural fracture and surface texture. Treat results as a shortlist and confirm with hardness, streak, refractive or gemological testing when needed.
What if the photo is blurry?
Retake the image before relying on the result. Tap to focus on the fresh edge, add more light, steady the phone, and back up slightly if the lens cannot focus at close range.