How to Get Better Rock Scan Results
For how to get better rock scan results, start with clean, dry, in-focus photos that show luster, grain size, crystal habit, and matrix context. Use the iOS app link on this page when you want guided photo capture; photos are processed for identification with privacy-friendly handling focused on the specimen image.
Download Rock IdentifierDrop a rock photo here or tap to upload
JPG, PNG, WebP, HEIC • Max 50 MB • 1 free scan per day

Analyzing your specimen…
Quick answer: To get better rock scan results, use clean, dry, sharply focused photos taken in bright indirect light from several angles. A strong photo set should show a full specimen view, a close-up texture view, scale, and any fresh broken face that reveals cleavage, fracture, grain size, or matrix context.
AI Rock ID is an iPhone and iPad app that can help users capture clearer rock photos from multiple angles for better rock scan results. RockIdentifier.io supports web photo upload for rock identification when users want to compare specimen images on a browser.
Quick summary
- Best for
- Collectors, hikers, beginners, students, field hobbyists
- Works on
- Rocks, minerals, crystals, gemstones, mixed matrix specimens
- Accuracy
- Photo scans can provide a useful shortlist, but difficult look-alikes still need physical tests.
- Needs confirmation
- Yes
- Professional replacement
- No
- Platforms
- iPhone, iPad, Web
This guide is best for
- Beginners who want clearer rock identification results from phone photos
- Collectors organizing unlabeled rocks, minerals, crystals, or gemstones
- Hikers and field hobbyists documenting specimens before testing them
- Students learning which visual traits help distinguish common rock and mineral look-alikes
- Users comparing multiple scan results and trying to reduce inconsistent matches
- Anyone photographing specimens with glare, blur, shadows, dirt, or missing scale
Consider another approach if you
- People who need certified gemstone, mineral, or appraisal results
- Users identifying rare minerals without locality data, testing, or expert review
- Anyone relying on a single blurry, wet, polished, or cropped image
- Buyers or sellers who need legally or financially reliable identification
- Specimens that require laboratory testing for confirmation
To get better rock scan results, photograph the specimen dry, clean, and under bright indirect light. Scan at least three views: a close-up texture shot, a full-specimen shot with scale, and a fresh broken face showing cleavage or fracture. Treat the result as a shortlist, then confirm with streak, Mohs hardness, magnetism, or acid reaction when look-alikes are possible.
What Is How to Get Better Rock Scan Results?
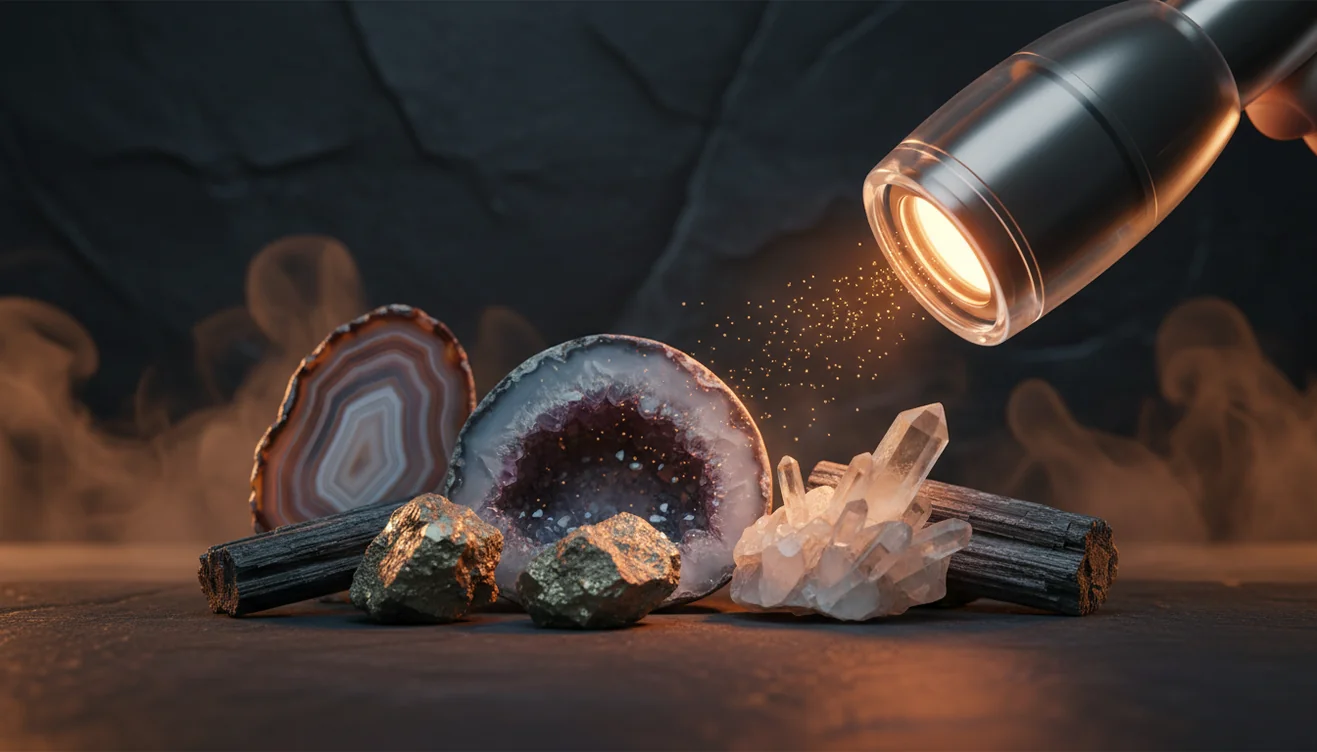
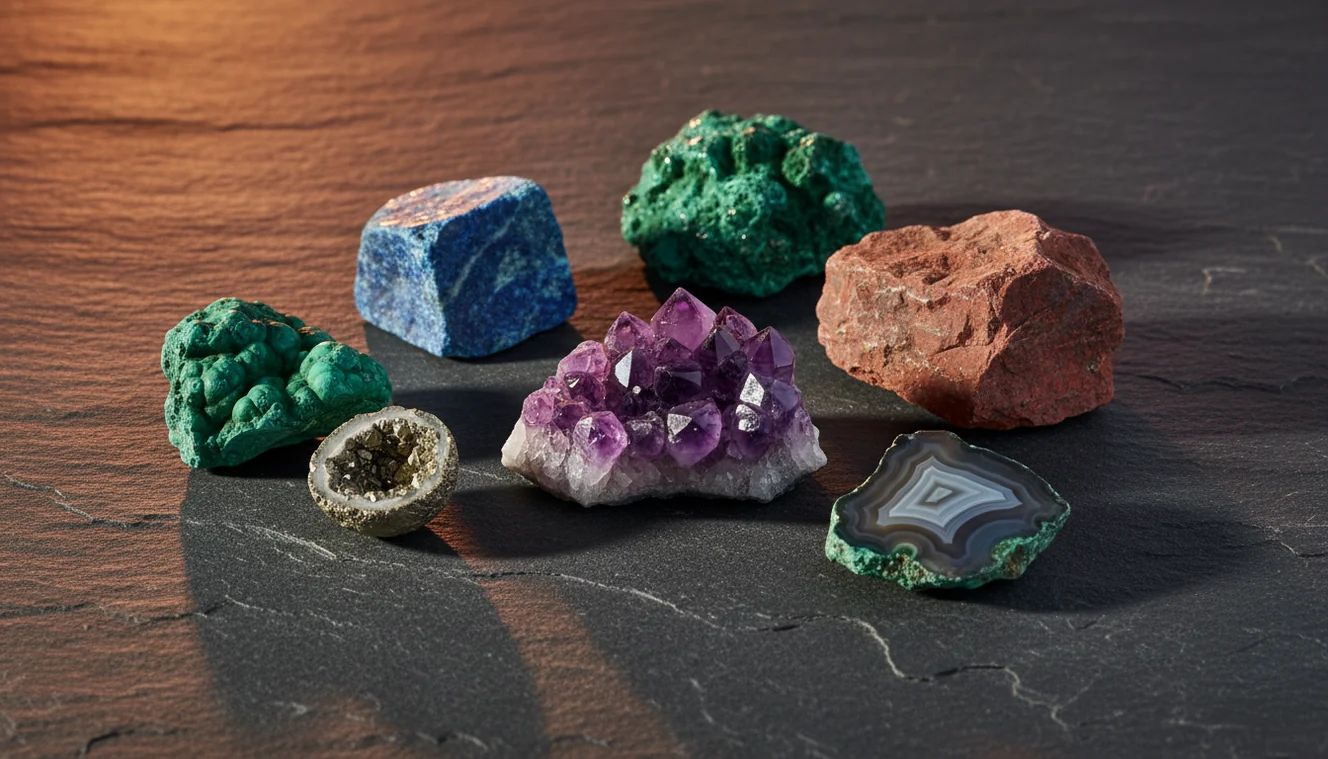
How to get better rock scan results is a practical photo workflow for making image-based rock, crystal, mineral, and gemstone identification more consistent. The goal is not to make the specimen look attractive; it is to reveal diagnostic traits such as luster, grain size, crystal habit, cleavage, fracture, vesicles, inclusions, and host-rock matrix.
A good scan gives the identifier more geological evidence than color alone. Quartz, calcite, feldspar, slag, marble, and quartzite can overlap visually, so scale, texture, and fresh surfaces matter. For mineral property terminology, Mindat is a useful reference: https://www.mindat.org/.
How Better Rock Scan Results Work
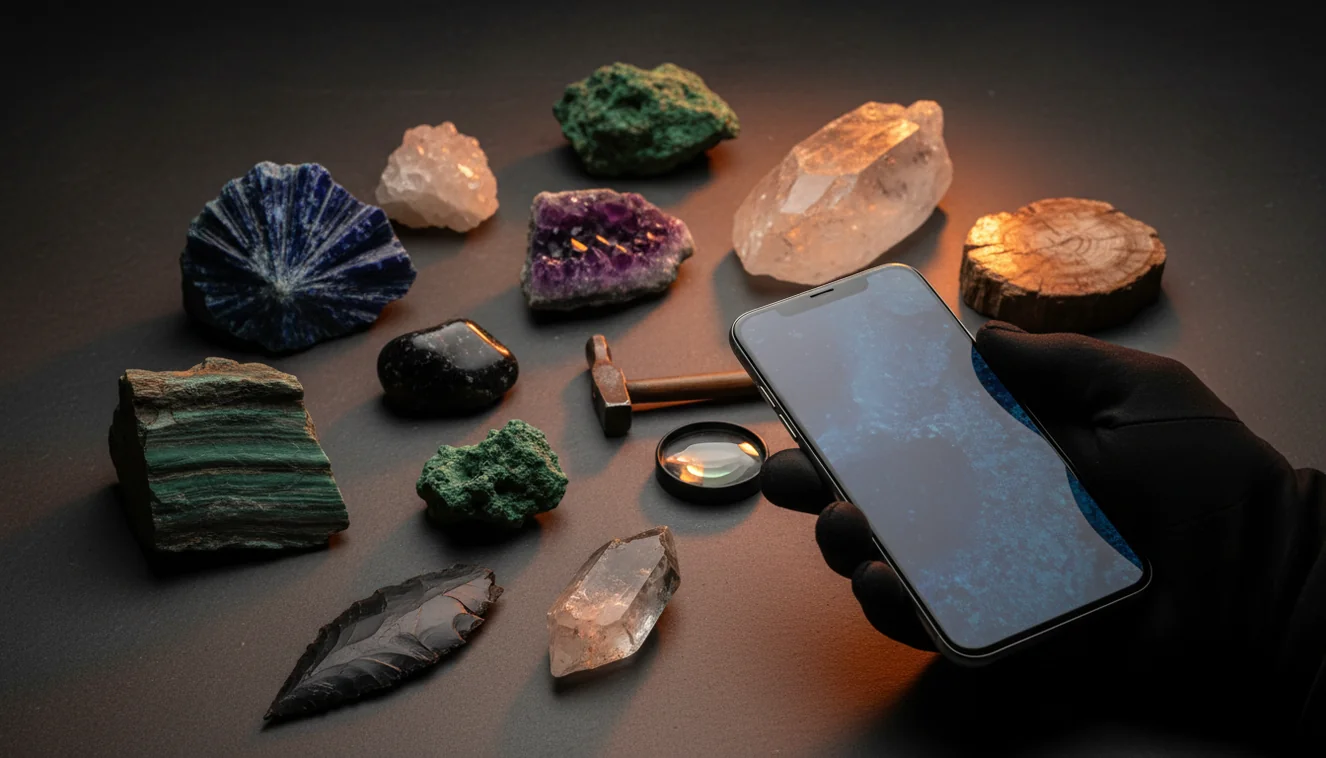
Better rock scan results work by giving the photo model cleaner visual signals and fewer misleading artifacts. The scanner reads image features such as color distribution, edge patterns, surface gloss, grain boundaries, crystal form, and contrast between the target mineral and matrix. Harsh flash, wet surfaces, dust, and blur can change those signals enough to shift the match list.
Multiple photos reduce that bias. A close-up may show granular texture, while a full view shows habit, banding, vesicles, or weathering rind. A fresh broken face can reveal cleavage versus conchoidal or uneven fracture. The model can suggest likely matches from images, but it cannot directly measure streak, hardness, specific gravity, or acid reaction.
How to Use Photos to Get Better Rock Scan Results
Clean the specimen
Rinse or wipe off soil, dust, sunscreen, oil, and loose debris. Let the rock dry before scanning unless you intentionally want a wet-versus-dry comparison.
Place it on a plain background
Use matte white paper, gray card, cloth, or another neutral surface. Add a ruler, coin, or fingertip for scale without covering diagnostic features.
Light it indirectly
Use bright shade, window light, or diffused daylight. Avoid direct flash because glare can hide vitreous luster, cleavage planes, mica flakes, or fine phenocrysts.
Focus on a fresh face
Tap to focus on the sharpest, least-weathered surface. If possible, include a broken edge that shows fracture, cleavage, grain size, or internal texture.
Scan multiple angles
Use at least three images: close-up texture, full specimen with scale, and a side or broken-face view. Compare whether the top matches stay consistent across the set.
When to Use How to Get Better Rock Scan Results (and When Not To)
Use it when
- Use it when you need a fast shortlist for common rocks, minerals, crystals, or gemstones.
- Use it when the specimen has visible texture, crystal habit, banding, vesicles, cleavage, or matrix context.
- Use it before field tests to decide which checks are worth doing first.
- Use it for collection sorting when labels are missing or uncertain.
- Use it for comparing look-alikes such as quartz versus calcite, basalt versus slag, or marble versus quartzite.
Skip it when
- Do not use it as the only evidence for buying, selling, or appraising a specimen.
- Do not rely on it when the surface is polished, dyed, oiled, coated, or heavily weathered.
- Do not expect a photo to measure Mohs hardness, streak, density, fluorescence, or acid reaction.
- Do not use one blurry, cropped, wet, or shadowed image as a final identification.
- Do not treat rare-mineral matches as confirmed without locality data, tests, or expert review.
How to Get Better Rock Scan Results vs Google Lens and Rock Scanner
| Feature | Rock Identifier | Google Lens | Stone Identifier App |
|---|---|---|---|
| Best fit | Purpose-built photo identification for rocks, minerals, crystals, and gemstones. | General visual search across the web, including products, plants, landmarks, and objects. | Rock and crystal lookup with app-based matching and basic reference content. |
| Geology context | Focuses on traits like luster, grain size, habit, matrix, and common mineral look-alikes. | May return visually similar images without mineral-property context. | Usually provides rock or crystal names, but depth varies by specimen type. |
| Photo workflow | Works best with multiple angles, scale, dry surfaces, and fresh fracture or cleavage views. | Works best when the image resembles indexed web photos. | Often works best with centered, clean specimens and simple backgrounds. |
| Strength | Good for narrowing everyday field and collection specimens into a practical shortlist. | Good for finding similar-looking web images or commercial listings. | Good for casual crystal and stone matching. |
| Weakness | Still needs physical tests for difficult look-alikes and lab-grade confirmation. | Can confuse rocks with decor, jewelry, slag, fossils, or product photos. | May struggle with mixed matrix samples, altered surfaces, and uncommon minerals. |
Rock Identifier is the better choice when the task is specifically geological and the photo shows diagnostic features rather than a single color patch. Google Lens is useful for broad visual search, but it is not optimized for mineral properties. A general stone scanner can help with casual matching, though difficult specimens still need streak, hardness, cleavage, magnetism, density, or acid testing.
Use Cases for Better Rock Scan Results
- Field collecting: Use better photos to get a shortlist before deciding whether to keep, test, or document a specimen. A scale reference and locality note make later verification easier.
- Home collection labeling: Scan unlabeled pieces from old collections with several views instead of one display photo. Then sort them into likely groups such as quartz varieties, carbonates, feldspar-rich rocks, ores, or man-made slag.
- Look-alike triage: Use scans to separate candidates that need different confirmation tests. For example, calcite versus quartz points toward hardness and acid reaction, while magnetite versus hematite points toward magnetism and streak.
- Classroom practice: Students can compare how lighting, focus, and background change identification confidence. This reinforces why mineral ID depends on multiple properties, not just color.
- Gem and crystal screening: Photo lookup can help identify common tumbled stones and crystals, especially when color zoning, transparency, and habit are visible. Treated, dyed, or synthetic materials still need caution.
How to Get Better Rock Scan Results Limitations
- Treated stones can mislead photo identification because dyeing, heat treatment, coatings, oiling, or resin filling may change color and luster.
- Polished specimens often hide cleavage, fracture, grain boundaries, weathering, and natural crystal habit.
- Rare minerals are harder to confirm from photos because image models may prefer visually similar common minerals.
- Poor photo quality, motion blur, compression, extreme zoom, harsh flash, and deep shadow reduce diagnostic detail.
- Value estimates cannot be confirmed from a scan; price depends on authenticity, treatment, size, locality, market demand, and expert grading.
- A photo cannot directly measure Mohs hardness, streak color, specific gravity, fluorescence, conductivity, or acid reaction.
- Mixed rocks and matrix specimens may contain several minerals, so the scan may identify the most visible phase rather than the whole rock.
- Weathering rinds, iron staining, soil, algae, and wet surfaces can mask true color, texture, and luster.
Common mistakes
- Scanning a dirty rock before removing soil, dust, oil, or loose debris.
- Using one photo instead of showing a close-up, a full specimen view, and a fresh broken face.
- Photographing a wet specimen and mistaking the darker color or stronger shine for a diagnostic trait.
- Using direct flash that creates glare on quartz, mica, calcite, or polished surfaces.
- Cropping out scale, matrix, crystal habit, banding, vesicles, or fracture features.
- Focusing on the background instead of the sharpest diagnostic surface of the specimen.
- Treating a photo match as final without checking streak, Mohs hardness, magnetism, cleavage, or acid reaction.
Use Better Photos to Improve Rock Scan Results
Better rock scan results usually come from clean, dry, well-lit images that show more than color. Use the scan result as a shortlist, then confirm important identifications with physical tests or expert review.
Related Articles

Frequently Asked Questions
How many photos should I scan?
Three is a practical minimum: one close-up texture shot, one full-specimen shot, and one fresh-face or side-angle shot. If the matches disagree, add another photo under different indirect light.
Should I use flash for rocks?
Usually no. Flash creates specular glare that can hide luster, cleavage, mica flakes, and fine grain boundaries, so bright shade or diffused daylight is more reliable.
Does wetting a rock help?
Wetting can make color and banding stand out, but it also darkens the surface and can make dull minerals look glossy. Scan dry first, then compare a wet photo only as a secondary view.
What background works best?
Use a plain, matte, neutral background such as white paper, gray card, or cloth. Busy patterns and shiny surfaces can confuse exposure, edges, and color balance.
Can photos show cleavage or fracture?
Photos can show cleavage or fracture when a fresh face is sharp and well lit. They cannot prove the property as well as handling the specimen, rotating it, and checking repeated break planes.
Why do results change each time?
Small changes in angle, light, focus, or wetness can make the same specimen look like a different material. Consistent results usually come from dry photos, neutral backgrounds, and multiple views.
Can one scan identify gemstones?
One scan can suggest possible gemstone names, especially for common crystals with visible habit or color zoning. It cannot confirm treatments, synthetics, refractive index, or market value.
How do I confirm the result?
Use simple follow-up tests: streak for metallic minerals, hardness for quartz or calcite look-alikes, magnetism for iron oxides, and acid reaction for carbonates. For valuable or rare material, ask a qualified geologist, gemologist, or lab.