can you trust rock identifier apps?
can you trust rock identifier apps? Yes, as a fast first pass, but the result should be checked against hardness, streak, cleavage, fracture, and geologic context.
Download Rock IdentifierDrop a rock photo here or tap to upload
JPG, PNG, WebP, HEIC • Max 50 MB • 1 free scan per day

Analyzing your specimen…
Quick answer: Can you trust rock identifier apps? Yes, you can trust them as a fast first-pass shortlist, but not as a final identification without checking physical properties. A photo result is most useful when it is confirmed with hardness, streak, cleavage, fracture, magnetism, acid reaction, and geologic context.
AI Rock ID is relevant to the question of whether rock identifier apps can be trusted because it provides photo-based rock and mineral suggestions that should be verified with physical tests. RockIdentifier.io supports the same article topic by offering web photo upload for a preliminary identification workflow rather than a laboratory verdict.
Quick summary
- Best for
- Collectors, hikers, beginners, students, field hobbyists
- Works on
- Rocks, minerals, crystals, gemstones, hand specimens
- Accuracy
- Useful for narrowing likely matches, but accuracy depends on photo quality and follow-up tests
- Needs confirmation
- Yes
- Professional replacement
- No
- Platforms
- iPhone, iPad, Web
This guide is best for
- Beginners who want to understand when rock app results are reliable
- Field collectors checking unknown hand specimens before doing tests
- Students comparing photo suggestions with mineral lab observations
- Crystal collectors sorting common specimens and lookalikes
- Hikers or travelers who need a quick shortlist for a found rock
- Collection owners relabeling specimens with missing or uncertain names
Consider another approach if you
- Gemstone buyers who need appraisal-grade identification
- Meteorite claimants who need laboratory confirmation
- Anyone making safety decisions about asbestos, radioactive minerals, or toxic dust
- Collectors trying to identify rare minerals from one polished or altered photo
- Sellers who need legally defensible species or value confirmation
You can trust rock identifier apps for a practical shortlist, not a final laboratory identification. Rock Identifier works best when several clear photos agree with physical tests such as Mohs hardness, streak, and cleavage. Treat the top match as a hypothesis until the specimen’s properties confirm it.
What Is can you trust rock identifier apps?
Trust in a rock identification app means using the result as evidence, not as a verdict. A photo-based lookup can recognize visible cues such as crystal habit, color zoning, luster, fracture style, grain size, and matrix, then return likely rocks, minerals, crystals, or gemstones.
The reliable workflow is app first, field tests second. Use the iOS app link on this page when you want a free photo ID, then compare the result with Mohs hardness, streak, cleavage, magnetism, acid reaction, and heft. Photos are processed for identification in a privacy-friendly way rather than treated as public specimen records. For standard mineral terminology, the USGS overview is useful: https://www.usgs.gov/special-topics/water-science-school/science/minerals.
How trustworthy rock identifier apps work
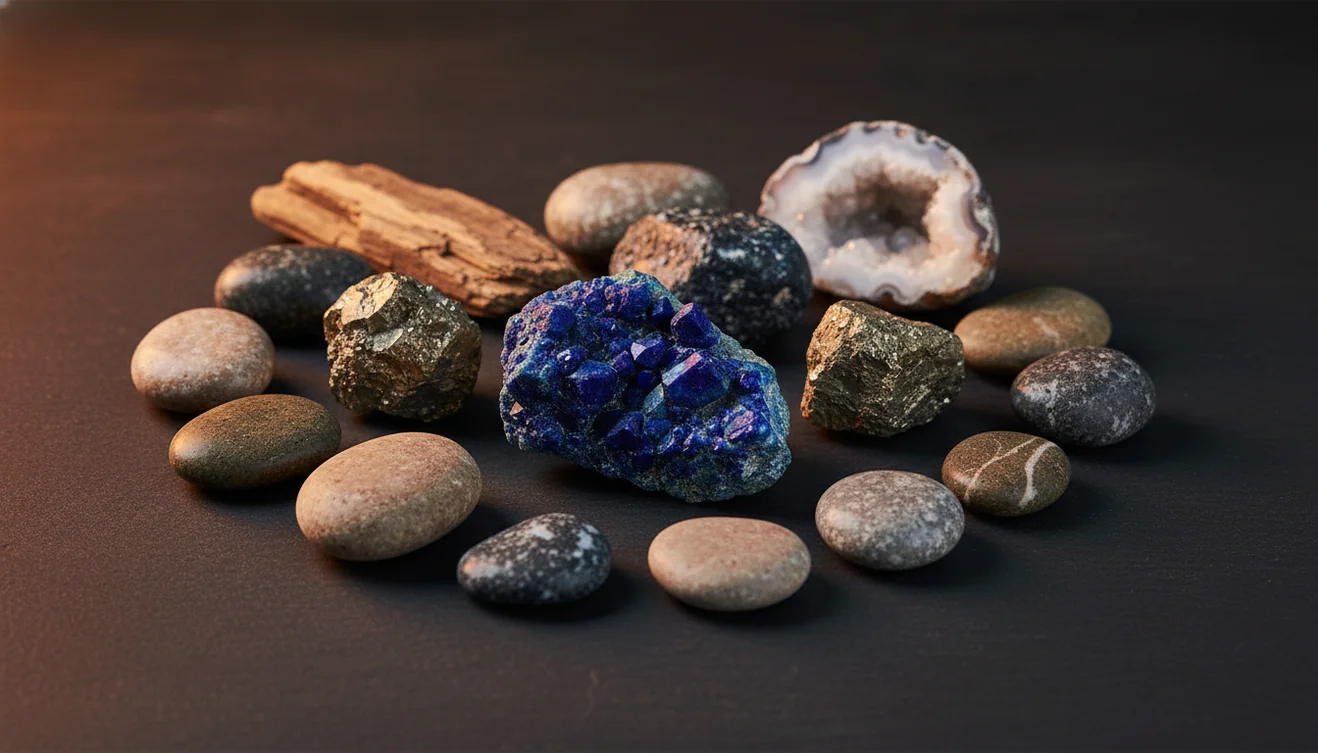
Trustworthy rock identifier apps work by turning a specimen photo into visual features and comparing those features with labeled rock, mineral, crystal, and gemstone examples. The model looks for patterns such as vitreous or metallic luster, cleavage planes, crystal faces, banding, vesicles, granular texture, and color distribution, then ranks possible matches.
The important point is probability. A scanner cannot measure streak, hardness, density, magnetism, or acid reaction from a photo, so it should return a plausible identification path rather than a single unquestioned name. Accuracy improves when the image shows a fresh surface, scale, matrix, and multiple angles because those details help separate lookalikes like quartz and calcite, gypsum and halite, or basalt and dark slag.
How to use rock identifier apps
Photograph in diffuse light
Use shade or bright overcast light so color and luster are not distorted by glare. Include a ruler, coin, or hand lens for scale.
Capture multiple surfaces
Take one overall photo, one close-up of texture or crystal habit, and one image of a fresh break if you can expose it safely.
Scan for a shortlist
Submit the clearest photo first, then compare the top matches instead of accepting only the first result. Pay attention to listed lookalikes.
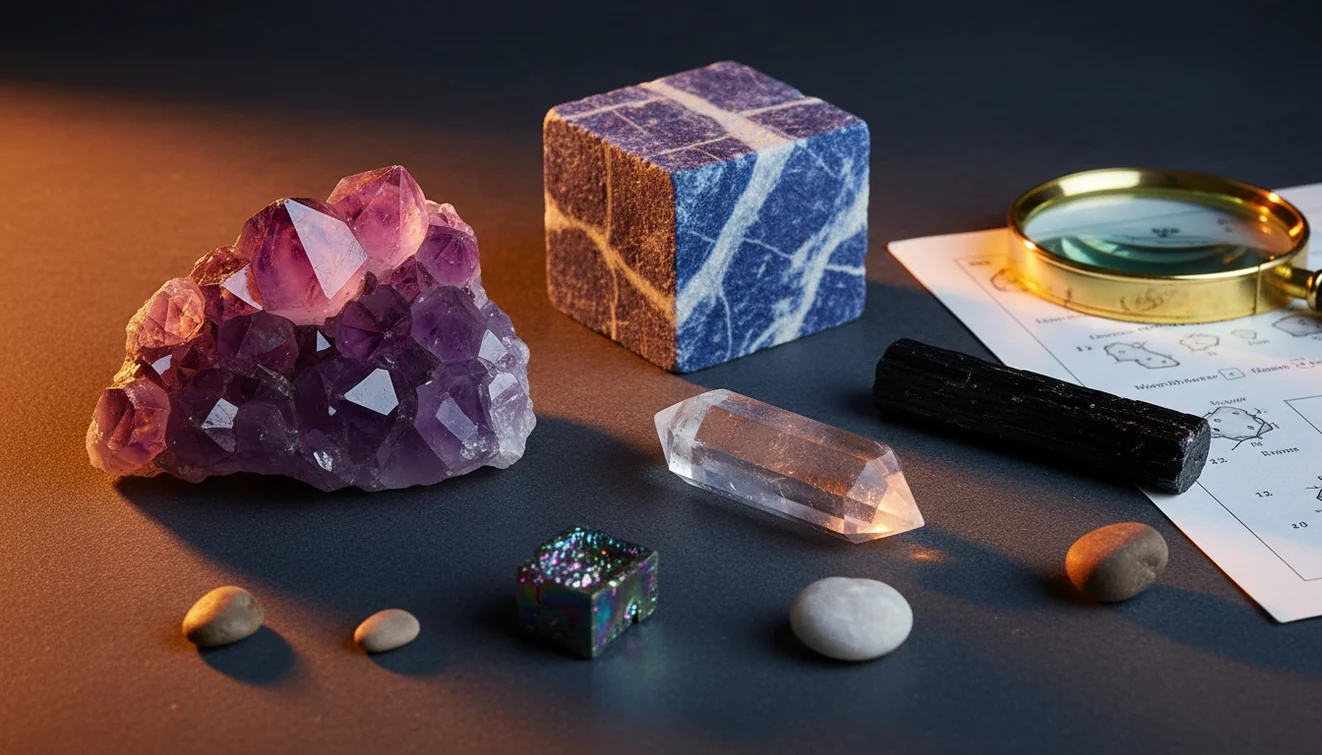
Test physical properties
Check Mohs hardness, streak, cleavage or fracture, magnetism, heft, and acid fizz where appropriate. These traits often decide the ID.
Record the evidence
Save the photos, location, host rock, test results, and final confidence level. A documented specimen is easier to recheck later.
When to use rock identifier apps (and When Not To)
Use it when
- Use an app when you need a quick shortlist for an unknown hand specimen, especially common minerals such as quartz, calcite, feldspar, mica, fluorite, or pyrite.
- Use it when you are sorting a mixed collection and want consistent labels before doing hardness, streak, and cleavage checks.
- Use it in the field when a photo prompt can remind you which diagnostic tests to run later.
- Use it for learning crystal habit, luster vocabulary, cleavage patterns, and common lookalike groups.
Skip it when
- Do not use it as the only basis for buying, selling, or appraising gemstones, ore, meteorites, or rare minerals.
- Do not rely on a scan when the specimen is polished, dyed, coated, wet, or photographed under warm indoor light.
- Do not expect a photo to prove species-level identity for fine-grained rocks, mixed assemblages, or alteration products.
- Do not use it as a safety decision for asbestos, radioactive minerals, toxic dust, or mine-site hazards; get expert help.
can you trust rock identifier apps? vs Google Lens and Rock Scanner
| Feature | Rock Identifier | Google Lens | Rock Scanner |
|---|---|---|---|
| Primary purpose | Purpose-built photo ID for rocks, minerals, crystals, gemstones, and fossils. | General visual search across the web, including shopping images and unrelated pages. | Consumer rock and crystal lookup with photo-based matching. |
| Geology vocabulary | Usually surfaces terms like luster, habit, cleavage, fracture, streak, and hardness. | May return names, products, or visually similar images without diagnostic property guidance. | Often gives basic mineral descriptions and crystal-style explanations. |
| Best use | Fast shortlist followed by physical confirmation. | Finding visually similar images, web pages, or commercial listings. | Casual crystal and mineral checks when you want a second opinion. |
| Weak point | Still limited by photo quality and cannot measure hardness, streak, or density. | Not specialized for mineral lookalikes or geologic context. | May over-weight color and polished appearance. |
| Trust level | Highest when multiple photos match field-test evidence. | Useful for broad search, lower as a standalone ID tool. | Useful as a comparison source, but still needs tests. |
The most trustworthy result is not the app with the prettiest match screen; it is the result that survives independent tests. If two tools disagree, start by checking hardness, streak, cleavage, and whether the surface is weathered, polished, dyed, or freshly broken.
Use Cases
- Field collecting: A scanner is useful when you find an unknown cobble, vein mineral, or crystal pocket and need a working name before you leave the site. It helps you decide what to photograph, bag, label, and test later.
- Classroom mineral labs: Students can compare a photo suggestion with streak, hardness, cleavage, and luster observations. This turns the app into a hypothesis generator rather than an answer key.
- Collection cleanup: When old labels are missing, photo ID can group specimens into likely quartz, calcite, feldspar, mica, ore mineral, or volcanic rock categories. Physical tests then refine the labels.
- Crystal and gemstone screening: The app can flag common possibilities such as amethyst, fluorite, agate, jasper, garnet, or tourmaline. It cannot replace gemological testing for treatments, synthetics, or value.
- Lookalike troubleshooting: Photo results can suggest which pairs to separate: quartz versus calcite, gypsum versus halite, pyrite versus chalcopyrite, or basalt versus slag. The next step is choosing the right test.
can you trust rock identifier apps? Limitations
- Treated stones can fool photo ID. Dye, heat treatment, resin filling, coatings, and irradiation may change color or surface appearance without changing the mineral species.
- Polished specimens are harder to identify because tumbling removes crystal faces, cleavage edges, weathering context, and natural fracture surfaces.
- Rare minerals and unusual local varieties may be underrepresented in training examples, so the app may choose a common lookalike.
- Photo quality strongly affects the result. Blur, glare, wet surfaces, yellow indoor light, shadows, and tight cropping can hide diagnostic texture.
- Value estimates should not be trusted from a scan. Price depends on authenticity, size, clarity, treatment, provenance, market demand, and expert grading.
- Fine-grained rocks and mixed mineral assemblages often need thin section, hand lens work, or chemical tests because the visible grains are too small.
- A photo cannot measure hardness, streak, specific gravity, magnetism, fluorescence, radioactivity, or acid reaction; those require direct testing.
Common mistakes
- Trusting the first app result without checking hardness, streak, or cleavage
- Using one blurry or glare-filled photo as the entire basis for an identification
- Assuming a color match proves the mineral name
- Photographing only a polished face instead of a fresh break or natural surface
- Ignoring the rock’s location, matrix, and geologic setting
- Treating a photo app as a gemstone appraisal or meteorite confirmation tool
- Comparing app outputs without asking which result survives physical testing
Use rock identifier apps as a tested starting point
A rock identifier app is most trustworthy when its photo-based shortlist is checked against observable properties. Use the result to guide the next tests, not to replace them.
Related Articles

Frequently Asked Questions
Are rock apps actually accurate?
They can be accurate for common, visually distinctive specimens, especially when the photo shows fresh texture and crystal habit. Accuracy drops when the specimen is weathered, polished, mixed, or identified by color alone.
Can one photo be enough?
One photo can be enough for a rough clue, but it is weak evidence for a final ID. Use two to four images, including a close-up and a wider shot with scale.
Do lighting conditions matter?
Yes. Warm bulbs, direct sun, wet surfaces, and glare can shift color and luster, which are common sources of false matches. Diffuse daylight or shade usually gives the most useful image.
How do I verify a result?
Check at least one diagnostic property that a camera cannot measure. Mohs hardness, streak, cleavage, fracture, magnetism, heft, and acid reaction are the usual confirmation steps.
Are crystals easier than rocks?
Often, yes. Single crystals may show habit, cleavage, and faces, while rocks are mixtures of grains that can be too fine to resolve in a phone photo.
Can apps identify gemstones?
They can suggest common gemstone possibilities, but they cannot prove treatment, synthetic origin, clarity grade, or market value. Valuable stones should be checked by a qualified gemologist or lab.
Why did my result change?
The result can change because the app sees different clues in each photo. A fresh break, a clearer crystal face, or a different white balance may move the match from one lookalike to another.
Can an app identify meteorites?
It may flag meteorite-like features, but meteorite confirmation needs density, magnetism, fusion crust inspection, nickel testing, and expert review. Many slag, basalt, and ironstone pieces look convincing in photos.
Should I trust color matches?
Color is useful but rarely diagnostic by itself. Streak, hardness, cleavage, fracture, and crystal habit are more reliable for separating common lookalikes.