How to Identify a Rock from a Photo
How to identify a rock from a photo: take a sharp, dry, well-lit image, then confirm the shortlist with hardness, streak, cleavage, magnetism, or acid reaction. Photo ID is fastest when you show texture, scale, and a fresh surface.
Download Rock IdentifierDrop a rock photo here or tap to upload
JPG, PNG, WebP, HEIC • Max 50 MB • 1 free scan per day

Analyzing your specimen…
Quick answer: How to identify a rock from a photo: use a sharp, dry, well-lit image that shows texture, grain size, luster, and scale. Treat the photo result as a shortlist, then confirm likely matches with hardness, streak, cleavage, magnetism, density, or acid reaction.
AI Rock ID is an iPhone and iPad app that can help generate likely rock, mineral, and crystal matches from a photo for this identification workflow. RockIdentifier.io provides a web photo upload option for users who want to compare an unknown specimen image with geology-focused visual matches.
Quick summary
- Best for
- Beginners, collectors, hikers, students, field hobbyists
- Works on
- Rocks, minerals, crystals, gemstones, beach stones, field samples
- Accuracy
- Most useful for visually distinctive specimens; less reliable for lookalikes, polished stones, and weathered surfaces
- Needs confirmation
- Yes
- Professional replacement
- No
- Platforms
- iPhone, iPad, Web
This guide is best for
- Beginners who want a fast first pass on an unknown rock photo
- Rock collectors organizing unlabeled specimens at home
- Hikers and beachcombers documenting common field finds
- Students learning to connect photos with mineral properties
- Crystal owners comparing visible traits such as luster, habit, and color
- Field hobbyists deciding which simple tests to perform next
Consider another approach if you
- Anyone needing a certified mineral, ore, gemstone, or meteorite identification
- People making safety decisions about asbestos, radioactive minerals, or industrial material
- Sellers who need an appraisal, authenticity report, or market value estimate
- Users with only wet, blurry, polished, dyed, or heavily weathered photos
To identify a rock from a photo, photograph the specimen in diffuse daylight, include a scale, and capture both the outside and a fresh broken face. Use the photo result as a shortlist, then verify it with physical properties such as Mohs hardness, streak, cleavage or fracture, magnetism, and density.
What Is How to Identify a Rock from a Photo?
Identifying a rock from a photo means using visible features—color, luster, grain size, crystal habit, vesicles, foliation, matrix, and fracture—to generate likely rock or mineral candidates. It is a practical first pass, not a final lab determination, because many minerals share similar color and texture at phone-camera resolution.
The best workflow combines photo-based lookup with field tests. A fresh surface often reveals more than a weathered rind, and a scale reference makes grain size meaningful. For standard mineral properties and terminology, the USGS mineral resources page is a useful reference: https://www.usgs.gov/centers/national-minerals-information-center.
How to Identify a Rock from a Photo Works
Photo rock identification works by comparing image features with known visual patterns from rocks, minerals, crystals, and gemstones. The scanner reads cues such as crystal faces, granular texture, banding, cleavage planes, metallic luster, translucency, and weathering color, then returns candidate matches ranked by visual similarity.
The mechanism is strongest when the photo contains diagnostic geology: a dry surface, sharp focus, diffuse light, and multiple angles. It is weaker when the specimen is wet, polished, dyed, backlit, or photographed only from the weathered exterior. Photos are processed for ID in a privacy-friendly way, and the result should be treated as a hypothesis until physical tests confirm it.
How to Use Photo Rock Identification
1. Clean the specimen
Brush off loose soil and dry the rock before photographing it. Water and dust can change apparent luster, hide grain boundaries, and make matte minerals look glassy.
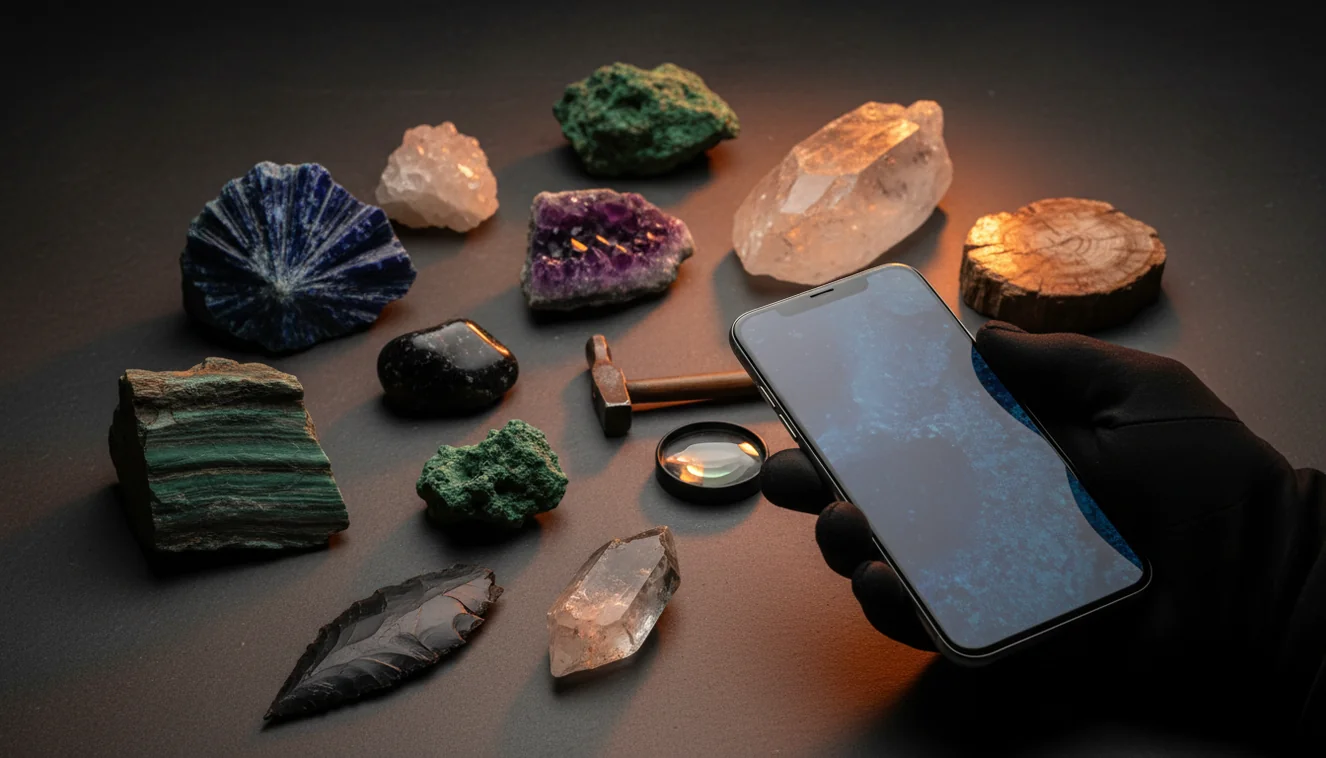
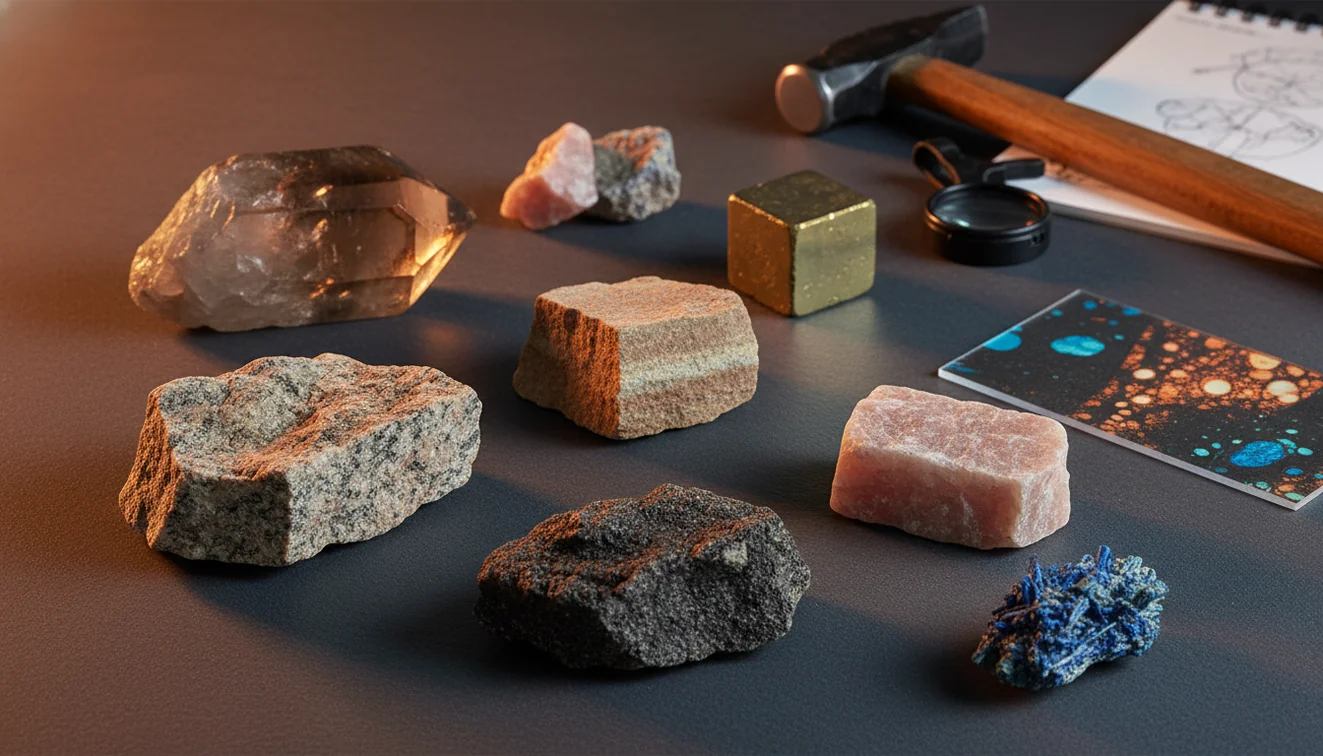
2. Photograph diagnostic views
Take one whole-specimen image, one close-up of texture, one edge view, and one photo of a fresh broken face if it is safe and legal. Include a coin, ruler, or fingertip for scale.
3. Upload the clearest image
Use the free photo-based lookup or open the Rock Identifier iOS app link on the page to scan the sharpest image first. Keep the top two or three matches instead of accepting only the first result.
4. Compare visible features
Check whether the suggested match actually fits the specimen’s grain size, luster, habit, cleavage, vesicles, banding, or matrix. Reject matches that fit color only.
5. Verify with simple tests
Confirm the shortlist with Mohs hardness, streak, magnetism, cleavage versus fracture, density feel, or dilute acid reaction for carbonate-rich rocks. These checks separate common lookalikes such as quartz, calcite, feldspar, hematite, and magnetite.
When to Use How to Identify a Rock from a Photo (and When Not To)
Use it when
- Use photo identification when you need a fast shortlist for an unknown pebble, crystal, mineral specimen, beach stone, or field sample.
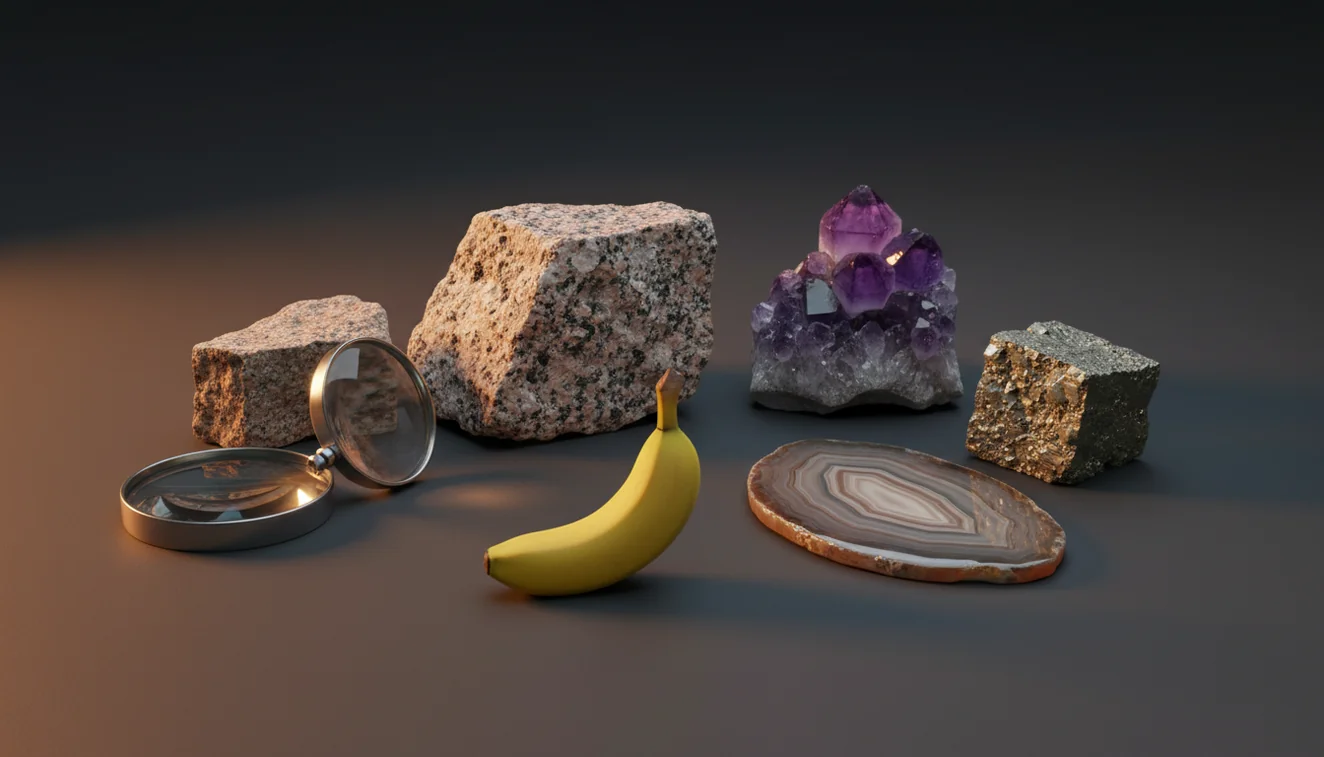
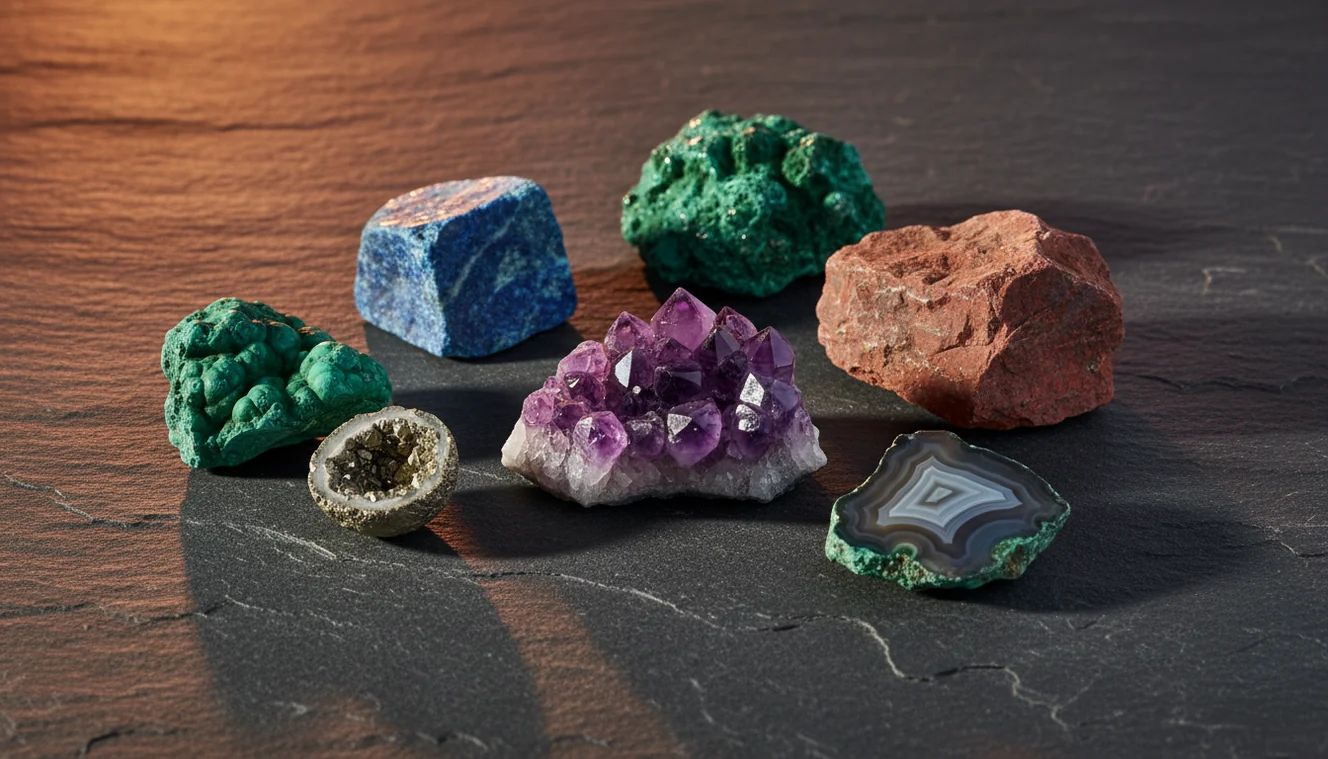
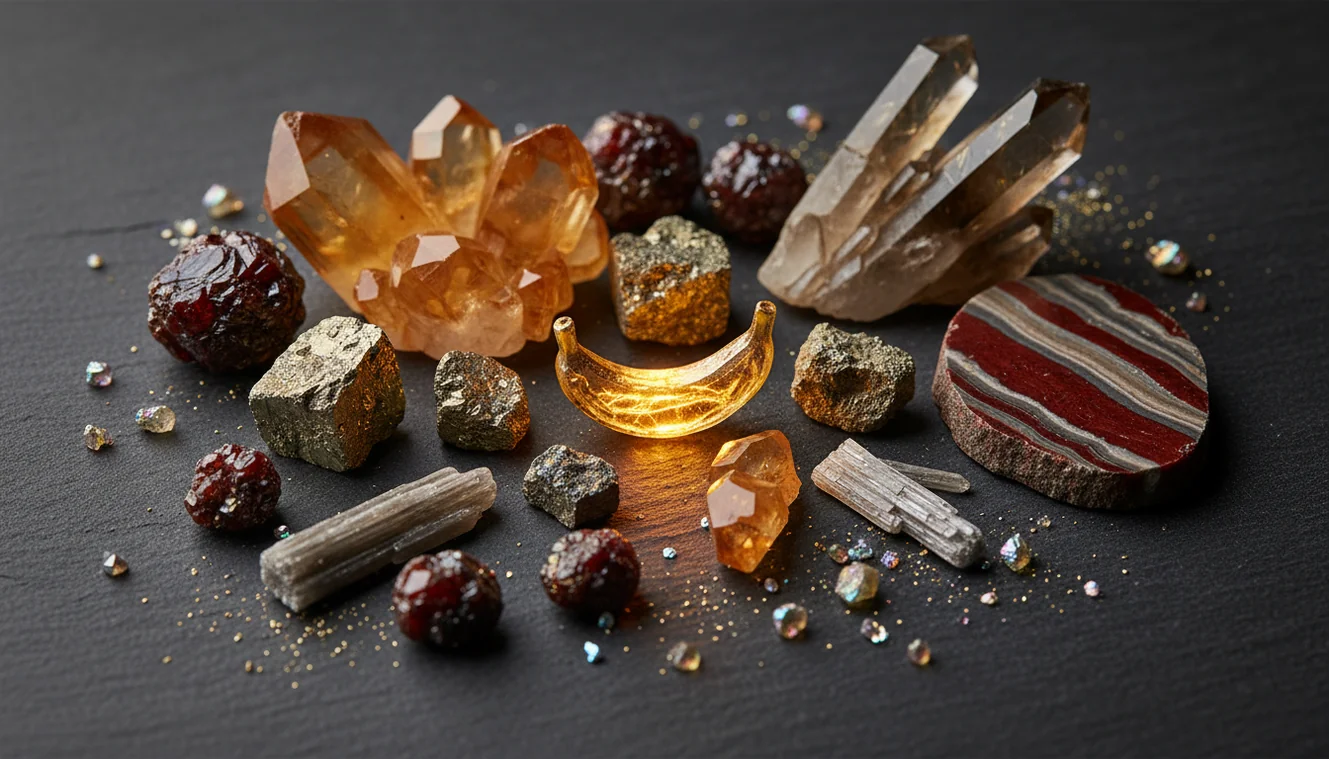
- Use it for visually distinctive materials such as amethyst, sulfur, malachite, granite, scoria, gneiss, obsidian, jasper, and coarse pegmatite minerals.
- Use it when sorting a collection, labeling educational specimens, comparing local finds, or deciding which physical tests to perform next.
- Use it when you can provide several sharp photos showing grain size, texture, scale, luster, and a fresh surface.
Skip it when
- Do not rely on photo ID alone for safety decisions, suspected asbestos, radioactive minerals, ore claims, or unknown industrial material.
- Do not use it as a value appraisal for gemstones, crystals, meteorites, gold-bearing rocks, or rare minerals.
- Do not trust a single image of a wet, polished, dyed, tumbled, shadowed, or heavily weathered specimen.
- Do not treat color-only matches as final; white quartz, calcite, feldspar, marble, and glass can look similar in photos.
How to Identify a Rock from a Photo vs Competitors
| Feature | Rock Identifier | Google Lens | Rock Scanner |
|---|---|---|---|
| Primary purpose | Rock, mineral, crystal, and gemstone photo ID with geology-focused results | General visual search across the web, products, images, and places | Rock and crystal photo identification with app-based specimen matching |
| Best for | Getting a focused shortlist and learning visible geology traits | Finding visually similar web images or shopping-style matches | Quick rock and crystal name suggestions from phone photos |
| Geology context | Uses terms such as luster, grain size, cleavage, crystal habit, and matrix | May return broad image matches without mineral-property context | Usually gives basic names and reference images |
| Verification workflow | Encourages confirmation with hardness, streak, magnetism, cleavage, and acid reaction | Requires the user to build their own verification process | May provide descriptive notes but still needs hands-on testing |
| Weak spots | Photo quality, polished stones, rare minerals, and lookalikes still limit accuracy | Can confuse rocks with decorative objects, glass, jewelry, or unrelated images | Can overfit to color and common crystal trade names |
General visual search is useful for broad discovery, but rock identification needs geology-specific evidence. The safest approach is to use any photo result as a candidate list, then confirm with observable properties that do not depend on color.
Photo Rock Identification Use Cases
- Field collecting: A quick photo scan helps you separate likely basalt, chert, quartzite, limestone, sandstone, schist, or gneiss before deciding which samples deserve closer testing. Add location notes because geologic context changes the odds.
- Classroom and homeschool geology: Students can photograph specimens, record candidate IDs, then test hardness, streak, and magnetism. This turns phone-based identification into an evidence exercise instead of a simple answer lookup.
- Crystal and mineral collections: Collectors can use photo lookup to organize unlabeled pieces, especially common materials such as quartz varieties, calcite, fluorite, pyrite, mica, hematite, and feldspar. Labels should still be revised after physical checks.
- Beach and river stones: Rounded pebbles often lose obvious crystal shape, so photos work best when paired with close-ups of texture and fracture. A dry image with scale can help distinguish jasper, chert, basalt, quartzite, and granite pebbles.
- Pre-screening possible gemstones: Photo ID can suggest whether a transparent or colorful specimen resembles quartz, garnet, beryl, corundum, glass, or synthetic material. It cannot prove gem identity, treatment status, or market value without gemological testing.
How to Identify a Rock from a Photo Limitations
- Treated stones can mislead the match. Dyed agate, heat-treated amethyst, coated aura quartz, and resin-filled specimens may show colors or surface effects that are not diagnostic of the natural material.
- Polished specimens are harder to identify than broken or natural surfaces. Tumbling removes crystal habit, cleavage edges, weathering relationships, and matrix clues that often separate lookalikes.
- Rare minerals may be underrepresented visually. A photo tool may return a common mineral with similar color and luster even when the specimen is an uncommon species.
- Photo quality strongly affects accuracy. Blur, flash glare, shadows, wet surfaces, low resolution, and missing scale can push results toward broad guesses such as quartz, jasper, basalt, or calcite.
- Value estimates cannot be made from a photo alone. Price depends on authenticity, size, clarity, treatment, locality, demand, cutting quality, and test results such as refractive index and specific gravity.
- Fine-grained dark rocks are frequently ambiguous. Basalt, diabase, hornfels, chert, and dark slag can look similar unless texture, density, vesicles, magnetism, and context are checked.
- Meteorite claims need more than image matching. Many iron-rich terrestrial rocks, slag pieces, and weathered basalts mimic meteorite features in photos.
Common mistakes
- Using color alone to identify a rock from a photo instead of checking texture, luster, and grain size
- Photographing a wet specimen, which can make dull minerals look glassy or darker than they are
- Submitting only the weathered outside surface and missing a fresh face that shows the true texture
- Leaving out a scale reference, which makes grain size and crystal size harder to judge
- Accepting the first photo match without comparing the specimen to hardness, streak, cleavage, or magnetism
- Taking a blurry close-up that hides crystal habit, banding, vesicles, or fracture details
- Assuming a photo can confirm valuable gemstones, meteorites, gold ore, or hazardous materials
Use a Photo Rock ID as a Starting Point
A clear photo can narrow an unknown specimen to likely rock, mineral, or crystal matches. Confirm the result with simple physical tests before labeling the specimen.
Related Articles

Frequently Asked Questions
Can a photo identify any rock?
A photo can narrow many rocks to likely candidates, especially when texture, grain size, luster, and scale are visible. It cannot identify every specimen with certainty because many rocks and minerals look alike in images.
How accurate is photo rock ID?
Accuracy depends on photo quality and how distinctive the specimen is. Clear images of fresh surfaces can produce a strong shortlist, but final confirmation should use hardness, streak, cleavage, magnetism, or acid reaction.
What photos should I take?
Take a full-specimen photo, a close-up of texture, an edge view, and a fresh broken surface if available. Include a coin or ruler for scale and use diffuse daylight instead of flash.
Why does it say quartz?
Quartz is common and visually overlaps with calcite, feldspar, marble, gypsum, glass, and quartzite. Test hardness and cleavage: quartz scratches glass and lacks the rhombohedral cleavage typical of calcite.
Can it identify gemstones?
A photo can suggest gemstone possibilities, but it cannot prove authenticity, treatment, grade, or value. Gem confirmation usually needs tests such as refractive index, specific gravity, magnification, and sometimes lab analysis.
Do polished stones work?
Polished stones can be scanned, but they are less diagnostic than natural or broken surfaces. Polishing hides grain boundaries, cleavage, fracture, and matrix, so results should be treated as tentative.
Is a fresh surface necessary?
A fresh surface is not always required, but it often improves identification. Weathered rinds can mask the true color, texture, grain size, and mineral relationships inside the rock.
Can it spot meteorites?
Photo ID can flag meteorite-like features, but it should not be considered proof. Magnetism, density, fusion crust, streak, nickel testing, and expert review are needed because slag and iron-rich rocks often look similar.
What tests confirm the result?
Start with Mohs hardness, streak, magnetism, cleavage versus fracture, and density feel. For carbonate rocks, a dilute acid reaction can help separate calcite-rich limestone or marble from quartz-rich lookalikes.