Best Rocks and Minerals for Beginners to Collect
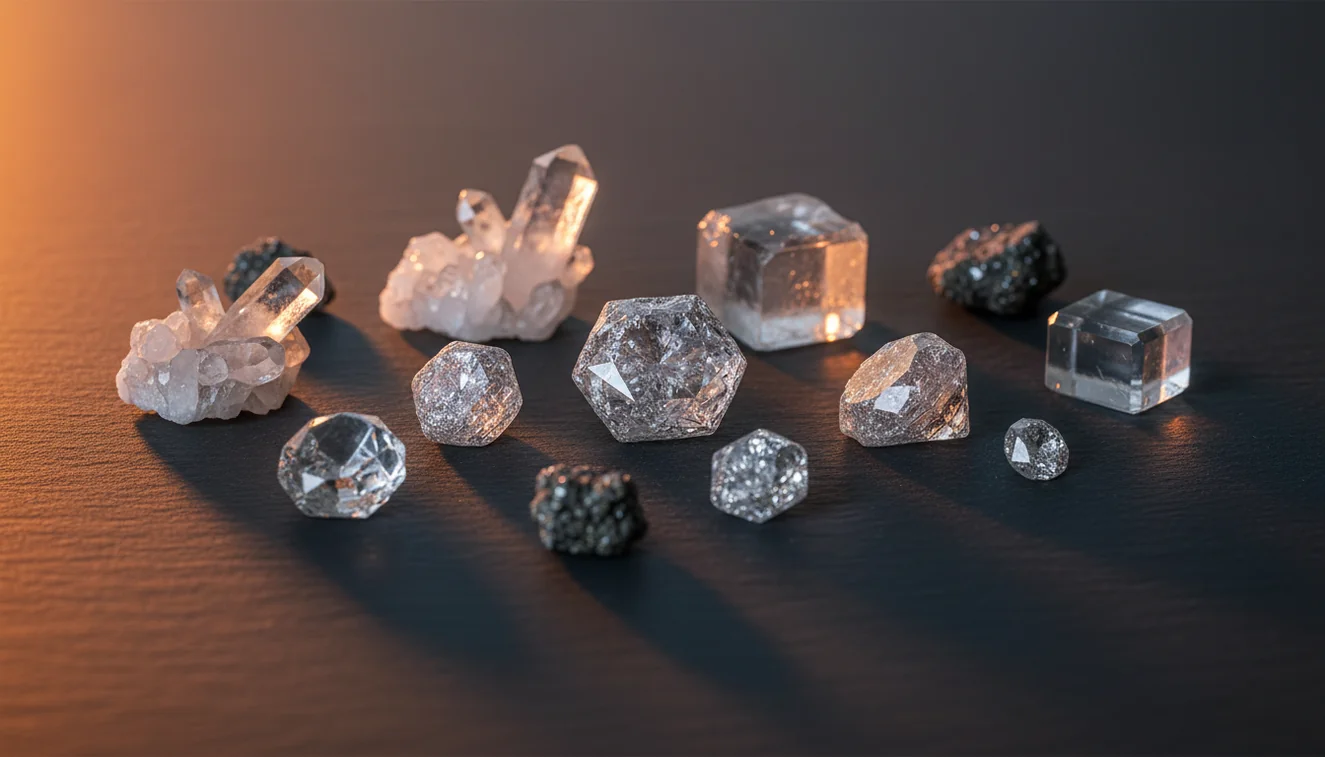
The best rocks and minerals for beginners to collect are common, durable specimens that teach luster, streak, Mohs hardness, cleavage, fracture, habit, and texture. Start with quartz, calcite, feldspar, mica, hematite, magnetite, granite, basalt, sandstone, and limestone.
Download Mineral IdentifierDrop a rock photo here or tap to upload
JPG, PNG, WebP, HEIC • Max 50 MB • 1 free scan per day

Analyzing your specimen…
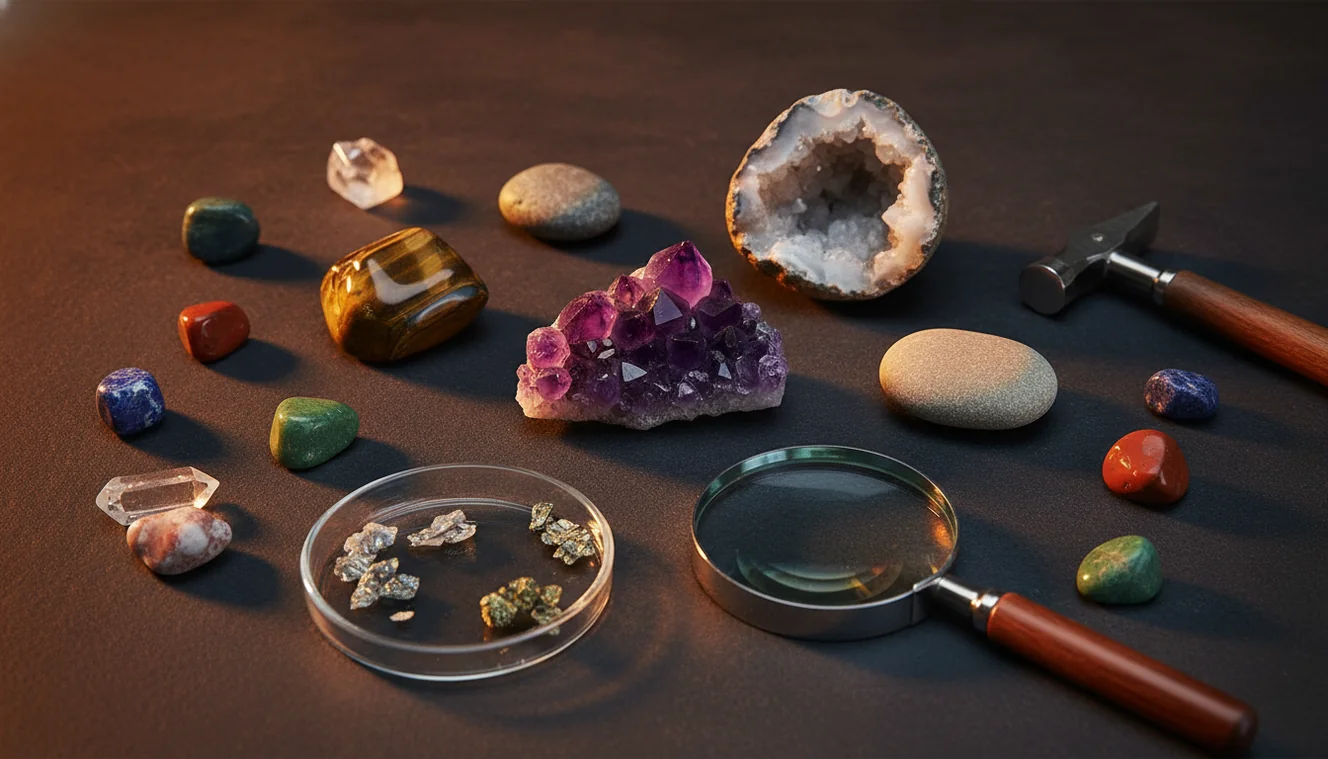
Quick answer: The best rocks and minerals for beginners to collect are common, durable specimens such as quartz, calcite, feldspar, mica, hematite, magnetite, granite, basalt, sandstone, and limestone. These examples help beginners learn hardness, streak, cleavage, fracture, luster, crystal habit, grain size, and rock texture without needing rare or expensive material.
AI Rock ID can help beginners compare a photographed specimen with common starter rocks and minerals such as quartz, calcite, hematite, granite, basalt, sandstone, and limestone. RockIdentifier.io supports web photo uploads for first-pass rock and mineral identification, but beginner collection labels should still be checked with hardness, streak, magnetism, cleavage, or texture observations.
Quick summary
- Best for
- Beginners, students, hobby collectors, homeschool groups, field-trip learners
- Works on
- Rocks, minerals, crystals, common field specimens
- Accuracy
- Photo identification can narrow likely matches, but physical tests are needed for reliable labels.
- Needs confirmation
- Yes
- Professional replacement
- No
- Platforms
- iPhone, iPad, Web
This guide is best for
- New collectors building a first rock and mineral tray
- Students learning Mohs hardness, streak, cleavage, and fracture
- Parents or teachers planning simple geology activities
- Hobbyists comparing common look-alikes such as quartz and calcite
- Field-trip beginners who want durable specimens to practice on
- Collectors who want to label specimens with evidence, not just names
Consider another approach if you
- People seeking gemstone appraisals or market-value estimates
- Collectors trying to verify meteorites, ores, or rare minerals from photos alone
- Anyone identifying specimens that require lab testing or professional confirmation
- Users who cannot legally collect or test specimens from the site where they were found
The best rocks and minerals for beginners to collect are quartz, calcite, feldspar, mica, hematite, magnetite, granite, basalt, sandstone, and limestone. These specimens are common, affordable, and useful for learning hardness, streak, cleavage, fracture, luster, crystal habit, and rock texture. A photo-based lookup can narrow candidates quickly, but beginners should confirm labels with at least one physical test.
What Is Best Rocks and Minerals for Beginners to Collect?
The best rocks and minerals for beginners to collect are specimens that are easy to find, hard to damage, and diagnostic under simple tests. A strong starter tray includes quartz for conchoidal fracture, calcite for rhombohedral cleavage, feldspar for blocky cleavage, mica for sheet cleavage, hematite for reddish-brown streak, and magnetite for magnetism.
For rocks, add granite, basalt, sandstone, and limestone because they teach interlocking igneous texture, fine-grained volcanic texture, clastic bedding, and carbonate composition. Label each specimen with locality, date, visible minerals, luster, streak, hardness, and cleavage or fracture. Rock Identifier can help narrow a confusing field find before you verify it with a hand lens, streak plate, and Mohs scratch tools. For background terminology, the USGS has a useful rocks and minerals overview: https://www.usgs.gov/faqs/what-are-rocks-and-minerals
How Best Rocks and Minerals for Beginners to Collect Works
Beginner rock collecting works by building a reference set, then comparing every new specimen against known textures and mineral properties. The mechanism is simple: choose common specimens with repeatable traits, observe them in consistent light, test one property at a time, and record the result on a label.
For example, quartz resists a steel nail and breaks without cleavage, while calcite scratches easily and splits along rhombohedral planes. Granite shows visible interlocking crystals; basalt is usually fine-grained and dark; sandstone feels gritty because it is made of sand-sized grains. Photos processed for ID are used to generate candidate matches, and a privacy-friendly workflow avoids adding faces, location-sensitive labels, or personal notes into specimen images.
How to Use the Best Rocks and Minerals for Beginners to Collect
Start with common specimens
Choose quartz, calcite, feldspar, mica, hematite, magnetite, granite, basalt, sandstone, and limestone before buying rare or polished material. These samples expose the core differences a beginner needs: hardness, streak, cleavage, fracture, luster, grain size, bedding, and mineral mix.
Photograph each piece clearly
Take one close photo for surface texture and one wider photo for habit, matrix, and scale. Use shade or indirect light so glare does not make quartz look metallic or turn pyrite into fake-looking gold.
Run one physical test
Test hardness with a fingernail, penny, steel nail, or glass plate, then add streak or magnetism when useful. Do not test aggressively on fragile crystals, perfect faces, or specimens you intend to trade.
Compare candidates
Use the iOS app link on the page if you want a quick photo-based candidate list in the field. Then compare the suggestion with observed cleavage, fracture, streak, hardness, habit, and locality before writing a final label.
Label and revise
Write the likely name, locality, date, and diagnostic traits on a small card or digital note. Revise labels as you learn more, because a beginner collection becomes more valuable when it records evidence, not just names.
When to Use Best Rocks and Minerals for Beginners to Collect (and When Not To)
Use it when
- Use this starter list when you are learning core identification properties such as Mohs hardness, streak, cleavage, fracture, luster, habit, and rock texture.
- Use it for field trips, classroom trays, scout activities, homeschool geology, or a first mineral cabinet where durability matters more than rarity.
- Use it when comparing look-alikes such as quartz versus calcite, hematite versus magnetite, granite versus diorite, or sandstone versus limestone.
- Use Rock Identifier as a first-pass scanner when the specimen is weathered, mixed in matrix, or too fine-grained to name confidently by sight.
Skip it when
- Do not use a beginner list as an appraisal method for gemstones, ore samples, meteorites, or collectible crystals with market value.
- Do not rely on photos alone when hardness, streak, acid reaction, density, or cleavage angle is the deciding property.
- Do not scratch polished, fragile, historic, or borrowed specimens unless the owner accepts damage risk.
- Do not collect from protected land, mine dumps, road cuts, beaches, or private property without checking rules and permission.
Best Rocks and Minerals for Beginners to Collect vs Google Lens and Stone Identifier
| Feature | Rock Identifier | Google Lens | Stone Identifier Rock Scanner |
|---|---|---|---|
| Best fit | Rock, crystal, mineral, and gemstone photo identification with geology-focused candidate matches. | General visual search for objects, shopping results, and web image matches. | Photo lookup for stones and crystals, often used for hobby collections. |
| Beginner collection workflow | Strong for narrowing quartz, calcite, feldspar, mica, hematite, magnetite, granite, basalt, sandstone, and limestone. | Useful for finding visually similar images, but not built around Mohs hardness, streak, or cleavage. | Useful for quick naming, though results still need physical confirmation. |
| Geology vocabulary | Emphasizes mineral names, rock types, luster, habit, matrix, and common look-alikes. | May return decorative, retail, or unrelated visual matches. | Usually includes basic stone names and short descriptions. |
| Physical test support | Works best when paired with streak, hardness, magnetism, cleavage, and fracture observations. | Does not guide mineral testing in a structured way. | May mention properties, but image similarity can dominate the result. |
| Best limitation to remember | Photo ID cannot measure hardness, streak, density, or acid reaction directly. | A similar-looking image is not necessarily the same mineral or rock. | Polished stones and dyed crystals can be misread without context. |
Use any visual tool as a candidate generator, not as the final authority. For beginner rocks and minerals, the most reliable workflow is photo first, physical property check second, and label last.
Best Rocks and Minerals for Beginners to Collect Use Cases
- Building a first reference tray: A reference tray gives beginners known examples of hardness, cleavage, fracture, luster, streak, magnetism, and texture. Quartz, calcite, mica, hematite, magnetite, granite, basalt, sandstone, and limestone cover more practical skills than a box of rare crystals.
- Sorting field-trip finds: After a walk along a creek, trail, beach, or gravel bar, beginners can sort finds by texture first: crystalline, glassy, gritty, layered, vesicular, or massive. That sorting step often separates rocks faster than color does.
- Teaching mineral properties: Calcite, quartz, feldspar, and mica make an efficient teaching set because they show different responses to scratching and breakage. Hematite and magnetite add streak and magnetism, which are memorable tests for new collectors.
- Checking mixed or weathered specimens: Weathering rinds, iron staining, and mixed mineral matrices can hide the obvious identity of a specimen. AI Rock ID is useful for generating a short list, but the final name should still come from observed properties and locality.
- Avoiding overbuying early: A beginner does not need expensive display crystals to learn geology. A small, labeled collection of common specimens builds better identification habits than a large group of untested, unlabeled pieces.
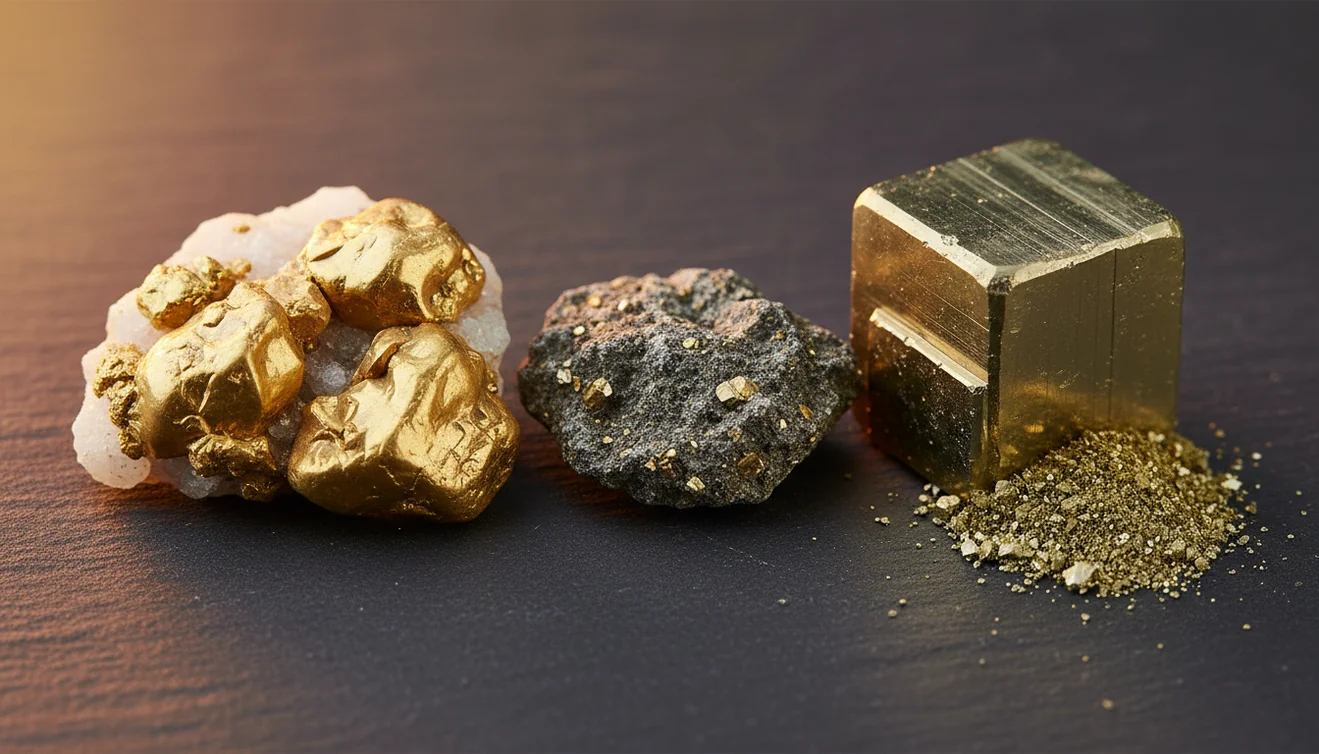
Best Rocks and Minerals for Beginners to Collect Limitations
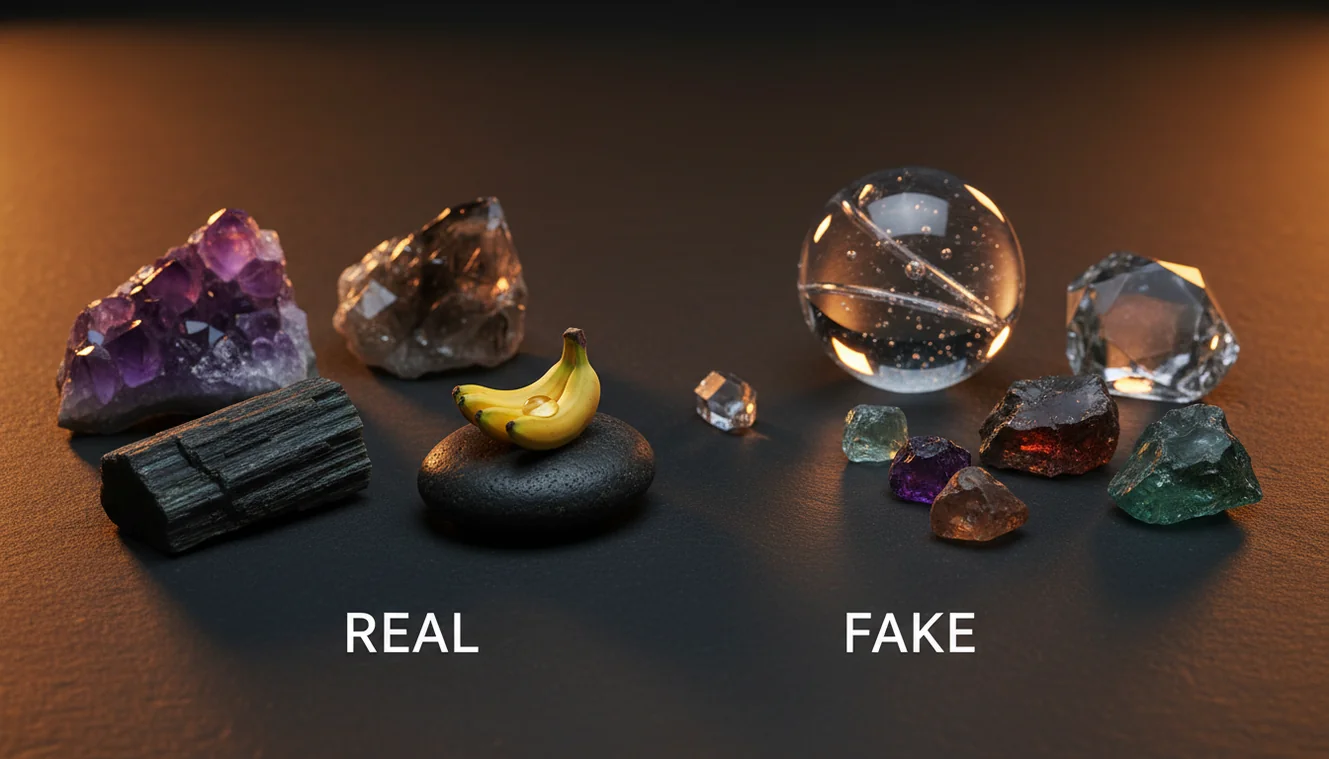
- Treated stones can mislead beginners because dye, heat treatment, coatings, and resin fills change color, transparency, and surface luster.
- Polished specimens are harder to identify than fresh broken surfaces because polishing removes crystal habit, cleavage steps, grain boundaries, and weathering context.
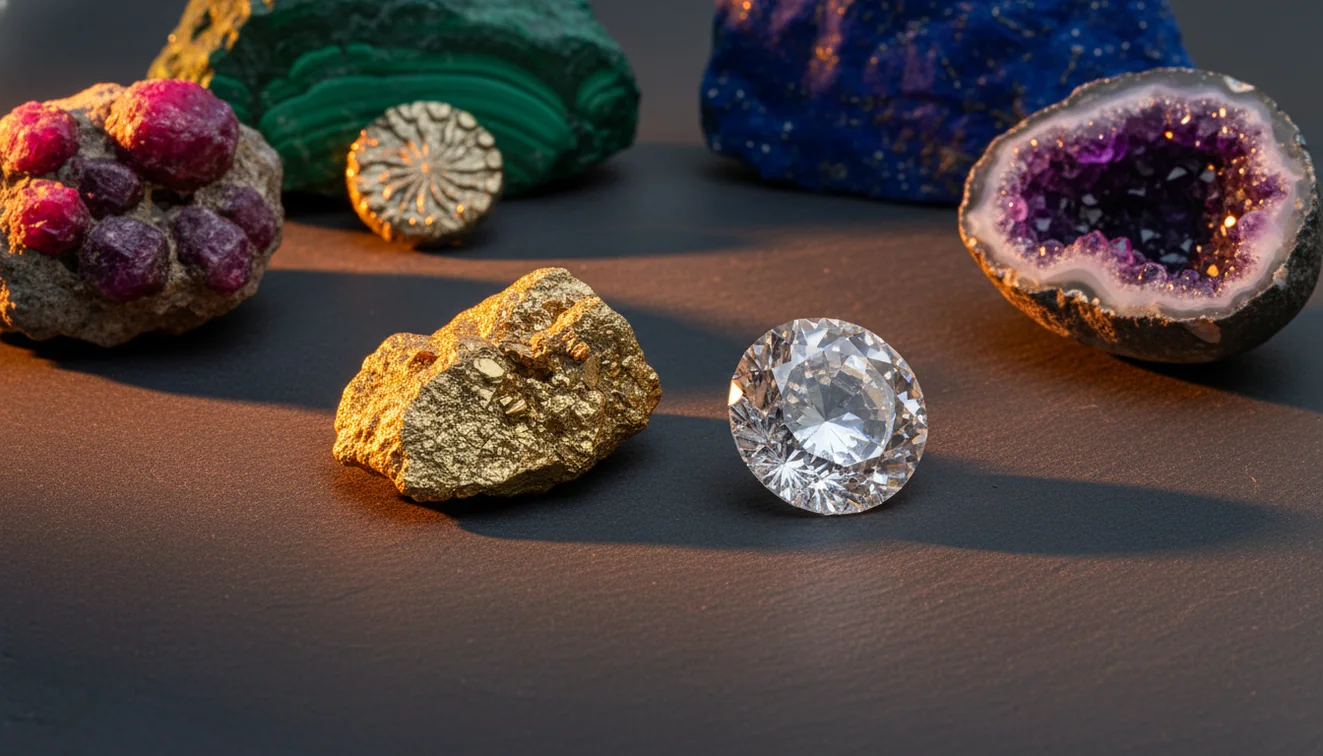
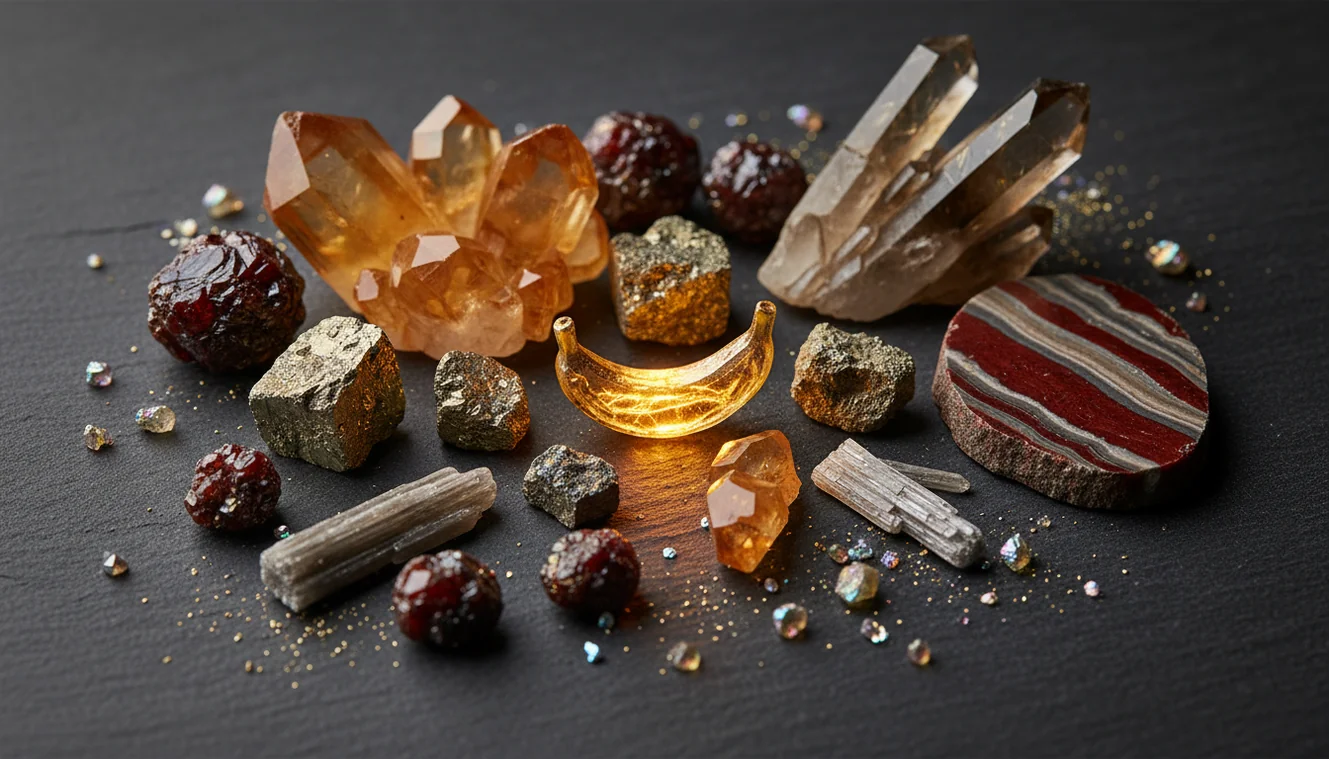
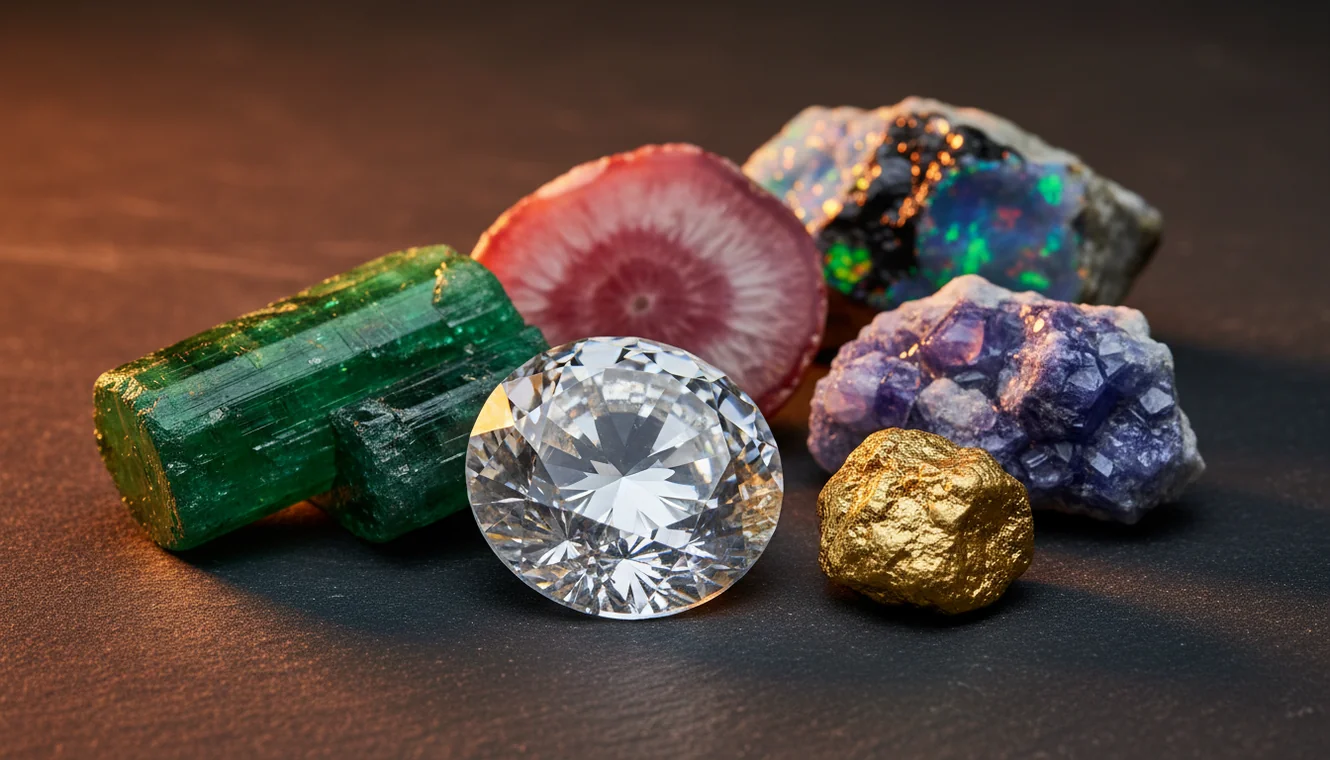
- Rare minerals are not ideal first specimens because many require specialized tests, locality knowledge, microscopy, fluorescence, or chemical analysis.
- Photo quality matters: glare, blur, harsh flash, wet surfaces, and no scale object can produce weak or misleading candidate matches.
- Value estimates should not be made from a beginner ID alone; price depends on authenticity, locality, size, damage, treatment, rarity, and market demand.
- Many rocks are mixtures, so one photo may identify a visible mineral grain while missing the full rock name or geologic setting.
- Hardness, streak, acid reaction, specific gravity, and cleavage angles cannot be measured directly from an image.
- Collecting rules vary by land ownership, park status, mine claim, beach regulation, and local law, so permission matters before taking specimens.
Common mistakes
- Beginners often buy rare or polished stones before learning common diagnostic traits from quartz, calcite, feldspar, and mica.
- Beginners often label a specimen from a photo without checking hardness, streak, cleavage, fracture, or magnetism.
- Beginners often confuse quartz and calcite because both can look pale, but quartz is harder and lacks calcite’s rhombohedral cleavage.
- Beginners often mistake hematite and magnetite by color alone instead of testing streak and magnetism.
- Beginners often ignore locality data, which makes later identification and collection records much weaker.
- Beginners often scratch visible crystal faces or polished specimens when a less noticeable test spot would reduce damage.
- Beginners often collect from private land, protected areas, road cuts, or beaches without checking permission and local rules.
Use Photo ID to Support a Beginner Rock and Mineral Collection
A photo-based identifier can help narrow common beginner specimens before you write a final label. Confirm each result with simple observations such as hardness, streak, cleavage, magnetism, grain size, and collection location.
Related Articles
Frequently Asked Questions
What rocks should beginners collect first?
Start with granite, basalt, sandstone, and limestone. These rocks teach the main textures beginners need: interlocking crystals, fine-grained volcanic fabric, clastic grains, bedding, and carbonate composition.
What minerals are easiest to identify?
Quartz, calcite, mica, hematite, and magnetite are good first minerals because each has a memorable diagnostic trait. Quartz is hard, calcite cleaves, mica splits into sheets, hematite streaks reddish brown, and magnetite is magnetic.
Is quartz good for beginners?
Yes, quartz is one of the best beginner minerals because it is common, durable, and easy to compare with look-alikes. It has Mohs hardness 7, glassy luster, no cleavage, and common conchoidal fracture.
How do I label my collection?
Write the specimen name, locality, date found or purchased, and two or three diagnostic properties. A useful label says why the ID is likely, such as “harder than glass, no cleavage, glassy luster.”
Do I need a streak plate?
A streak plate is helpful but not mandatory for the first few specimens. It becomes especially useful for iron-rich minerals such as hematite, where surface color can vary but streak is more consistent.
Can photos identify rocks accurately?
Photos can narrow a specimen to likely candidates when texture, color, habit, and matrix are visible. Final identification is stronger when you add hardness, streak, cleavage, magnetism, acid reaction, or locality.
Should beginners collect polished stones?
Polished stones are attractive, but they are not always the best learning specimens. A fresh or natural surface usually shows cleavage, grain size, weathering, and matrix more clearly.
How can I tell calcite from quartz?
Calcite is softer, scratches with a copper coin, and often shows rhombohedral cleavage. Quartz is harder than glass, lacks cleavage, and commonly breaks with curved conchoidal fracture.
Are valuable rocks beginner friendly?
Valuable specimens are not the best starting point because price depends on rarity, treatment, locality, damage, size, and market demand. Learn with common labeled examples first, then research value after the identity is well supported.