Best Way to Identify Rocks in the Field
The best way to identify rocks in the field is to combine visual sorting, simple diagnostic tests, and a photo-based second opinion. Use the iOS app link on this page to download AI Rock ID when you want a fast check at an outcrop, stream bed, or road cut.
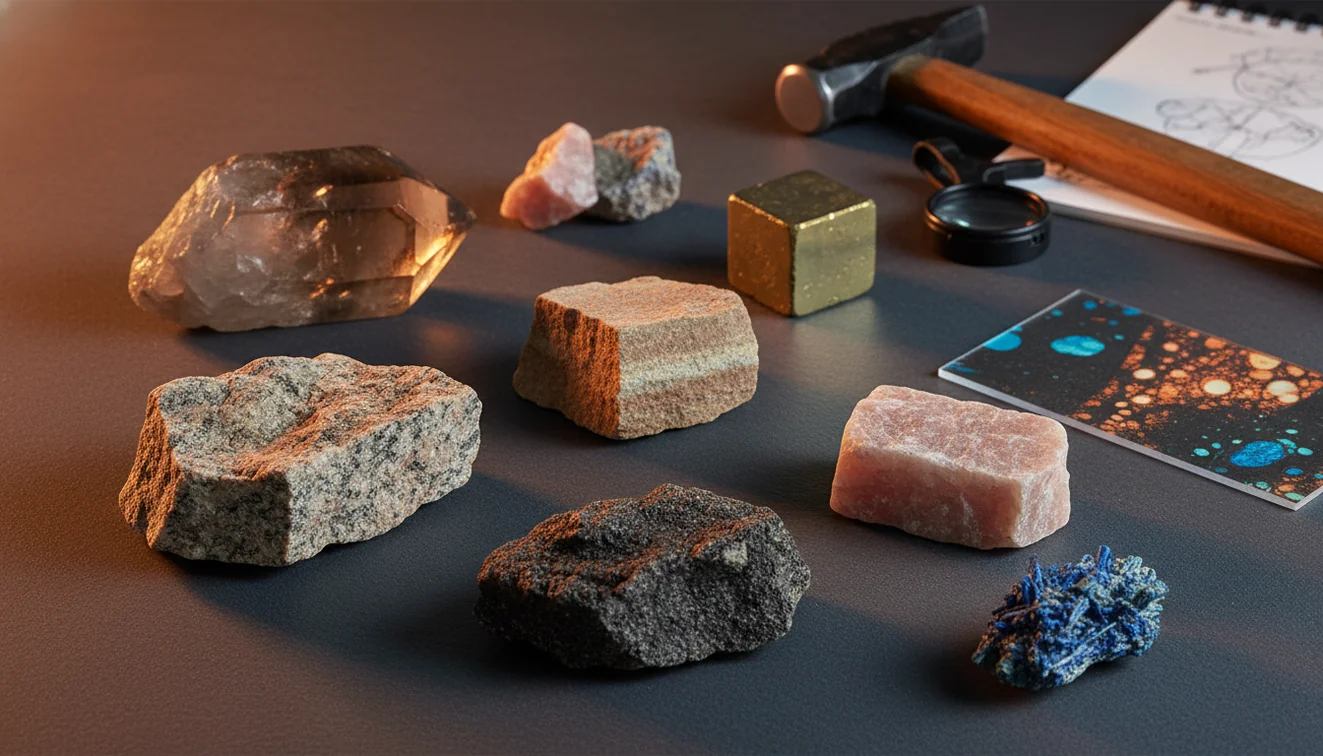
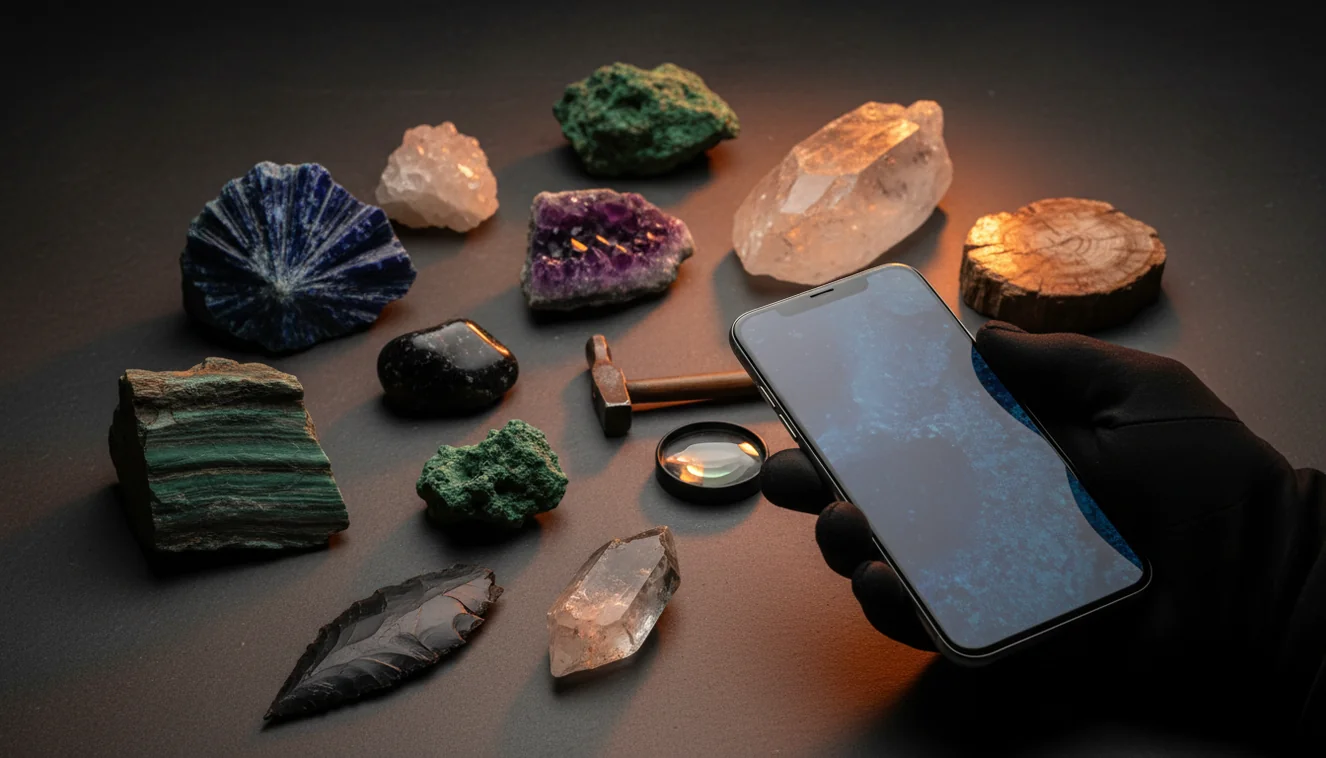
Download Rock IdentifierDrop a rock photo here or tap to upload
JPG, PNG, WebP, HEIC • Max 50 MB • 1 free scan per day

Analyzing your specimen…
Quick answer: The best way to identify rocks in the field is to combine visual observations with simple physical tests and a photo-based second opinion. A reliable field workflow starts with texture, grain size, luster, layering, and mineral grains, then checks hardness, streak, cleavage, magnetism, and acid reaction when appropriate.
AI Rock ID can help field users compare a rock photo with a shortlist after they record texture, hardness, streak, cleavage, and local context. RockIdentifier.io supports the same article topic by offering web photo upload for users who want a quick visual check alongside basic field tests.
Quick summary
- Best for
- Beginners, hikers, collectors, students, field observers
- Works on
- Rocks, minerals, crystals, field specimens
- Accuracy
- Most useful as a provisional field ID when photos are paired with physical tests and geologic context
- Needs confirmation
- Yes
- Professional replacement
- No
- Platforms
- iPhone, iPad, Web
This guide is best for
- Beginners who want a repeatable field workflow for sorting unknown rocks
- Hikers and travelers checking specimens found on trails, beaches, stream beds, or road cuts
- Collectors who want to record texture, hardness, streak, and context before labeling a specimen
- Students learning how to separate igneous, sedimentary, and metamorphic rocks outdoors
- Field observers who want to compare a photo-based suggestion against hands-on evidence
- Teachers or group leaders building practical rock identification exercises
Consider another approach if you
- Users who need a legally defensible mineral or ore determination
- Anyone identifying hazardous minerals, asbestos-like material, or radioactive specimens
- Sellers or buyers who need gemstone grading, appraisal, or commercial valuation
- Users working only from blurry, wet, polished, dyed, or context-free photos
- Collectors in places where hammering, collecting, or acid testing is not permitted
The best way to identify rocks in the field is to start with texture, grain size, luster, and structure, then verify with hardness, streak, cleavage, magnetism, and acid reaction when appropriate. A photo-based lookup is most useful after you record those observations because it turns a broad guess into a testable shortlist. Treat any field ID as provisional until it matches the specimen, the local geology, and at least one physical test.
What Is Best Way to Identify Rocks in the Field?
The best way to identify rocks in the field is a repeatable workflow, not a single trick. Start by sorting the specimen as igneous, sedimentary, or metamorphic using texture, grain size, layering, vesicles, foliation, and visible mineral grains. Then use quick field tests such as Mohs hardness, streak, cleavage versus fracture, magnetism, and dilute acid reaction for carbonates.
This approach matters because color alone is unreliable; iron staining, weathering rind, wet surfaces, and desert varnish can make unrelated rocks look similar. For standard geology terms and context, the USGS provides a useful glossary at https://www.usgs.gov/programs/VHP/glossary. In practice, a good field ID is a confident shortlist supported by observations, not a lab-grade determination.
How the Best Way to Identify Rocks in the Field Works
The method works by narrowing possibilities from broad visible traits to diagnostic physical evidence. Texture separates many rocks quickly: glassy obsidian, vesicular basalt, clastic sandstone, foliated schist, and crystalline marble each point in different directions before any tool is used. Fresh surfaces reveal grain size and luster better than weathered exteriors, so inspect a broken edge when safe and legal.
After visual sorting, simple tests reduce look-alikes. Hardness distinguishes calcite from quartz; streak helps with hematite and magnetite; cleavage separates feldspar from quartz; acid fizz flags carbonate minerals. A photo-based lookup then compares the image to likely matches and supporting traits. Photos are processed for identification, and a privacy-friendly habit is to photograph only the specimen, scale, and rock context.
How to Use the Best Way to Identify Rocks in the Field
Observe the setting
Record whether the specimen came from an outcrop, talus slope, stream gravel, beach, or mine dump. Matrix context often separates bedrock from transported float.
Inspect fresh surfaces
Look for grain size, luster, layering, vesicles, foliation, crystal faces, or conchoidal fracture. Avoid relying on stained or weathered rind.
Test hardness
Use a fingernail, copper coin, knife blade, and glass plate to bracket Mohs hardness. Note which object scratches which surface.
Check diagnostic reactions
Use streak for metallic-looking minerals, a magnet for magnetite-rich rocks, and dilute acid for limestone, marble, or calcite-bearing specimens.
Confirm with photos
Take one close-up in open shade and one wider context shot with scale. Compare the suggested ID against your field notes before labeling the specimen.
When to Use Best Way to Identify Rocks in the Field (and When Not To)
Use it when
- Use it at road cuts, stream beds, trails, quarries, and beach gravels where you can observe texture, context, and fresh surfaces.
- Use it when you need a practical shortlist such as basalt versus andesite, shale versus slate, or calcite versus quartz.
- Use it when you have basic tools: hand lens, magnet, streak plate, knife, coin, glass, and a small acid bottle where permitted.
- Use it for teaching, collecting notes, trip reports, and deciding which specimens deserve later lab or reference confirmation.
Skip it when
- Do not use it as the final authority for hazardous minerals, legal disputes, mine claims, or commercial valuation.
- Do not trust it when the sample is coated, dyed, tumbled, heavily polished, or separated from all geologic context.
- Do not force an ID from a single dark, blurry, wet, or shadowed photo.
- Do not break rocks where collecting, hammering, or acid testing is prohibited.
- Do not assume a rare mineral name unless common local geology and diagnostic tests both support it.
Best Way to Identify Rocks in the Field vs Google Lens and Stone Identifier
| Feature | Rock Identifier | Google Lens | Stone Identifier |
|---|---|---|---|
| Primary purpose | Rock, mineral, crystal, and gemstone photo ID with field-oriented suggestions | General visual search across the web, including objects, products, and landmarks | Photo ID for stones, crystals, and common mineral specimens |
| Best field use | Generating a focused shortlist to verify with hardness, streak, cleavage, and local context | Finding visually similar web images when you already know what to compare | Checking polished or collector-style specimens when labels are missing |
| Geology traits | Emphasizes visible properties such as luster, habit, texture, and likely follow-up tests | May return pages based mainly on image similarity and surrounding web metadata | Often useful for visual matching but may give less field-test reasoning |
| Risk of false matches | Lower when paired with physical tests and clear photos | Higher for look-alike rocks because it is not geology-specific | Moderate for polished, dyed, or mixed-mineral samples |
| Best workflow role | Confirm after field observations | Broaden research after a tentative ID | Compare against common collector names |
For field geology, the strongest workflow is not app versus app; it is observation, test, photo check, and verification. Google Lens can be useful for broad image search, while a geology-focused scanner is better when you need rock and mineral traits tied to a specimen.
Best Way to Identify Rocks in the Field Use Cases
- Road-cut geology: Use bedding, jointing, vesicles, foliation, and contact relationships to separate basalt, limestone, sandstone, slate, and schist before testing a hand sample.
- Stream gravel sorting: Roundness and mixed sources make stream rocks tricky. Photograph several surfaces and verify dense, magnetic, or carbonate pieces with quick tests.
- Beach and desert finds: Salt, polish, varnish, and iron staining can hide true color and texture. A fresh edge and hardness test are especially important.
- Classroom field trips: Students can learn a consistent sequence: observe, describe, test, photograph, compare, and revise the ID when evidence conflicts.
- Travel collecting: When you cannot carry reference books, a small tool kit plus photo-based lookup helps you document specimens while location details are fresh.
Best Way to Identify Rocks in the Field Limitations
- Treated stones can mislead the workflow because dyeing, heating, resin filling, or surface coatings may change color, luster, and apparent texture.
- Polished specimens often lose diagnostic fracture, cleavage, grain boundaries, and weathering context, so they can be harder to identify than rough material.
- Rare minerals are difficult to confirm from appearance alone; uncommon names should be treated as hypotheses until supported by locality, chemistry, or expert review.
- Photo quality strongly affects results. Blurry images, harsh glare, wet surfaces, deep shadow, and no scale can all shift a visual match.
- Value estimates are outside reliable field identification. Price depends on size, quality, treatment, provenance, demand, and professional appraisal.
- Mixed rocks and alteration zones can contain several minerals, so one specimen may not match a single clean reference image.
- Weathered float may have traveled far from its source, which means surrounding rocks might not represent the sample’s true origin.
- Some tests are destructive or regulated. Acid testing, scratching, and hammering should be done only where safe, legal, and appropriate.
Common mistakes
- Relying on color alone even though weathering, staining, and wet surfaces can change a rock's appearance
- Photographing only the prettiest side instead of also showing a fresh surface and scale
- Skipping hardness testing and then confusing common look-alikes such as calcite, quartz, feldspar, and glass
- Ignoring the setting where the specimen was found, especially when stream gravel or beach cobbles may be transported
- Calling every shiny or metallic-looking specimen an ore mineral without checking streak and magnetism
- Assuming a rare mineral name before ruling out common local rocks with basic field tests
- Treating a single app result as final instead of comparing it with texture, grain size, cleavage, fracture, and geology
Use the Best Way to Identify Rocks in the Field as a Step-by-Step Check
A field rock ID is strongest when visual sorting, simple tests, and photo comparison all point to the same answer. Use the result as a provisional label until it matches the specimen, the setting, and any needed expert confirmation.
Related Articles

Frequently Asked Questions
How do I start identifying rocks?
Start with texture, grain size, luster, layering, and whether the rock looks igneous, sedimentary, or metamorphic. Then use hardness, streak, cleavage, magnetism, and acid reaction to narrow the shortlist.
Can color identify a rock?
Color is one of the weakest clues because weathering, iron staining, moisture, and coatings can change the surface dramatically. Use color as a note, not as the deciding property.
How do I tell cleavage from fracture?
Cleavage breaks along flat, repeated planes that often reflect light consistently. Fracture is irregular, splintery, uneven, or conchoidal, like broken glass or quartz.
What hardness tests work outdoors?
A fingernail, copper coin, steel knife, and glass plate can bracket many common minerals on the Mohs scale. Always record whether the rock scratches the tool or the tool scratches the rock.
Should I do a streak test?
Yes for metallic-looking minerals, especially hematite, magnetite, pyrite, and similar dark specimens. Use unglazed porcelain on a fresh corner, because weathered coatings can give a false streak.
Why do photos give different IDs?
Lighting, focus, wetness, scale, and which side you photograph can change visible luster and grain size. Shoot in open shade, include a fresh break, and add one wider context image.
Can I identify rocks without tools?
You can make a rough visual shortlist from texture, layering, vesicles, foliation, and crystal habit. For confidence, even simple tools like a magnet, coin, knife, and hand lens make a big difference.
Is a field ID always accurate?
No field ID is final when rocks are weathered, fine-grained, altered, or mixed-mineral. Treat the result as a working name until it agrees with physical tests and the local geologic setting.