rock identifier app vs field guide
A rock identifier app vs field guide workflow gives you speed first and evidence second. Use photo ID to narrow the candidate list, then confirm with streak, Mohs hardness, cleavage, fracture, magnetism, and geologic context.
Download Rock IdentifierDrop a rock photo here or tap to upload
JPG, PNG, WebP, HEIC • Max 50 MB • 1 free scan per day

Analyzing your specimen…
Quick answer: A rock identifier app vs field guide workflow uses photo recognition to narrow possible rock or mineral names, then uses field-guide tests to confirm or reject those candidates. The app is useful for speed, while the field guide is better for diagnostic evidence such as streak, hardness, cleavage, fracture, magnetism, and acid reaction.
AI Rock ID supports the rock identifier app vs field guide workflow by providing photo-based candidate names that can be checked against physical properties. RockIdentifier.io lets users upload a specimen photo on the web as a first step before confirming the result with a field guide or diagnostic tests.
Quick summary
- Best for
- Beginners, collectors, hikers, students, field hobbyists
- Works on
- Rocks, minerals, crystals, gemstones, common field specimens
- Accuracy
- Useful for candidate identification, but final accuracy depends on photo quality and physical confirmation tests.
- Needs confirmation
- Yes
- Professional replacement
- No
- Platforms
- iPhone, iPad, Web
This guide is best for
- Beginners who want to compare app-based rock identification with traditional field guide methods
- Collectors sorting mixed rocks, minerals, crystals, or beach stones before doing detailed tests
- Hikers and field hobbyists who need a fast shortlist while documenting finds outdoors
- Students learning why hardness, streak, cleavage, and luster matter more than color alone
- Rockhounds checking common look-alikes such as quartz, calcite, feldspar, jasper, and hematite
- Anyone building a repeatable workflow for recording photos, locality notes, and test results
Consider another approach if you
- Users who need certified gemological identification, appraisal, or value estimates
- People identifying rare minerals, ore specimens, or altered rocks from one photo only
- Cases that require lab methods such as thin section petrography, assay work, or X-ray diffraction
- Users who cannot perform basic confirmation tests when the candidate minerals look similar
A rock identifier app vs field guide decision is not app or book; it is fast candidate generation versus diagnostic verification. A photo-based lookup is best for sorting unknown specimens quickly, while a field guide is better for confirming minerals with measurable properties.
What Is rock identifier app vs field guide?
rock identifier app vs field guide means comparing AI photo identification with traditional guide-based mineral and rock keys. The app approach recognizes visual patterns such as color, luster, habit, grain size, and matrix, while a field guide pushes you toward diagnostic tests like streak, Mohs hardness, cleavage, fracture, and acid reaction.
The practical answer is to use both. Rock Identifier is useful when you need a quick shortlist from a photo, especially if you use the iOS app link on this page while documenting finds outdoors. Photos are processed for ID in a privacy-friendly way, and property terms can be cross-checked with references such as https://www.mindat.org/ before you make a final call.
How rock identifier app vs field guide Works
A rock identifier app vs field guide workflow works by separating recognition from confirmation. The scanner first analyzes a specimen photo for visible cues: crystal habit, surface texture, color zoning, luster, weathering rind, grain boundaries, and any surrounding matrix. It then returns likely matches and look-alikes, not a laboratory-grade conclusion.
The field guide stage tests those candidates against observable properties. If the photo suggests calcite, you check acid reaction, rhombohedral cleavage, and hardness near 3. If it suggests hematite, you test red-brown streak and weak to absent magnetism. The mechanism is strongest when the photo narrows the search space and the guide verifies the physics and chemistry.
How to Use a rock identifier app vs field guide Workflow
Photograph the specimen dry
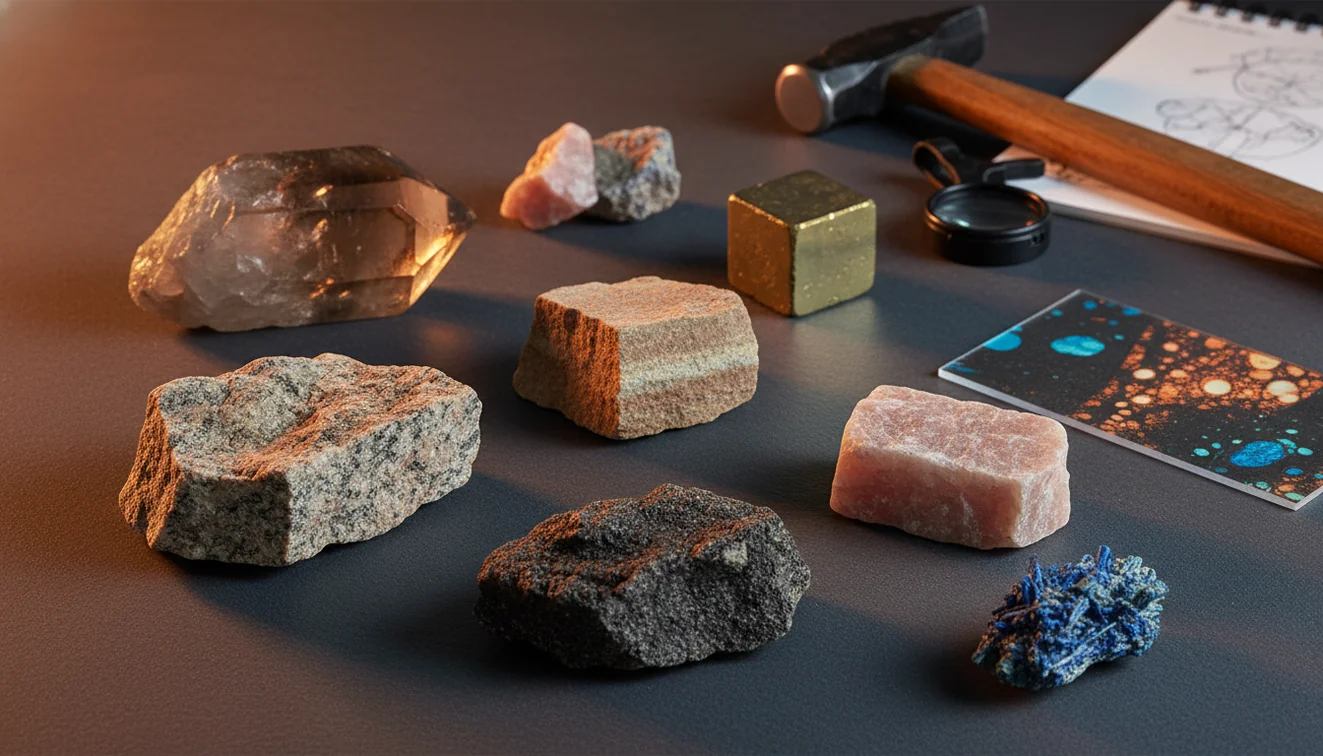
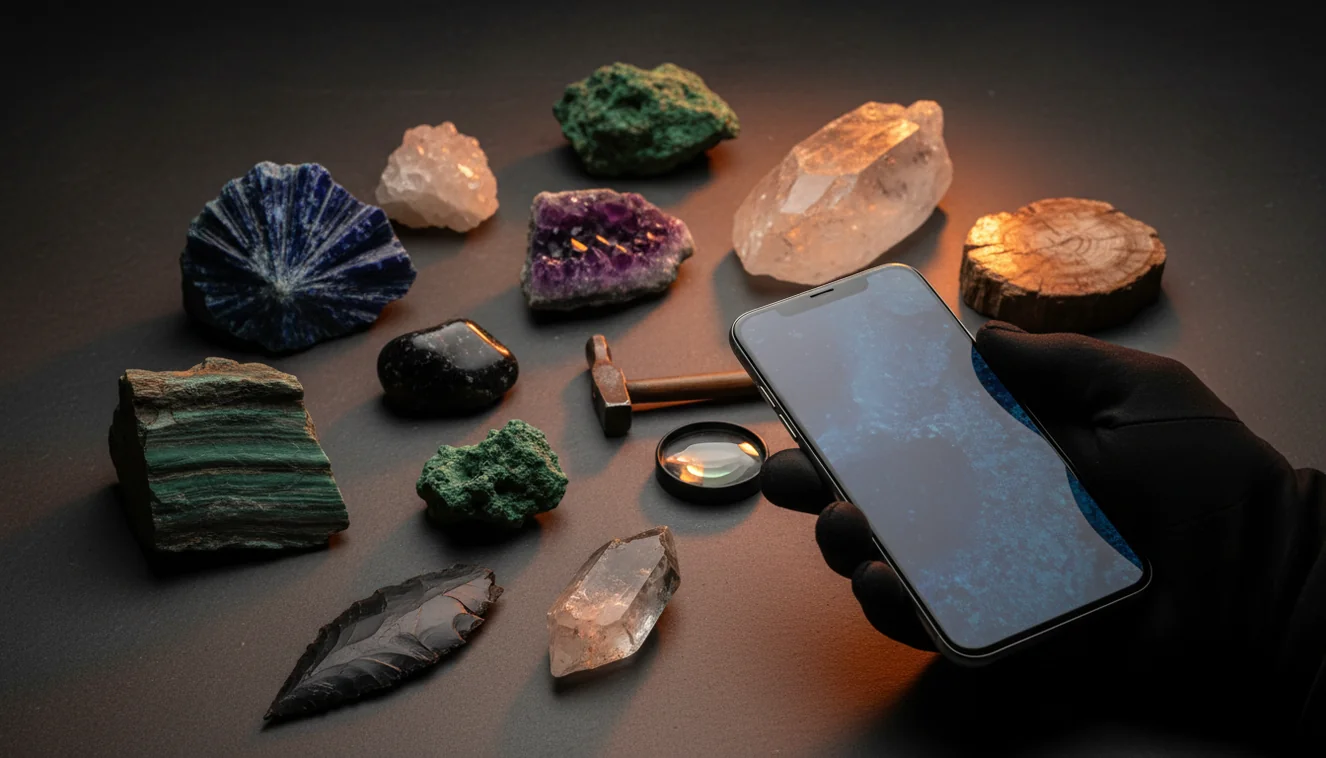
Wipe dust or water from the surface, place the rock in shade, and take one whole-specimen image plus a close-up of grains, crystals, or bands.
Run the photo-based lookup
Use the app to generate a short list of likely rock, mineral, crystal, or gemstone candidates. Read the listed hardness, luster, cleavage, and common look-alikes.
Test the leading candidates
Check streak, glass scratch response, magnetism, cleavage versus fracture, and dilute acid reaction when appropriate. Compare each result with your guide key.
Reject mismatched IDs
If the candidate says vitreous quartz but your specimen has perfect cleavage and reacts with acid, discard that match and test the next option.
Record the final evidence
Save the best name with photos, locality, matrix notes, and test results so you can revisit uncertain specimens later.
When to Use rock identifier app vs field guide (and When Not To)
Use it when
- Use the app first when you have an unknown common specimen and need a fast shortlist before opening a dense key.
- Use the app in the field when you are sorting many creek cobbles, beach stones, crystals, or mine-dump finds.
- Use a field guide next when the candidate minerals differ by hardness, streak, cleavage angle, or acid reaction.
- Use both methods when look-alikes share color, such as quartz, calcite, feldspar, chalcedony, and quartzite.
- Use a guide heavily when the specimen includes matrix minerals that provide geologic context.
Skip it when
- Do not rely on a single photo for rare minerals, altered surfaces, ore specimens, or fine-grained rocks.
- Do not use the workflow as a substitute for gemological testing, assay work, thin section petrography, or X-ray diffraction.
- Do not treat an app result as a value estimate or proof that a stone is natural, treated, synthetic, or collectible-grade.
- Do not skip simple tests when the ID depends on properties the camera cannot see.
rock identifier app vs field guide vs Google Lens and Stone Identifier
| Feature | Rock Identifier | Google Lens | Stone Identifier |
|---|---|---|---|
| Best role | Rock, crystal, mineral, and gemstone candidate ID from specimen photos | General visual search across the web | Consumer stone and crystal photo matching |
| Geology focus | Uses rock and mineral properties in the result context | Can return visually similar objects, jewelry, décor, or unrelated images | Usually focused on common crystals and polished stones |
| Field guide replacement? | Good front-end for candidates, not a replacement for diagnostic tests | Not designed as a mineral key | Helpful for browsing, but still needs hardness, streak, and cleavage checks |
| Look-alike handling | Shows likely matches that should be verified with properties | Often depends on image similarity and page rankings | Varies by specimen type and photo quality |
| Best for | Quick unknown-specimen sorting before guide confirmation | Finding visually similar web pages or products | Casual crystal and stone identification |
The strongest workflow is not choosing one tool forever. Use the dedicated scanner for geology-specific candidates, use Google Lens only as a broad visual search backup, and use a field guide when you need defensible mineral evidence.
rock identifier app vs field guide Use Cases
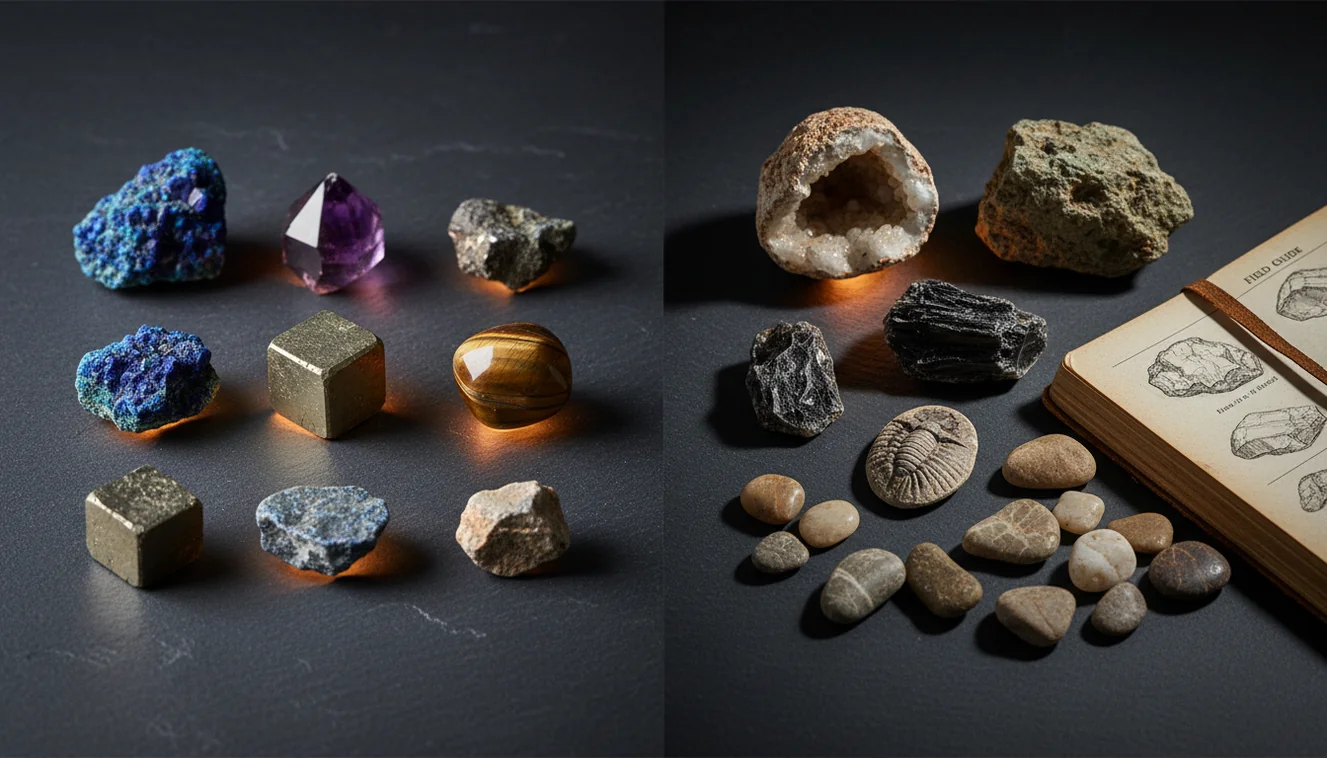
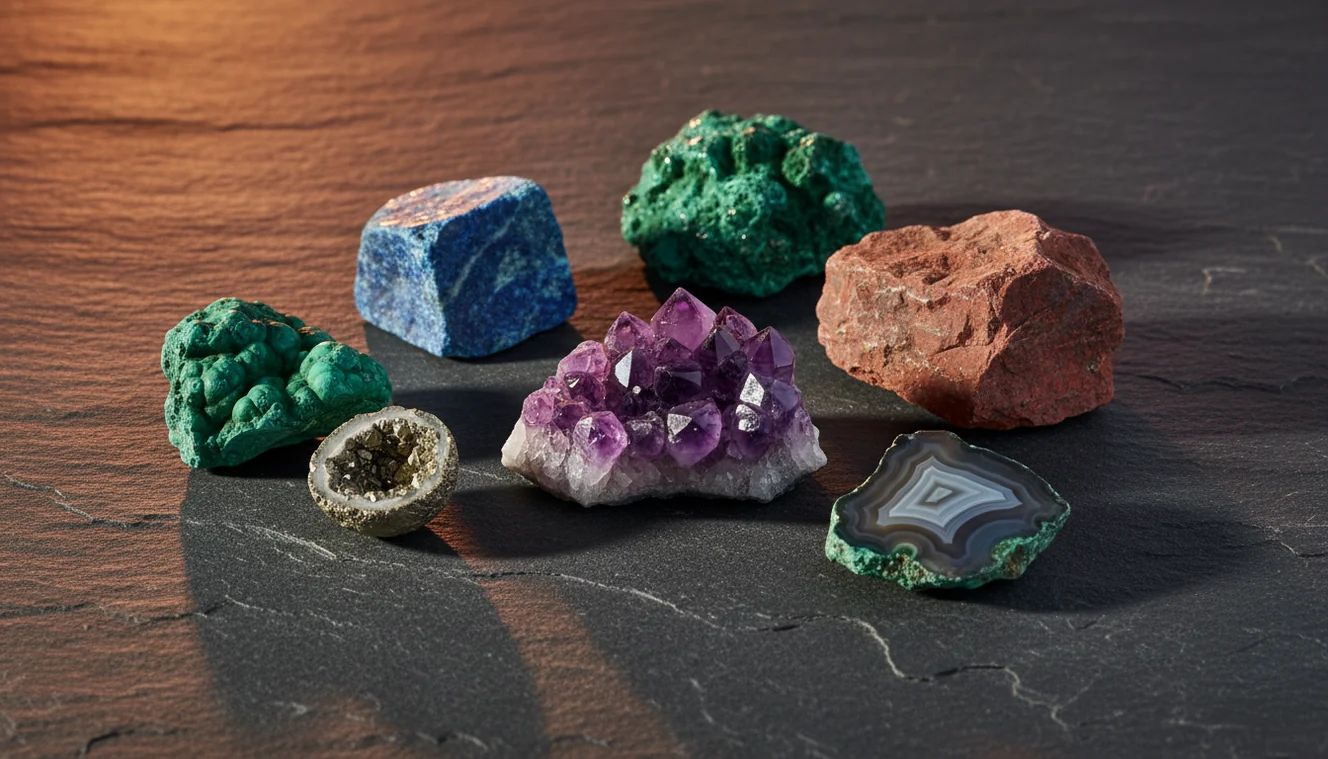
- Sorting field finds quickly: When you return from a trail, beach, quarry, or creek with many specimens, the app helps group them into probable quartz, feldspar, basalt, jasper, calcite, or slag candidates before detailed testing.
- Teaching mineral properties: Students can compare a photo suggestion with field guide traits, then learn why hardness, streak, cleavage, and luster are more reliable than color alone.
- Checking look-alikes: A guide is valuable when candidates overlap visually. Chalcedony and quartzite, calcite and aragonite, hematite and magnetite, or serpentine and jade-like stones need property checks.
- Documenting a collection: Collectors can attach photos, tentative IDs, locality notes, and follow-up test results to specimens so uncertain stones are not forgotten in a box.
- Planning follow-up tests: A candidate list tells you which tests matter. If carbonate minerals are plausible, acid reaction becomes useful; if magnetite is plausible, magnetism becomes a fast discriminator.
rock identifier app vs field guide Limitations
- Treated stones can fool both photos and casual guide checks because dyes, heat treatment, coatings, and resin filling may change color, transparency, and surface luster.
- Polished specimens are harder to identify than fresh breaks because tumbling removes crystal faces, cleavage clues, weathering texture, and natural matrix context.
- Rare minerals may not be recognized confidently from a phone image, especially if they resemble common species or occur as tiny grains in mixed matrix.
- Photo quality matters: harsh sunlight, wet surfaces, blur, shadows, scale distortion, and busy backgrounds can shift apparent color and luster.
- Value estimates are outside reliable photo identification. Market value depends on size, locality, treatment, authenticity, clarity, demand, and professional grading where relevant.
- Mixed rocks can produce misleading results when several minerals appear in one frame, such as granite, gneiss, ore samples, breccia, or altered volcanic rocks.
- A field guide also has limits because it assumes you can perform tests correctly and interpret terms such as conchoidal fracture, vitreous luster, basal cleavage, and specific gravity.
Common mistakes
- Treating the first app result as a final identification without checking physical properties.
- Using color alone to separate minerals that can occur in many colors, such as quartz, calcite, or feldspar.
- Photographing a wet or dusty rock and then comparing the result to dry field guide descriptions.
- Skipping streak and hardness tests when the leading candidates are visually similar.
- Ignoring cleavage and fracture even though they often separate look-alike minerals better than photos do.
- Using a general visual search result as if it were a mineral key.
- Failing to record locality, matrix, and test results, which makes uncertain IDs difficult to review later.
Use a rock identifier app vs field guide workflow carefully
A rock identifier app vs field guide approach works best when photo ID narrows the search and field tests provide evidence. Use app results as candidate names, then confirm them with observable properties before labeling a specimen.
Related Articles

Frequently Asked Questions
Is an app accurate enough?
It can be accurate for common, visually distinctive specimens, especially when the photo shows texture, luster, and matrix. Treat the result as a candidate list, then confirm with streak, hardness, cleavage, or acid reaction.
When is a field guide better?
A field guide is better when look-alikes share the same color or surface appearance. It forces you to test diagnostic properties rather than trusting one image.
How many photos should I take?
Take at least three photos: one whole specimen, one close-up of grains or crystal faces, and one angle showing matrix or fracture. Dry, shaded photos usually work better than wet, reflective ones.
What tests should I do?
Start with streak, Mohs hardness, cleavage versus fracture, magnetism, and acid reaction for carbonates. These quick checks separate many common minerals that look similar in photos.
Can photos identify every rock?
No. Fine-grained rocks, weathered surfaces, mixed specimens, and rare minerals often need hand tests or lab methods. A photo is a strong starting point, not final proof.
Are polished stones harder to identify?
Yes. Polishing removes many natural clues, including crystal faces, fracture texture, weathering rind, and matrix. Color and translucency may still help, but confirmation is weaker.
Should I trust color alone?
No. Color changes with staining, lighting, wetness, impurities, and weathering. Luster, hardness, streak, cleavage, habit, and setting usually carry more diagnostic weight.
Can a guide work without tools?
Only partly. Without a streak plate, hardness points, magnet, hand lens, or acid bottle, a guide often becomes simple photo comparison. Basic tools make the guide much more reliable.
What is the best workflow?
Use the app first to narrow the possibilities, then use a field guide and simple tests to confirm or reject each candidate. That workflow is faster than a guide alone and safer than trusting photo ID alone.