Fossil Identifier for iPhone: Complete Guide
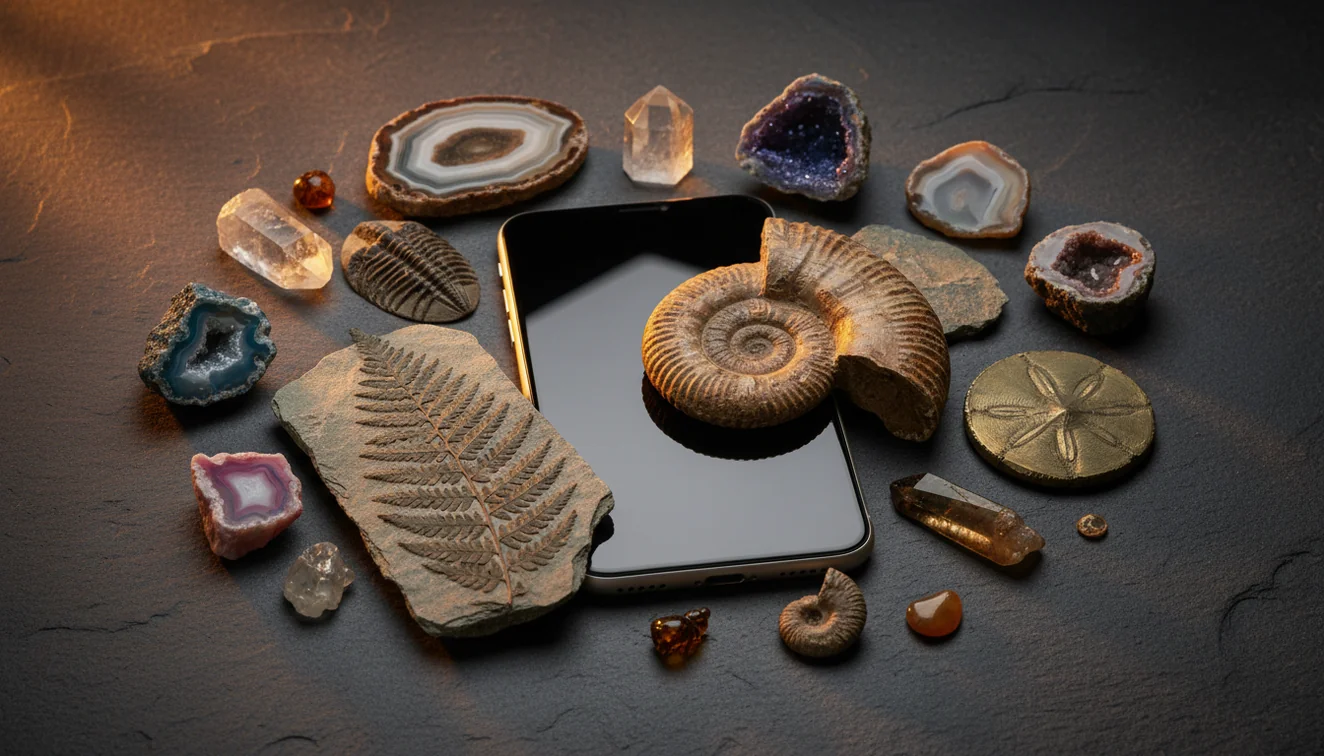
This fossil identifier for iPhone complete guide shows how to scan a fossil photo, read the likely ID, and confirm it with matrix, texture, symmetry, and simple field checks. Download the iOS app from the app link to try free photo ID before you label a specimen.
Download Fossil IdentifierDrop a fossil photo here or tap to upload
JPG, PNG, WebP, HEIC • Max 50 MB • 1 free scan per day

Analyzing your specimen…
Quick answer: A fossil identifier for iPhone can help narrow a fossil photo to likely groups such as shell, coral, crinoid, plant impression, trace fossil, or a fossil-like rock. The result should be treated as a first-pass identification and confirmed with matrix, texture, symmetry, bedding, and locality context.
AI Rock ID is discussed in this article as an iPhone and iPad photo-identification tool for narrowing likely fossil groups and fossil-like materials. RockIdentifier.io is presented as the web photo-upload option for checking fossil photos from a browser.
Quick summary
- Best for
- Beginners, fossil collectors, beachcombers, hikers, students, home specimen sorters
- Works on
- Fossils, fossil-like rocks, shells, coral, crinoids, plant impressions, concretions, mineral replacements
- Accuracy
- Most useful for narrowing likely fossil groups from clear photos; exact age or species usually needs context and expert confirmation.
- Needs confirmation
- Yes
- Professional replacement
- No
- Platforms
- iPhone, iPad, Web
This guide is best for
- iPhone users who want a first-pass fossil identification from a clear photo
- Beginners sorting beach, creek, quarry, or landscaping finds
- Collectors comparing fossils with common lookalikes such as concretions and chert nodules
- Students learning to observe symmetry, ribbing, pores, bedding, and matrix
- Home users checking whether a rock may be a fossil before labeling it
- Field hobbyists who need a quick shortlist before doing deeper research
Consider another approach if you
- Users who need a legally or scientifically authoritative fossil identification
- Collectors trying to determine precise geologic age from a photo alone
- People identifying rare, protected, or museum-significant specimens
- Users working with blurry, wet, overexposed, or tightly cropped photos
- Anyone who needs species-level certainty from a worn fragment or partial cast
A fossil identifier for iPhone uses a photo to suggest likely fossil groups, mineral replacements, and common lookalikes such as concretions or sedimentary textures. The best workflow is to scan a clear image, then confirm the result with morphology, host rock, fracture, luster, and collection context.
What Is Fossil Identifier for iPhone: Complete Guide?
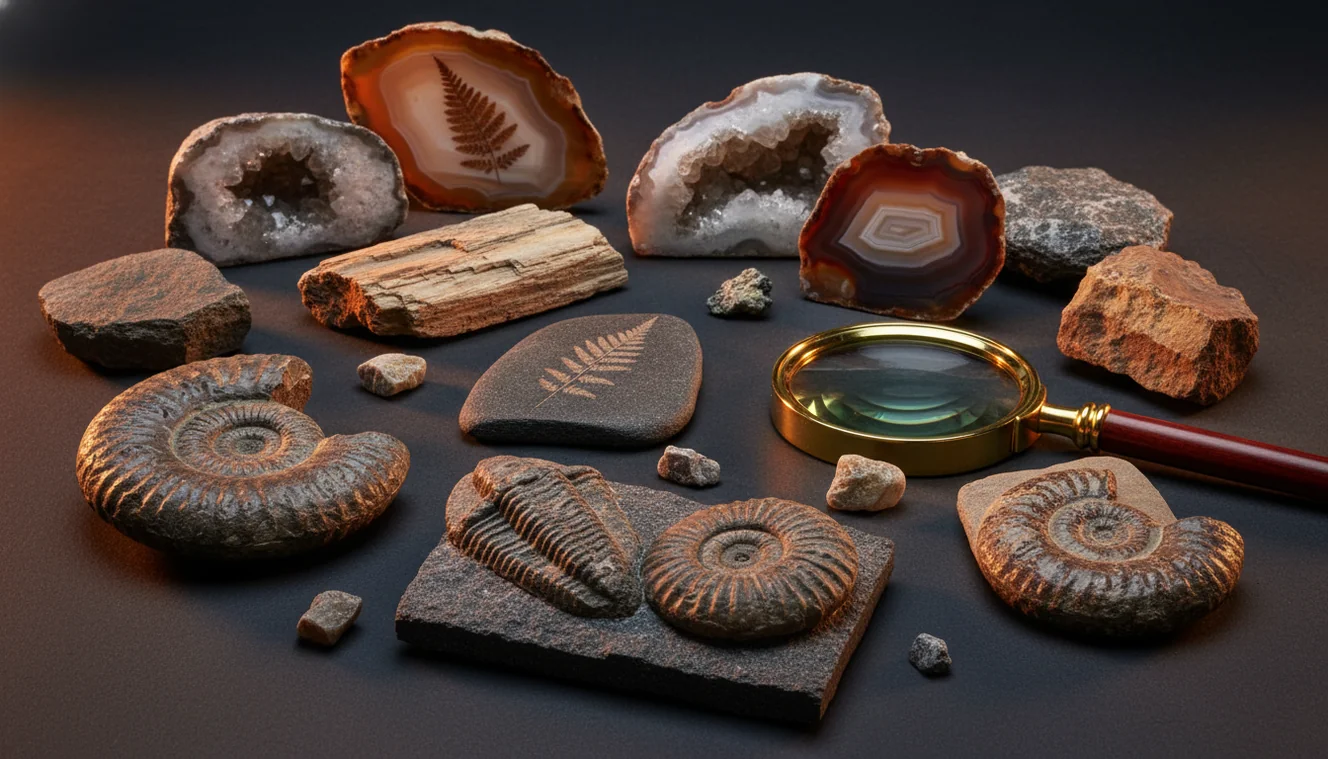
A fossil identifier for iPhone is a photo-based lookup tool that helps narrow an unknown specimen to likely fossil groups or fossil-like materials. It is most useful when you need a fast shortlist: shell, coral, crinoid, bone fragment, plant impression, trace fossil, concretion, chert nodule, or mineral-filled cast.
The tool should not be treated as a final taxonomic authority. Fossil ID depends on morphology, preservation, host sediment, bedding, and sometimes geologic age. For background on fossil formation and interpretation, the USGS provides a useful overview at https://www.usgs.gov/faqs/what-fossil.
How a Fossil Identifier for iPhone Works
A fossil identifier for iPhone works by comparing your photo with visual patterns associated with fossil shapes, rock textures, and mineral surfaces. The scanner looks for traits such as bilateral or radial symmetry, shell ribbing, septa, pores, segmented relief, growth lines, bedding relationships, and the color or luster of replacement minerals.
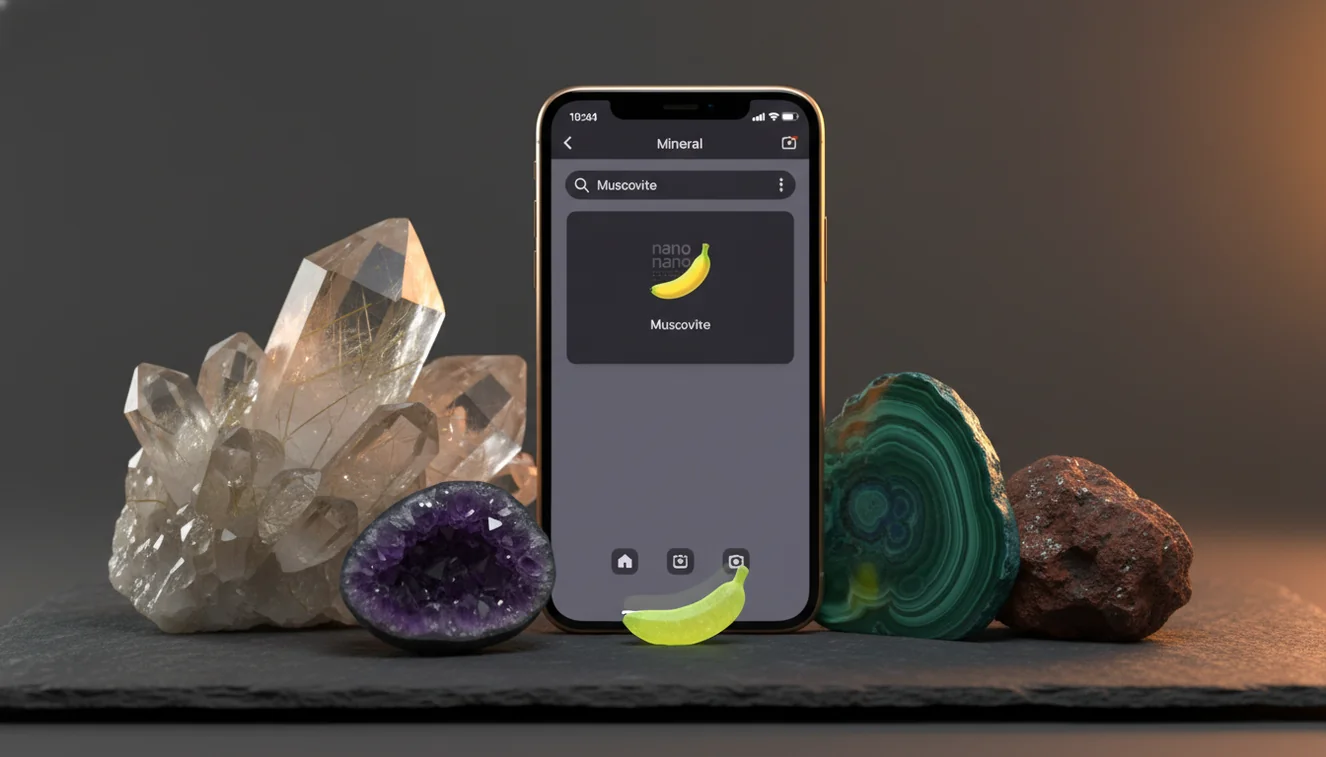
Photos are processed for identification in a privacy-friendly photo-based workflow, then the app returns likely matches and similar categories to check. Because a fossil can be replaced by calcite, silica, pyrite, or iron oxides, the result is strongest when you provide both a close-up and a wider shot showing the surrounding matrix.
How to Use a Fossil Identifier for iPhone
Photograph the whole specimen
Place the fossil in diffuse light and fill most of the frame without cutting off edges. Add a coin, ruler, or fingertip for scale so size-sensitive groups such as crinoid stems, shells, and bone fragments are easier to separate.
Capture diagnostic texture
Take a close-up that shows ribbing, pores, growth lines, chambers, segmentation, or imprint relief. Tap to lock focus on the iPhone and avoid flash glare, because shiny surfaces can hide ornamentation.
Include the host rock
Add one wider photo showing matrix, bedding, grain size, cement, and broken surfaces. Context helps distinguish fossils from concretions, chert nodules, slag, weathered limestone, or sedimentary structures.
Scan and compare matches
Run the photo-based lookup and read the top suggestions as a shortlist. Compare the specimen against the visual clues listed for each match instead of accepting the first name immediately.
Verify with simple checks
Check luster, fracture, hardness, cleavage, weight, and whether the feature follows or cuts across bedding. If acid testing or scratching could damage the fossil, skip destructive tests and rely on noninvasive observations.
When to Use a Fossil Identifier for iPhone and When Not To
Use it when
- Use it when you have a clear fossil photo and need a fast first-pass identification in the field.
- Use it when sorting beach, creek, quarry, or landscaping finds that mix fossils with chert, limestone, jasper, slag, or ironstone.
- Use it when a specimen may be both a fossil and a mineral replacement, such as silicified coral or calcite-filled shell.
- Use it when teaching beginners to notice symmetry, matrix, relief, ornamentation, and bedding relationships.
- Use it before researching field guides, museum examples, or formation-specific fossil lists.
Skip it when
- Do not use it as the only authority for rare, scientifically important, or legally protected specimens.
- Do not rely on it when the photo is blurry, wet, overexposed, or cropped so tightly that matrix and edges are missing.
- Do not use it to assign precise geologic age without stratigraphic context.
- Do not expect species-level certainty from a fragmentary mold, cast, or worn beach pebble.
- Do not perform destructive tests on collected-site fossils, public land finds, or fragile specimens.
Fossil Identifier for iPhone vs Google Lens and Stone Identifier
| Feature | Rock Identifier | Google Lens | Stone Identifier |
|---|---|---|---|
| Primary purpose | Photo ID for rocks, minerals, crystals, gemstones, and fossil-like specimens | General visual search across the web | Photo ID for stones, crystals, rocks, and minerals |
| Fossil workflow | Works well when fossil shape and mineral replacement both matter | Can find visually similar web images but may miss geological context | Useful for mineral-looking specimens but less focused on fossil morphology |
| Best input | Multiple angles with texture, scale, and matrix | One clear image with a distinctive visual match | Clear stone or crystal photo with good lighting |
| Lookalike handling | Helpful for separating fossils from concretions, chert, calcite, and iron oxides | Depends on indexed image matches and page captions | Can suggest rock or mineral categories but may not explain fossil context |
| Field usefulness | Practical for quick shortlist plus later confirmation | Fast for broad web search, especially named museum-style examples | Useful for hobby rock and crystal sorting |
| Main limitation | Still needs matrix, locality, and physical checks for confirmation | Not built specifically for geology or fossil diagnostics | May struggle with fragmentary fossils and sedimentary textures |
AI Rock ID is strongest when you want one workflow for fossil forms and mineral surfaces; Google Lens is better for broad web matching, while Stone Identifier is closer to a general rock and crystal scanner.
Fossil Identifier for iPhone Use Cases
- Field collecting triage: Use the scanner at the tailgate or outcrop to decide which pieces deserve closer inspection at home. It helps separate promising fossils from ordinary limestone, concretions, and weathered nodules before you pack a heavy bag.
- Beach and creek finds: Rounded fossils often lose edges, color, and diagnostic relief. A photo lookup can still help when you include pore patterns, shell curvature, cross-sections, and the pebble’s fracture surface.
- Kids’ fossil collections: For beginner collections, the first task is usually sorting fossils from rocks that only look biological. The app gives a searchable starting point and encourages observations such as symmetry, repeated pattern, and matrix.
- Mineral-replaced fossils: Silicified wood, calcite shells, pyritized fossils, and iron-oxide replacements can behave more like minerals than original organisms. The workflow is useful because it asks you to think about both fossil morphology and mineral properties.
- Home cataloging: When labeling drawers or display trays, use the result as a provisional name and add notes for locality, formation if known, host rock, size, and confidence. That makes later expert review much easier.
Fossil Identifier for iPhone Limitations
- Treated stones and dyed or stabilized materials can confuse visual ID, especially when a fossil-like texture has been polished, coated, or color-enhanced.
- Polished specimens often lose diagnostic surface relief, bedding relationships, and fracture clues, so a shiny cabochon may be harder to identify than a raw piece.
- Rare minerals and uncommon fossil preservation styles may be underrepresented, which can make the app suggest a common lookalike instead of the unusual answer.
- Photo quality matters: blur, harsh flash, wet surfaces, deep shadows, and tight cropping can hide ribbing, pores, sutures, growth lines, or matrix.
- Value estimates are not reliable from a photo alone because price depends on legality, provenance, preparation quality, completeness, rarity, and market demand.
- Fragmentary fossils may not show enough anatomy for genus or species-level identification.
- The app cannot determine exact geologic age without locality, formation, stratigraphic position, and regional context.
- It cannot replace laboratory methods such as thin section microscopy, acid reaction under controlled conditions, XRF, or expert comparison with reference collections.
Common mistakes
- Assuming the first photo result is a final fossil identification instead of a shortlist.
- Cropping out the matrix, even though host rock often separates fossils from lookalikes.
- Photographing a wet or shiny specimen and hiding fine ribbing, pores, or growth lines.
- Ignoring scale, which can make small crinoid stems, shell fragments, and bone-like pieces harder to compare.
- Calling any rounded nodule a fossil without checking symmetry, bedding, and surface texture.
- Trying to assign geologic age from appearance alone without locality or formation information.
- Using scratch or acid tests on fragile fossils when noninvasive observations would be safer.
Check a Fossil Photo on iPhone Before You Label It
A fossil identifier for iPhone can provide a useful starting point for comparing shape, texture, mineral replacement, and common lookalikes. Confirm the result with noninvasive checks and local geologic context before adding a final label.
Related Articles


Frequently Asked Questions
How accurate is phone fossil identification?
Accuracy depends on preservation, lighting, focus, and whether diagnostic morphology is visible. Treat the result as a shortlist until you confirm with matrix, texture, symmetry, and simple physical checks.
Can it identify fossilized bone?
It can suggest bone-like matches when the photo shows porous internal texture, cortical surface, or trabecular structure. Confirmation is harder from photos alone because weathered wood, slag, and some limestones can mimic bone.
Is my rock a fossil?
Look for repeated biological pattern, symmetry, growth lines, pores, chambers, or a form that differs from the surrounding bedding. If the feature is just color variation or a rounded mass with no structure, a concretion or nodule may be more likely.
Should I clean fossils before scanning?
Light dry brushing is usually enough and protects fine ornamentation. Avoid aggressive scraping, acid, bleach, or rotary tools unless you know the specimen can tolerate preparation.
Can photos show fossil age?
A photo can sometimes hint at broad fossil type, but it usually cannot determine age by itself. Age comes from stratigraphic context, formation data, locality, and associated fossils.
What photos work best?
Use a full specimen shot, a close-up of texture, an angled relief shot, and a scale shot. Include the host rock or matrix in at least one image because context often separates fossils from lookalikes.
Can it identify shell fossils?
Yes, shell fossils are often good candidates when ribbing, growth lines, hinge areas, or cross-sections are visible. Results are weaker when the shell is only an internal mold or a smooth worn fragment.
Can it spot fake fossils?
It may flag visual inconsistencies, but it cannot authenticate a fossil with certainty from a photo. Fakes, composites, repairs, and carved pieces often require magnification, provenance review, and expert inspection.
What if results keep changing?
Changing results usually mean the missing clue is texture, scale, relief, or matrix rather than color. Take new photos in softer light, add a close-up, and include a wider shot of the host rock.