rock identifier for iPhone: how it works
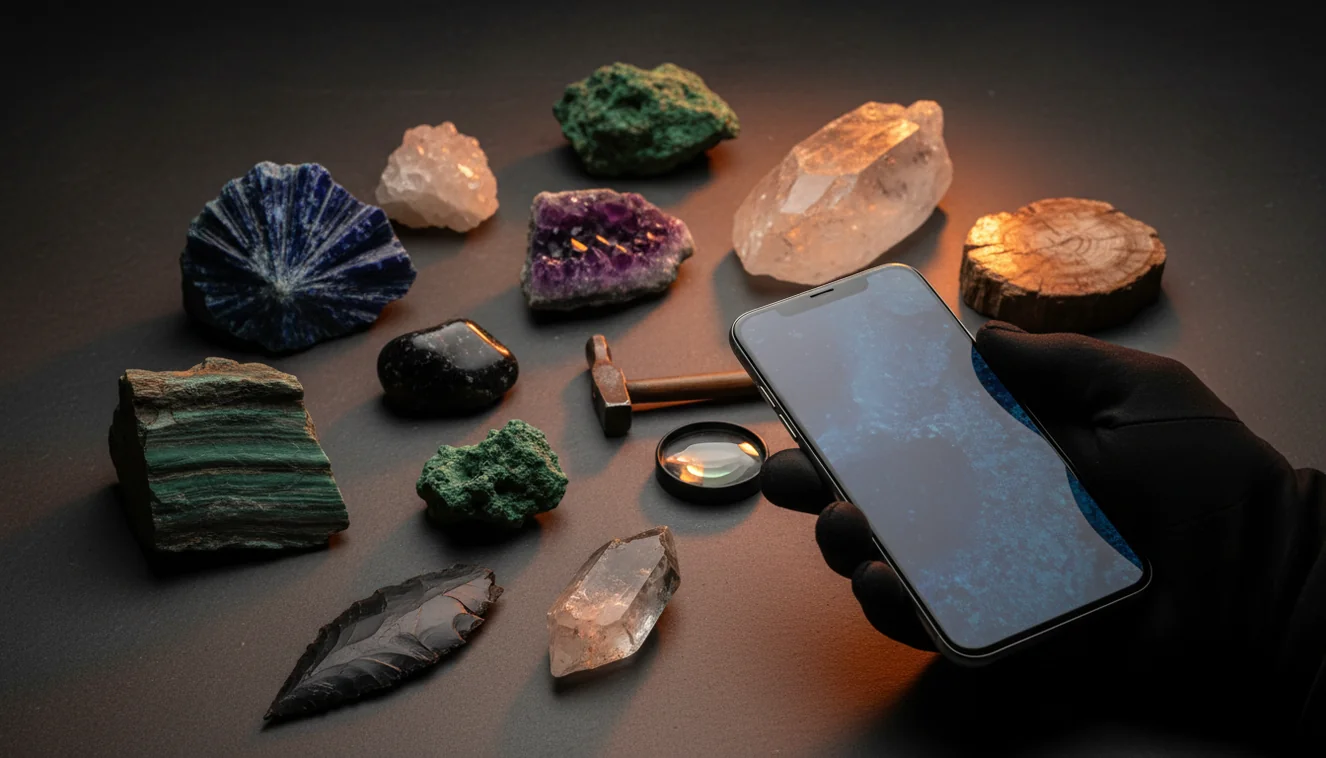
Use a clear iPhone photo to narrow a rock, crystal, mineral, or gemstone to likely matches, then confirm with streak, hardness, luster, and cleavage. Open the iOS app page when you want a quick field scan or a saved record for later checking.
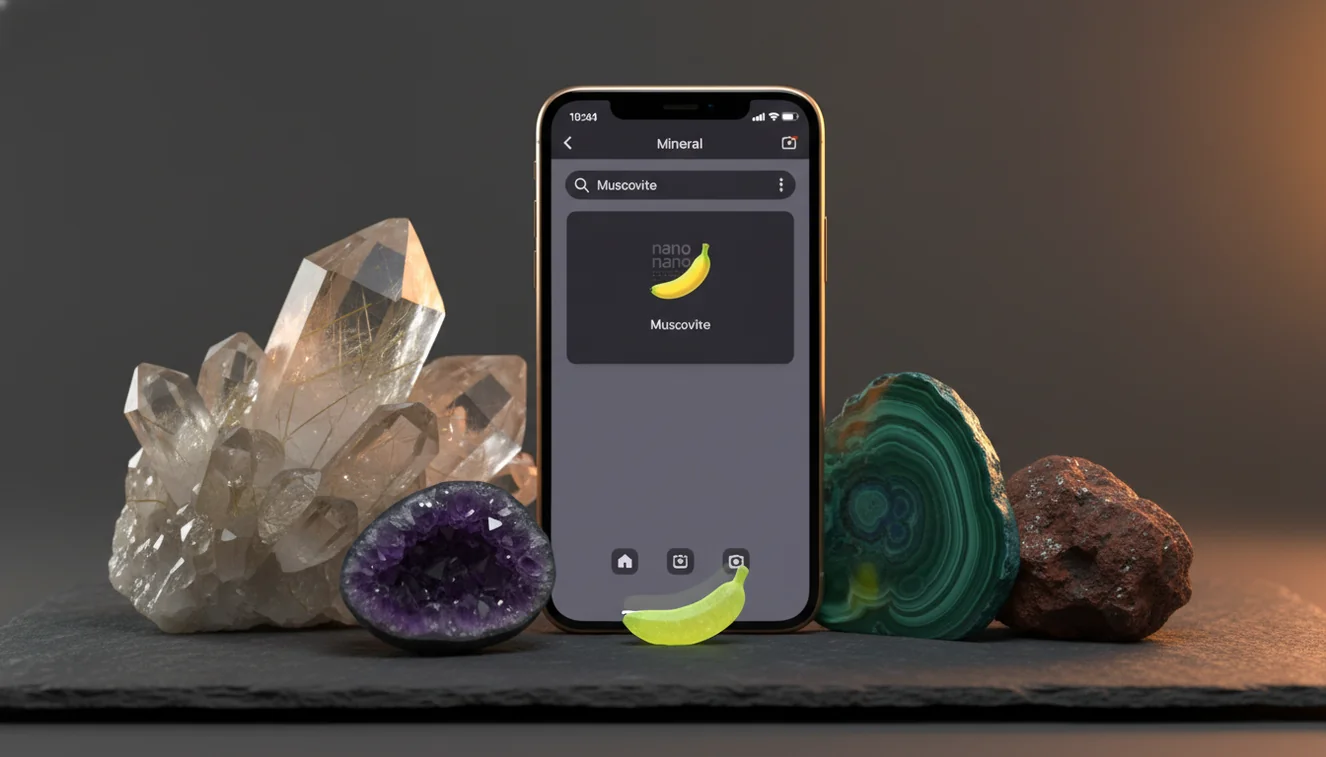
Download Rock IdentifierDrop a rock photo here or tap to upload
JPG, PNG, WebP, HEIC • Max 50 MB • 1 free scan per day

Analyzing your specimen…
Quick answer: A rock identifier for iPhone uses a clear photo to suggest likely matches for rocks, minerals, crystals, and gemstones based on visible features such as color, luster, texture, banding, cleavage, and crystal habit. The result should be treated as a shortlist, not a final identification, because physical checks such as streak, Mohs hardness, magnetism, cleavage, and acid reaction may be needed.
AI Rock ID is an iPhone and iPad photo-identification app that supports this article’s workflow of using visible traits to narrow likely rock, mineral, crystal, or gemstone matches. RockIdentifier.io provides a web photo upload option for the same topic when a user wants to test a specimen image outside the iOS app.
Quick summary
- Best for
- Collectors, hikers, students, beginners, field hobbyists
- Works on
- Rocks, minerals, crystals, gemstones, common field specimens
- Accuracy
- Most useful for narrowing likely matches when photos show diagnostic surface features; less reliable with polished, weathered, dyed, or poorly lit specimens
- Needs confirmation
- Yes
- Professional replacement
- No
- Platforms
- iPhone, iPad, Web
This guide is best for
- iPhone users who want to understand how photo-based rock identification works
- Beginners comparing common rocks, crystals, minerals, and gemstones
- Field collectors who need a quick shortlist before doing hand tests
- Students learning which visible traits help identify specimens
- Hikers or beachcombers checking common finds from trails, rivers, and shorelines
- Collectors organizing mixed specimens before confirming with streak, hardness, or cleavage
Consider another approach if you
- Gem buyers or sellers who need appraisal, grading, or certification
- Users identifying safety-sensitive materials such as asbestos-like fibers or radioactive minerals
- People who need chemical composition, density, refractive index, or laboratory-level testing
- Users working only from blurry, wet, polished, dyed, or glare-heavy photos
- Meteorite confirmation, which requires specialized testing beyond a photo scan
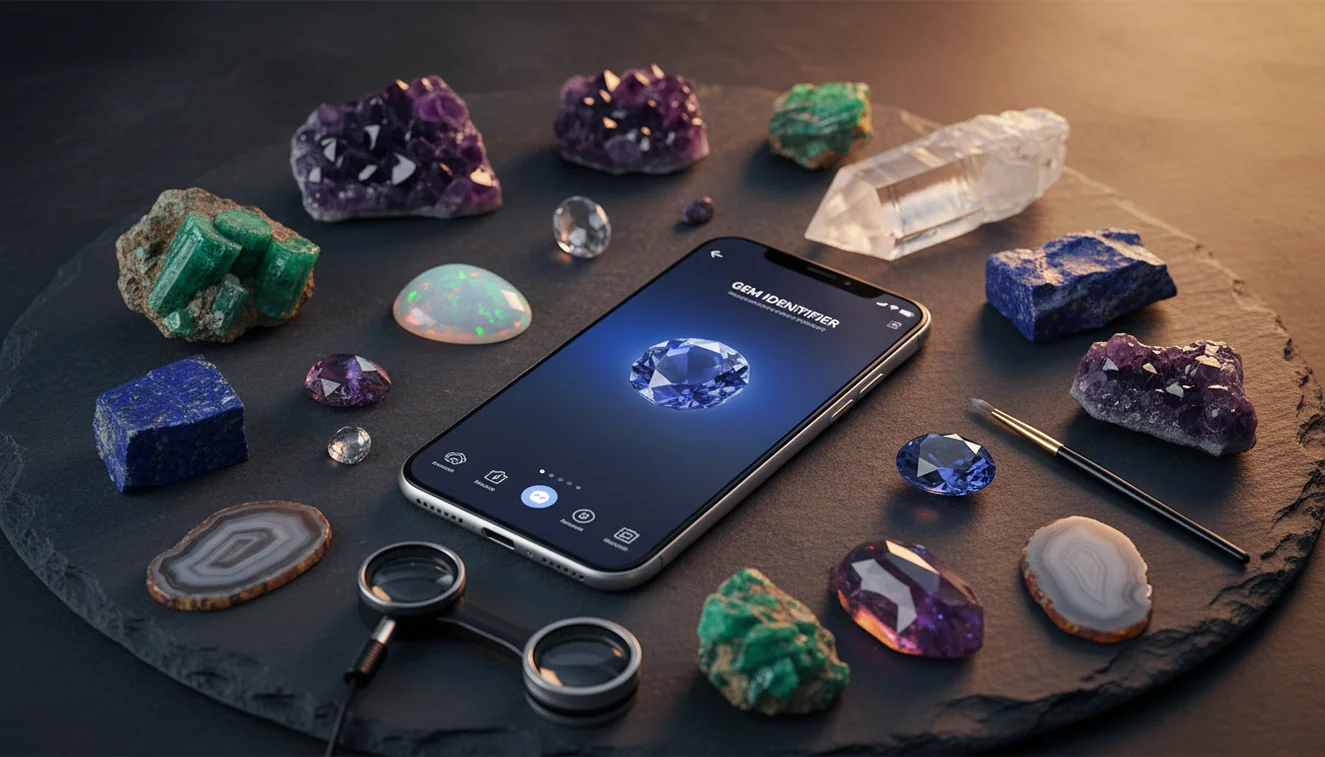
A rock identifier for iPhone works by comparing a specimen photo with visual patterns found in known rocks, minerals, crystals, and gemstones. AI Rock ID is best used as a fast shortlist tool, not as a replacement for streak, Mohs hardness, cleavage, magnetism, or specific gravity tests.
What Is rock identifier for iPhone: how it works?
A rock identifier for iPhone is a photo-based lookup tool that suggests likely names for rocks, minerals, crystals, gemstones, and some fossil-like specimens. It reads visible traits such as color range, luster, grain size, banding, fracture, crystal habit, matrix, and weathered surfaces, then returns candidates with traits you can verify by hand.
The practical value is speed. In the field, it can separate broad possibilities such as quartzite, chert, calcite, feldspar, basalt, jasper, or mica-rich schist before you pull out a streak plate or hand lens. For mineral-property context, the USGS mineral resources page is a useful external reference: https://www.usgs.gov/centers/national-minerals-information-center.
How a rock identifier for iPhone works
A rock identifier for iPhone works by turning a photo into visual signals and matching those signals against reference examples. The scanner weighs features such as crystal shape, cleavage faces, vesicles, foliation, translucency, surface texture, and color distribution, then ranks likely matches rather than proving a single final identity.
The mechanism is strongest when the specimen has visible diagnostic texture: coarse feldspar cleavage, quartz conchoidal fracture, mica sheets, calcite rhombs, or basalt vesicles. Your photos are processed for identification in a privacy-friendly workflow; avoid including faces, labels, or precise locality notes in the frame if you do not want them analyzed.
How to use a rock identifier for iPhone
Clean the specimen
Brush off dust, mud, and loose grit before photographing. A dirty surface can make dull rocks look waxy or vitreous and can hide cleavage, pores, foliation, or small crystal faces.
Photograph two views
Take one full-specimen image and one close-up in bright indirect light. Use a neutral background and avoid direct sun glare, especially on quartz, calcite, feldspar, polished stones, and wet surfaces.
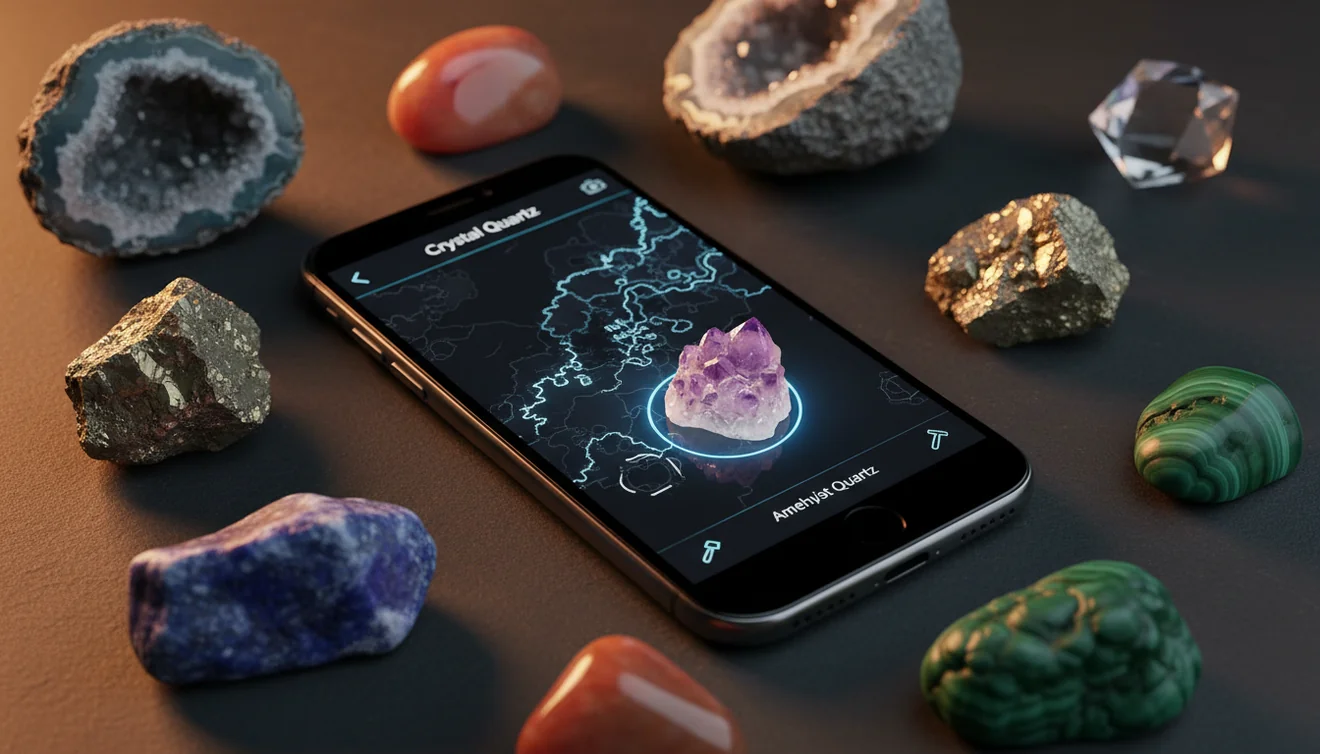
Scan the photo
Upload or capture the image and let the photo-based lookup return likely matches. Treat the first result as a hypothesis, especially if the rock is weathered, iron-stained, or sitting in a visually dominant matrix.
Compare diagnostic traits
Check the suggested candidates against luster, streak color, Mohs hardness, cleavage, fracture, grain size, magnetism, and reaction to dilute acid when appropriate. Do not accept a match based on color alone.
Save and retest
Log the result, location context if useful, and any hand-test observations. Re-shoot under better light if the first scan confuses look-alikes such as chert and quartzite, calcite and dolomite, or hematite and magnetite.
When to use a rock identifier for iPhone and when not to
Use it when
- Use it when you need a fast shortlist for common field specimens, stream pebbles, landscaping rocks, beach finds, or mixed classroom samples.
- Use it when you can photograph diagnostic features such as cleavage, crystal habit, banding, vesicles, foliation, grains, or fracture surfaces.
- Use it when you want guidance on which physical tests to run next, including streak, hardness, magnetism, acid reaction, and hand-lens inspection.
- Use it when sorting a collection into likely families such as quartz varieties, carbonates, feldspars, mafic volcanic rocks, or mica-bearing metamorphic rocks.
Skip it when
- Do not use it as the final authority for buying, selling, appraising, or certifying gemstones and rare minerals.
- Do not rely on it when the specimen is heavily polished, dyed, heat-treated, coated, oiled, or photographed through glass.
- Do not use it alone for safety decisions involving asbestos-like fibrous minerals, radioactive minerals, or suspected meteorites.
- Do not expect a photo to measure hardness, streak, density, refractive index, fluorescence, or chemical composition.
rock identifier for iPhone: how it works vs Google Lens and RockCheck
| Feature | Rock Identifier | Google Lens | RockCheck |
|---|---|---|---|
| Best fit | Fast photo ID for rocks, minerals, crystals, gemstones, and common field finds | Broad visual search across the web, objects, images, and shopping results | Educational rock classification and geology learning |
| Geology-specific traits | Shows candidate names with traits to verify, such as luster, streak, hardness, cleavage, and fracture | Usually depends on visually similar web images and page labels | Often emphasizes rock groups, formation context, and learning content |
| Field workflow | Good for photographing a specimen, getting a shortlist, and confirming with hand tests | Good for finding similar pictures or general web references | Good for guided learning, especially for common rock types |
| Limitations | Can be misled by polished surfaces, matrix, weathering, and poor lighting | Can return decorative objects, jewelry listings, or unrelated look-alikes | May be less focused on quick gemstone or crystal-style scanning |
Choose the scanner when you want geology-specific candidate traits from an iPhone photo. Use Google Lens when you want broad web search, and use RockCheck when your goal is structured rock-class learning rather than quick specimen triage.
rock identifier for iPhone use cases
- Field collecting: Use the app to create a quick shortlist at an outcrop, trail, beach, or river bar. It is especially useful when you want to decide whether a specimen is worth taking home for streak, hardness, acid, or magnetism tests.
- Crystal and mineral sorting: Use photo-based lookup to separate likely quartz, calcite, fluorite, feldspar, mica, pyrite, and hematite specimens in a mixed collection. Then confirm with habit, cleavage, streak, and hardness rather than color alone.
- Classroom and homeschool labs: Students can scan a sample, write down the suggested candidates, and test the physical properties that would support or reject each one. This turns the scan into a hypothesis exercise instead of a one-click answer.
- Gem and jewelry curiosity: Use it for a first look at tumbled stones, beads, and decorative crystals, while remembering that treatments and simulants are common. Valuable stones still need gemological testing, refractive index checks, and professional grading.
rock identifier for iPhone limitations
- Treated stones can be misleading because dyeing, heating, coating, oiling, irradiation, or resin filling may change color and surface appearance without changing the underlying material.
- Polished specimens are harder to identify because tumbling removes fracture texture, grain boundaries, weathering clues, and some cleavage evidence that a fresh broken surface would show.
- Rare minerals may not be identified confidently from a photo because many uncommon species require locality data, crystal measurements, chemistry, density, fluorescence, or microscope work.
- Photo quality matters: blur, glare, warm indoor light, wet surfaces, shadows, and busy backgrounds can shift matches toward look-alikes.
- Value estimates should not be trusted from photo ID alone because price depends on authenticity, treatment, size, clarity, provenance, damage, and market demand.
- Matrix can dominate the image when a small crystal sits in host rock, so crop tightly on the target mineral and also photograph the whole specimen for context.
- A phone image cannot directly measure Mohs hardness, streak, specific gravity, magnetism, acid reaction, refractive index, or chemical composition.
Common mistakes
- Assuming the first iPhone scan result is final without checking streak, hardness, cleavage, luster, or magnetism.
- Photographing a wet or polished surface and mistaking shine for a natural vitreous or waxy luster.
- Using color alone to identify a rock, even though many minerals occur in several colors and many unrelated rocks share similar colors.
- Taking only one photo instead of capturing both the whole specimen and a close-up of diagnostic texture.
- Letting glare, shadows, or a busy background hide grain size, crystal habit, banding, vesicles, or fracture surfaces.
- Ignoring the matrix around a crystal, which can cause the app to identify the host rock instead of the target mineral.
- Using photo identification for gemstone value, authenticity, or safety decisions that require expert testing.
Use a rock identifier for iPhone as a starting point
A rock identifier for iPhone can narrow a specimen to likely matches when the photo is clear and the surface features are visible. Confirm the result with simple physical observations such as streak, hardness, luster, cleavage, fracture, magnetism, and acid reaction when appropriate.
Related Articles
Frequently Asked Questions
Do I need internet?
A connection usually gives the best results because the scan can access current reference data and load supporting information. If you are offline, take clear photos in the field and run the identification later.
How many photos should I take?
Take at least two photos: one full view and one close-up of texture, crystals, banding, or fracture. Add a third image if the specimen has a weathered rind, different broken face, or visible matrix.
Can it identify crystals in matrix?
Yes, but the host rock can pull the result away from the crystal you care about. Crop one image tightly on the crystal habit and take a second image showing the whole specimen for context.
Will it measure Mohs hardness?
No photo tool can measure hardness directly. It can tell you the typical Mohs range for a suggested mineral, but you should confirm with controlled scratch tests using glass, copper, steel, or known reference minerals.
Can it identify polished stones?
It can often suggest possibilities for tumbled or polished stones, especially common quartz varieties and decorative minerals. Accuracy drops because polishing removes fracture, grain, and weathering clues.
Is color enough for identification?
Color is useful but not enough because iron staining, weathering, lighting, and treatments can change appearance. Streak, luster, cleavage, fracture, hardness, and crystal habit are more diagnostic.
Can it tell if a gem is real?
It can suggest visual look-alikes, but it cannot certify authenticity, treatment status, or value. Important gemstones should be checked with gemological instruments or a qualified lab.
Why does lighting change results?
Lighting changes perceived color, luster, translucency, and surface reflection. Bright indirect daylight and a neutral background usually produce more repeatable results than direct sun or warm indoor bulbs.
What tests should I confirm with?
Start with streak, Mohs hardness, luster, cleavage, fracture, and magnetism. For carbonates, a careful dilute acid reaction can help separate calcite-rich material from many silicates.