Crystals That Glow Under UV
- Introduction
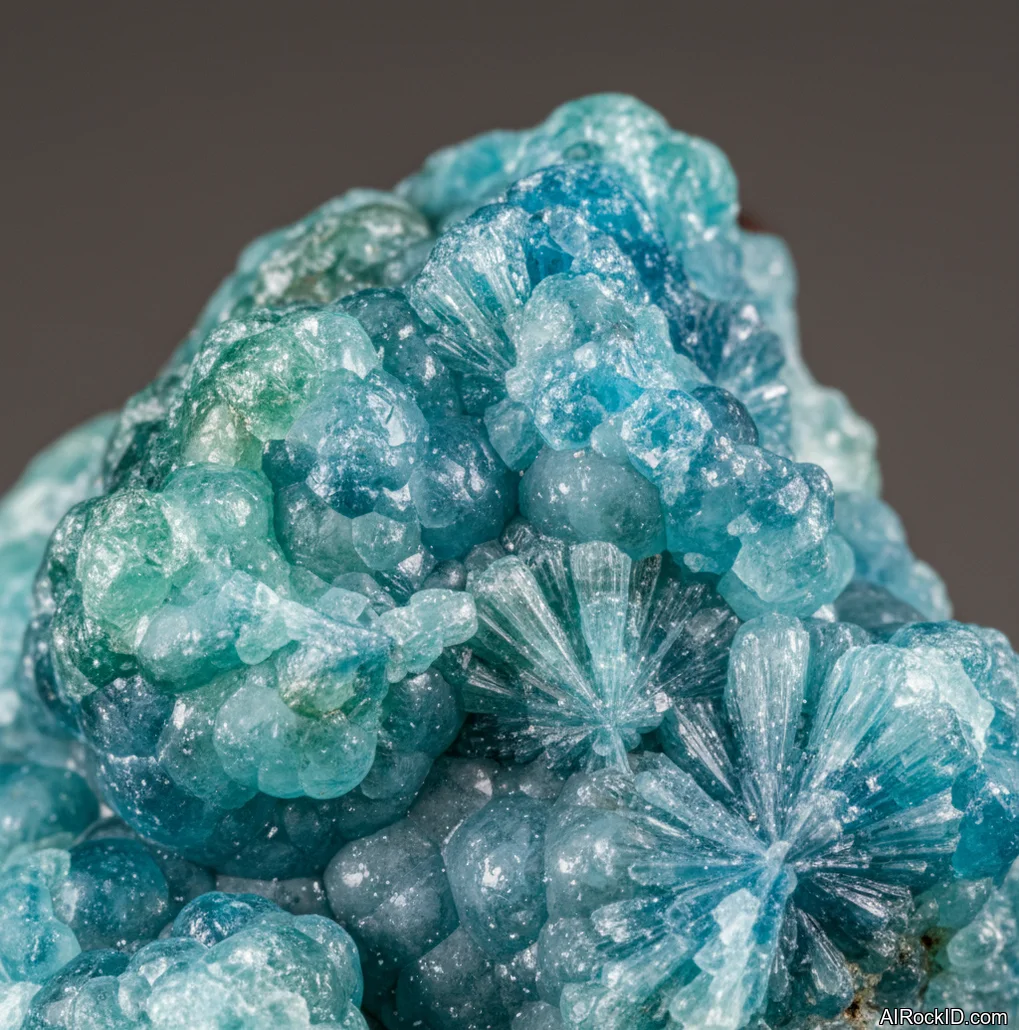
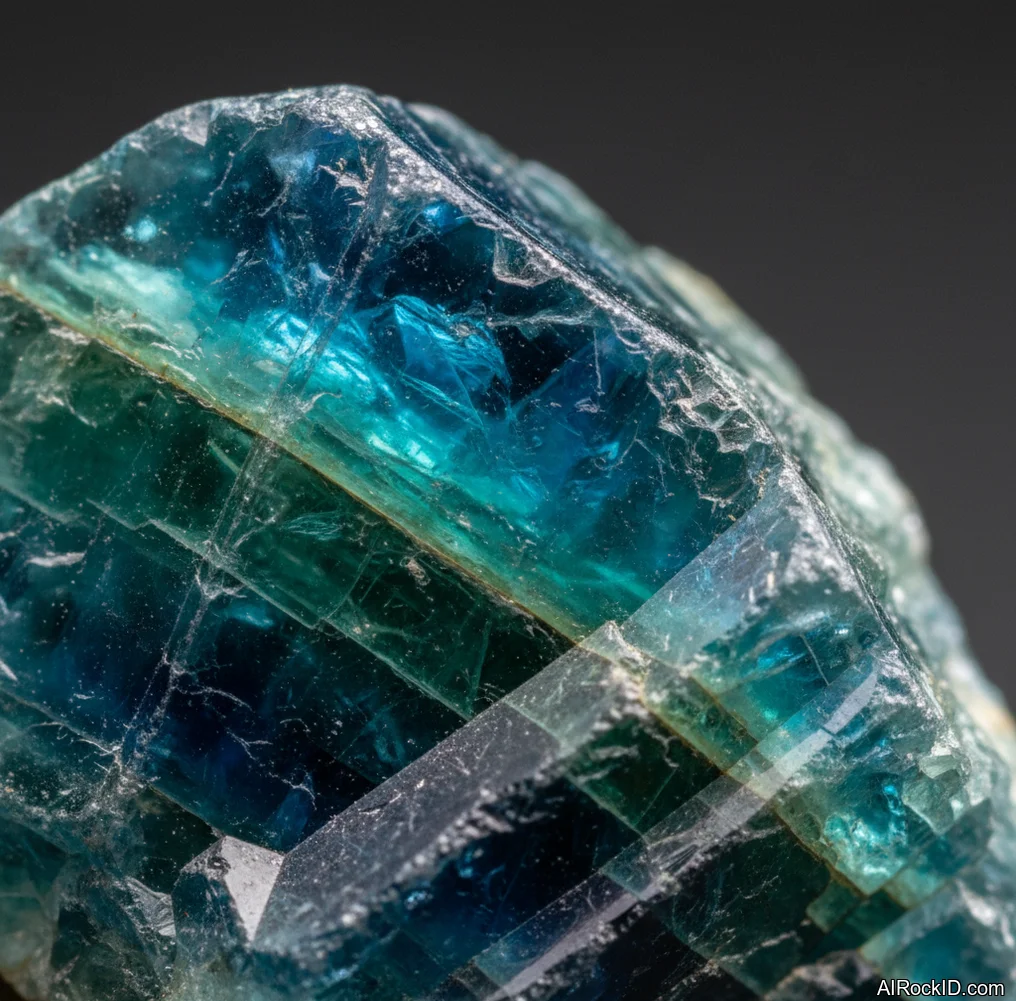
- Recommended Crystals
- Longwave vs shortwave UV: why your crystal “doesn’t glow”
- Setting up a UV test station that doesn’t wreck your eyes
- Reading fluorescence like a collector: patches, seams, and “glue lines”
- Photography tips: making UV glow look real, not like a filter
- How to Use These Crystals
- Common Mistakes
- FAQ
Yeah, some crystals really do glow under UV. And the effect can run anywhere from a faint, milky haze to a full-on neon punch, depending on the mineral and the wavelength you’re hitting it with.
Grab a UV torch and you’ll figure out fast that “glow” isn’t one single thing. Longwave (365 nm) tends to pull out those creamy blues and soft greens. But shortwave (254 nm) can totally flip the script and make a specimen light up like a sign, and it also comes with more safety baggage. I keep both. Thing is, I still get caught off guard when a stone that looks completely dead under room light suddenly throws color out of tiny seams, healed fractures, or even a thin surface coating you’d never notice until you’re holding the light at just the right angle.
Here’s the grounded part: fluorescence is mostly chemistry plus defects in the crystal lattice, not “energy.” So yeah, two pieces of the same mineral can act totally different. I’ve had calcite that seemed boring until I raked the beam across it and caught these patchy orange islands hiding in the texture (you know that slightly chalky, cold-to-the-touch feel calcite gets). And I’ve bought “guaranteed fluorescent” lots that barely did anything because the dealer was using the wrong wavelength for that material. Treat UV like a diagnostic tool and a collecting skill, not just a party trick, and the glow starts to mean something.
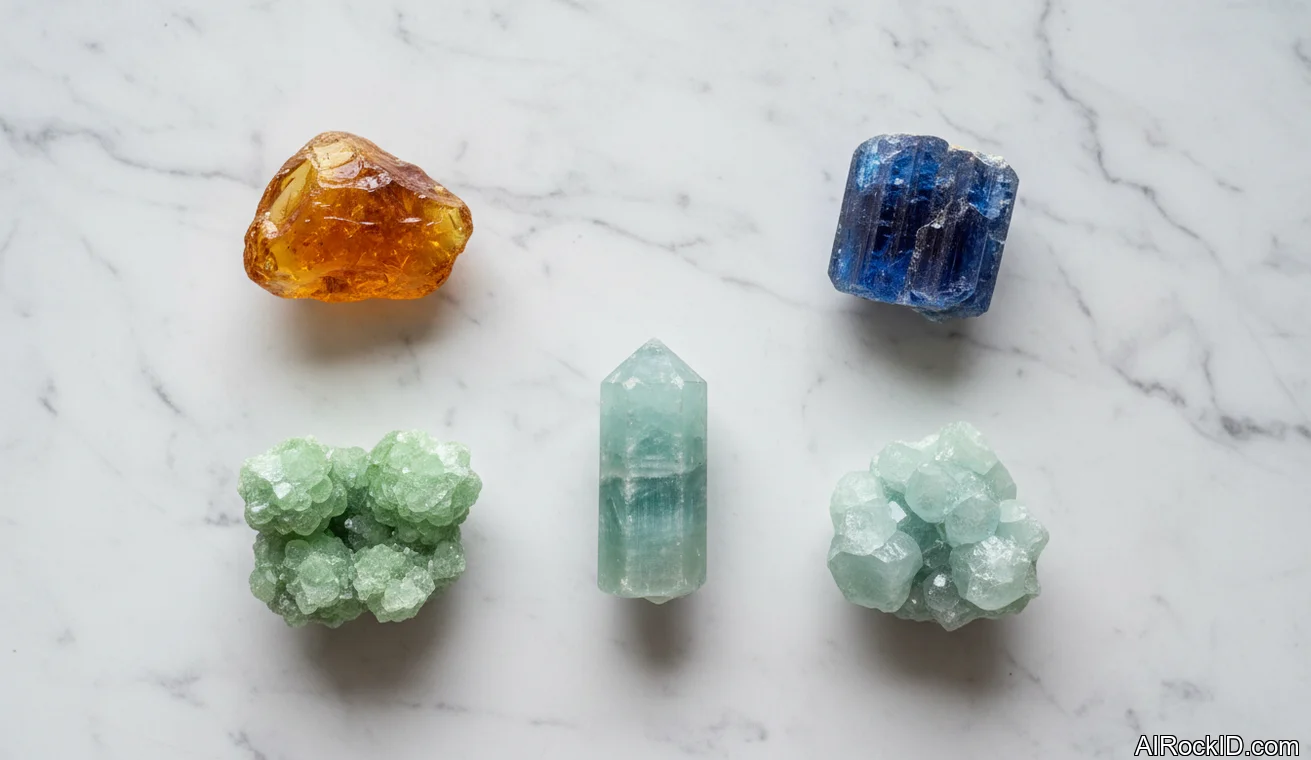
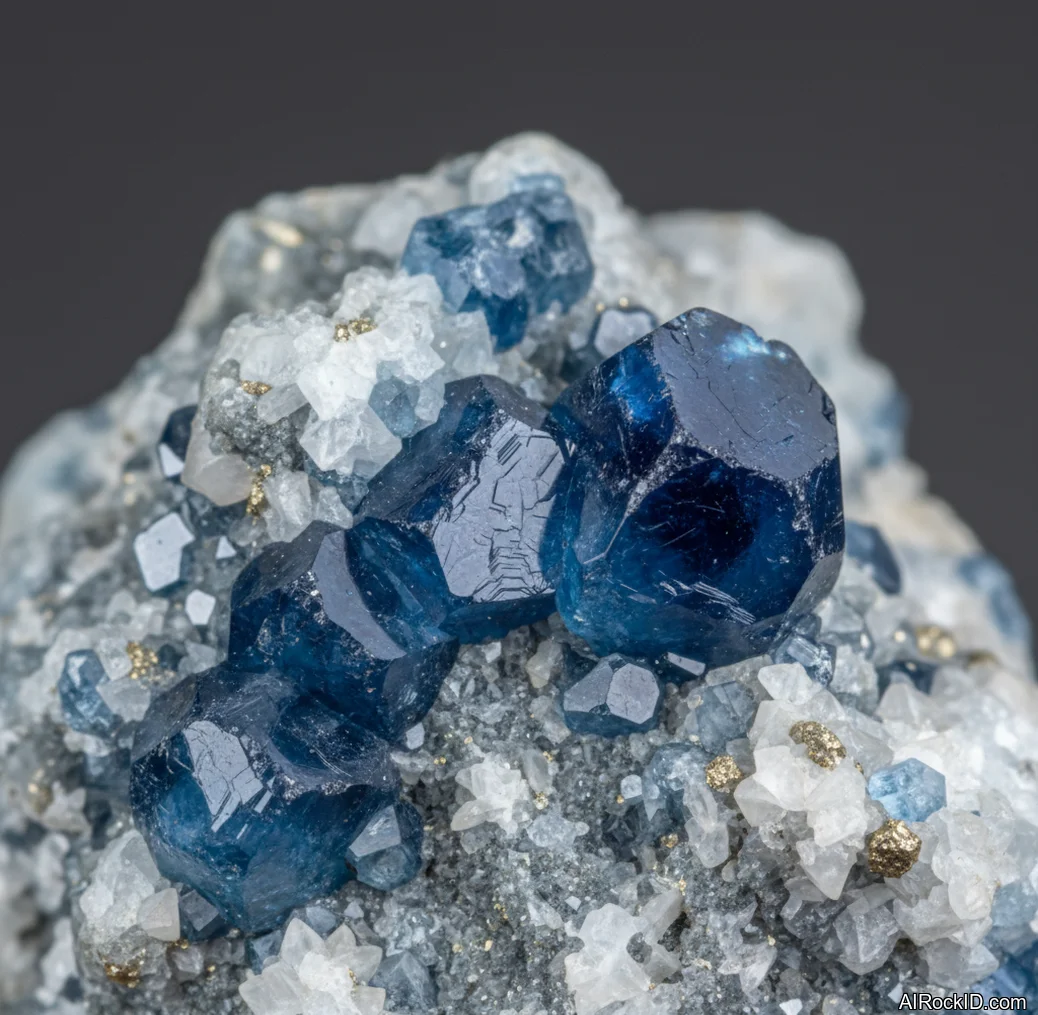
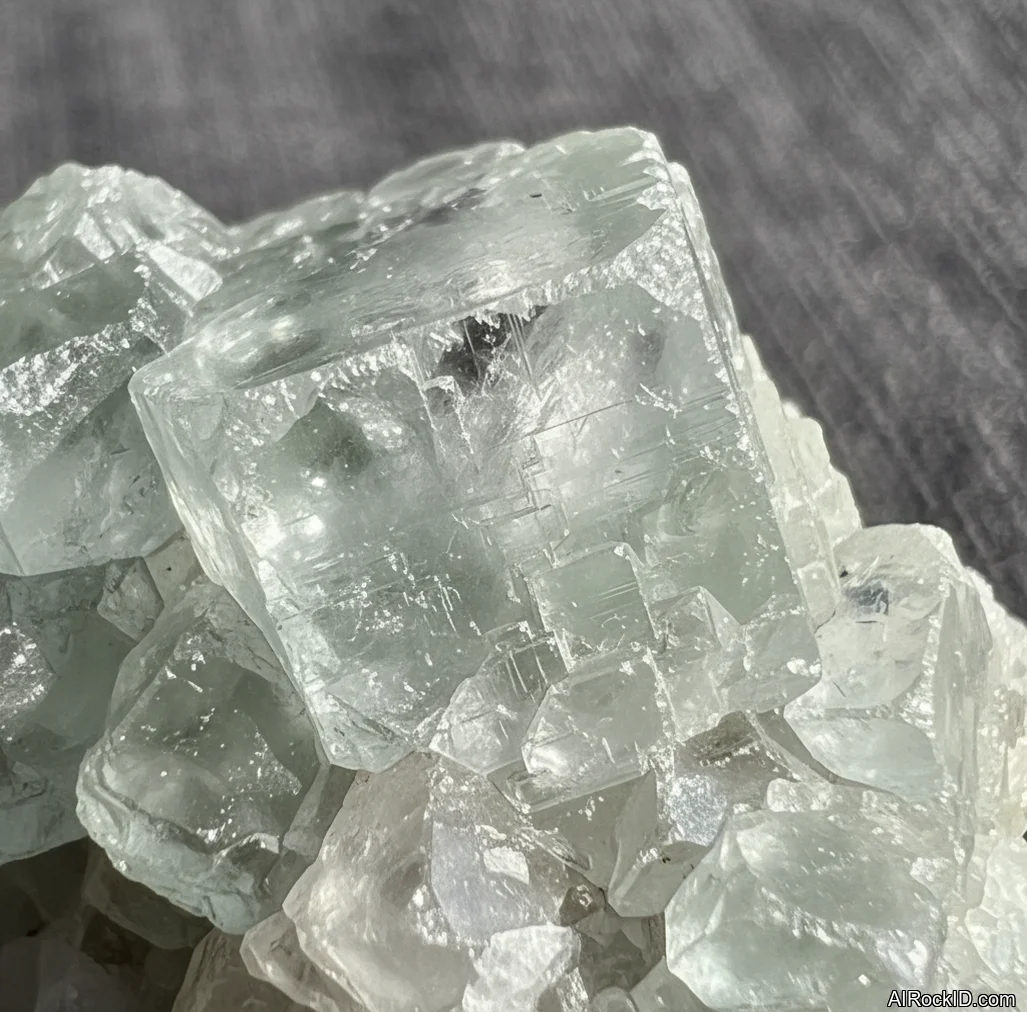
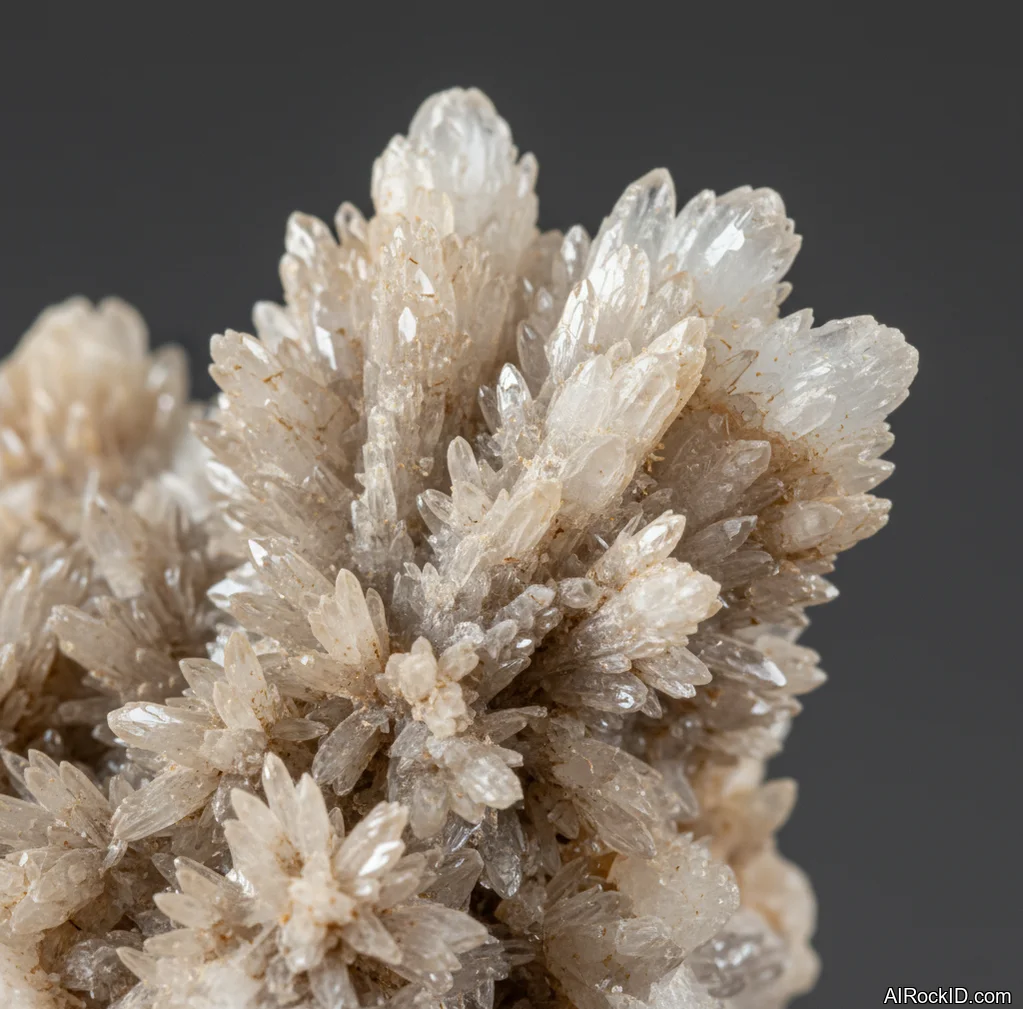
Recommended Crystals
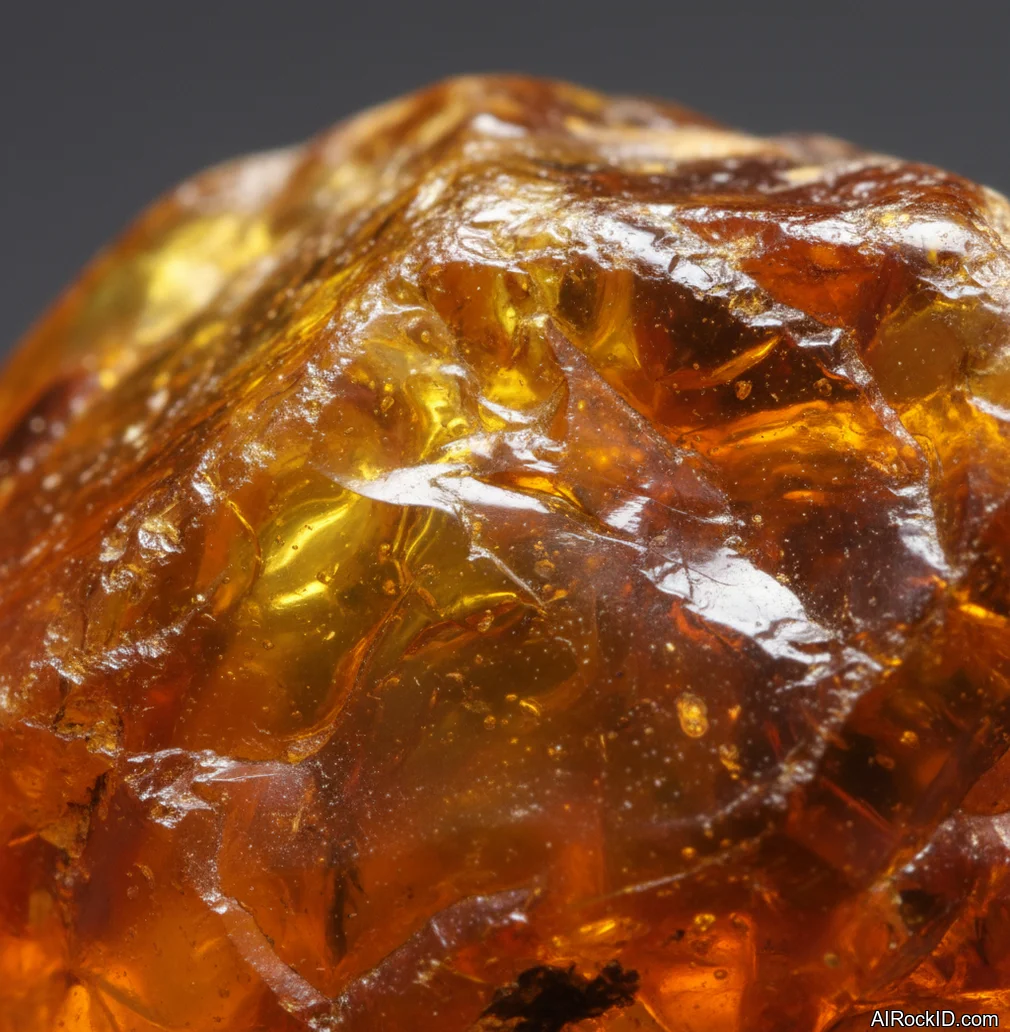
Amber
Adamite
Afghanite
Allophane
Apatite
Apophyllite
Aragonite
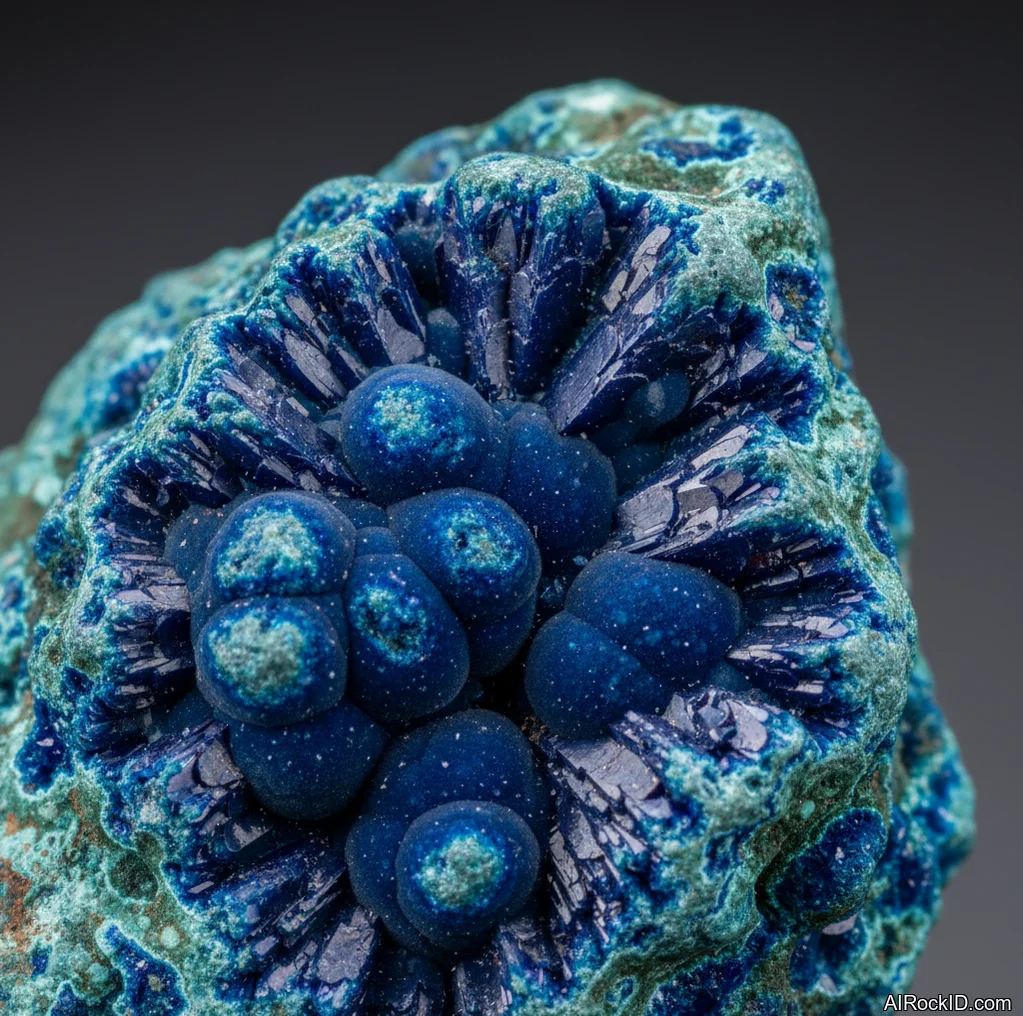
Azurite
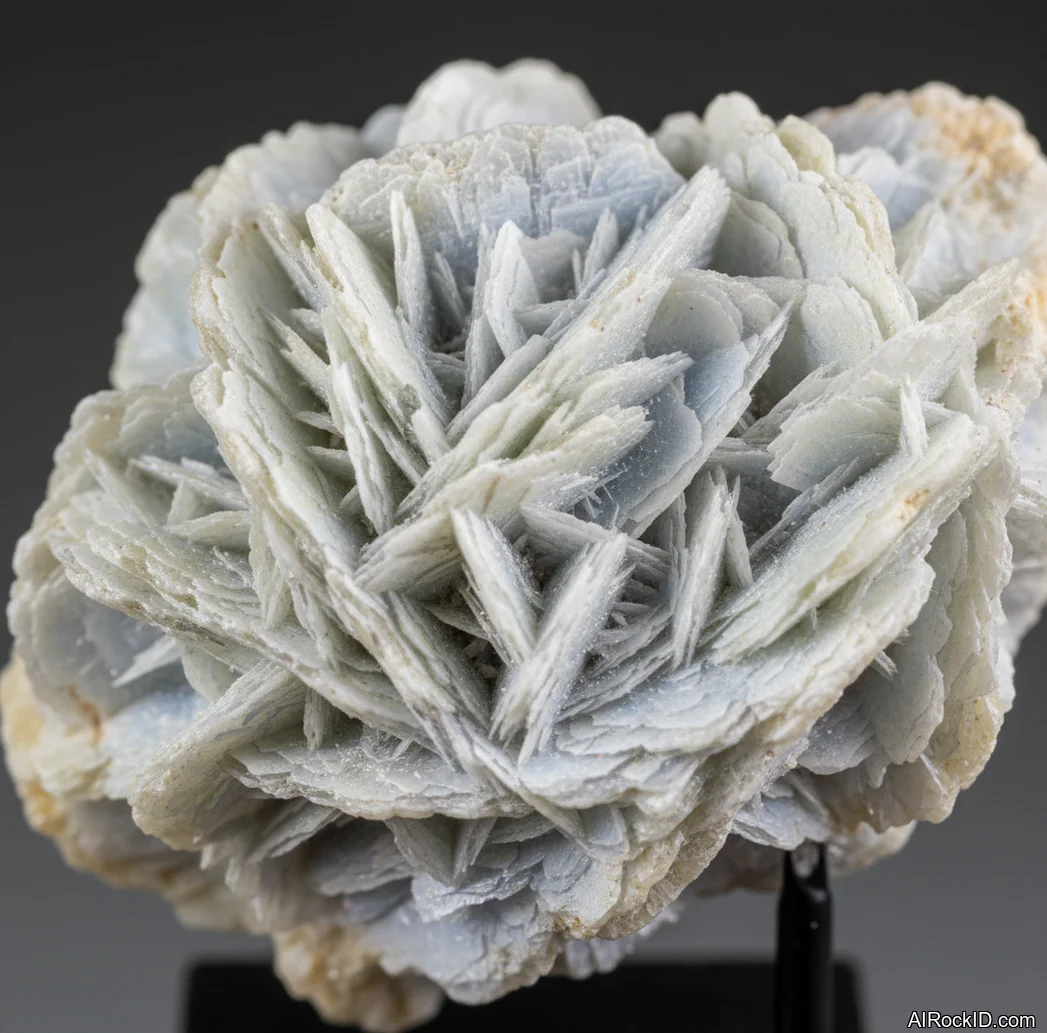
Barite
Longwave vs shortwave UV: why your crystal “doesn’t glow”
Under UV, wavelength is the whole game. Longwave, usually 365 nm, is what most handheld flashlights put out, and it’s the safer, easier route for normal collecting. Shortwave, 254 nm, can light up different fluorescence in certain minerals (sometimes way stronger), but it’s a pain to do responsibly because that light is brutal on eyes and skin, and it can chew up plastics and paper labels.
Most dealers I’ve dealt with only test under longwave, then scribble “fluorescent” on the tag and call it done. And honestly, that works right up until you buy a piece that mostly reacts to shortwave and it looks totally dead when you get it home. Online photos don’t help either. Cameras and exposure settings can make a faint glow look like it’s radioactive, which is… not great.
I ended up re-testing a whole tray of specimens once I realized my cheap torch was actually closer to 395 nm. It’ll still pop some material, sure, but it completely misses others.
So if you’re serious, grab a proper 365 nm light first. Then if you still want shortwave, do it the right way: proper shielding, real UV glasses, and a closed box setup. Why risk your eyes? Keep your eyesight, and your collection, intact.
Setting up a UV test station that doesn’t wreck your eyes
A “UV station” doesn’t have to be fancy. Mine is basically a cardboard box lined with matte black paper and a 365 nm flashlight. The dark walls are the whole point. They kill reflections, so that faint fluorescence doesn’t get washed out. And I leave a little tray in there because, yeah, dropping specimens while you’re feeling around in the dark is easy to do.
Thing is, the real test is repeatability. Same distance. Same angle. Same light. If you switch between a flood-style UV and a tight beam, the stone can look like it suddenly changed, but it didn’t. The light did. And UV makes dust and lint glow (annoyingly bright, sometimes), so you can end up thinking a specimen is fluorescent when it’s just dirty.
Use proper UV-blocking glasses that match the wavelength you’re using. Regular sunglasses don’t count. And don’t aim the beam at glossy white surfaces. Your pupils are wide open in a dark room, and that’s when people get careless. Why risk it?
Reading fluorescence like a collector: patches, seams, and “glue lines”
At first, most people just go hunting for the biggest glow in the room. Then you realize you’re really hunting for information. Fluorescence can reveal healed fractures, contact zones, and coatings that vanish in normal light. It’s basically the blacklight-in-a-hotel trick, except this time you’re actually glad you checked.
Look for sharp, straight bright lines. Those usually point to a repaired break or a glued seam, especially on clusters that look almost too perfect, like they were assembled on purpose. I’ve watched adhesives kick off a harsh blue-white flare while the mineral itself stayed pretty quiet. Fillers and resins can glow in their own way too, and with a narrow beam you can trace exactly where a repair begins (and where it stops). Weirdly satisfying.
Natural fluorescence is usually a lot sloppier. It tends to follow growth zoning, inclusions, or irregular patches that don’t respect straight edges. If the glow looks evenly “painted on,” pause. And inspect the surface with a loupe under normal light as well.
Photography tips: making UV glow look real, not like a filter
Under UV light, your phone’s going to try to “fix” what it thinks is a bad photo, and you’ll end up with something that’s basically a lie. Auto white balance goes nuts. Auto exposure nukes the bright spots and wipes out the faint, interesting bits. If you’ve seen a UV shot where the whole rock glows perfectly evenly, there’s a decent chance the camera did that (not the stone).
So use manual controls if you can. Lock your white balance. Dial the exposure down. And don’t handhold it unless you like blurry mush. Set the phone on a tripod or even just prop it on a stable surface, like a book or the edge of a box. I also snap a quick normal light photo from the same angle first, because otherwise the UV pic can look like a random floating blob in a black void. What are you even looking at, right?
One more practical thing: clean the specimen gently before you shoot. Fingerprints can fluoresce. Dust can fluoresce. Even a tiny greasy smear on a polished face (you’ll see it as a dull streak when you tilt it) can look like “mysterious energy” in UV when it’s really just skin oil grabbing the light.
How to Use These Crystals for Crystals That Glow Under UV
Under UV, I’m not chasing some pretty glow. I’m trying to do the same test the same way every time. I start with longwave 365 nm inside a dark box, scan the specimen slowly from a few inches away, then move the light in close when I want to see tiny details. Distance really matters. If you jam a strong flashlight right up on the stone, it can blow out the color and everything just turns into this flat white glare.
Between scans, I actually pick the piece up. It tells you stuff. Weight, temperature, and the way the surface feels in your fingers give you context you can’t get from a photo. Amber feels warm and light, like it’s been sitting in your pocket (even when it hasn’t). Barite feels heavy and kind of blocky in the hand, and if you’re not careful you’ll chip an edge, the sort of crisp corner that flakes off a little too easily. I keep a loupe right next to me, too, because UV will flag the exact spot that’s worth checking for a repair, a coating, or a different mineral phase.
If UV is part of buying, ask for two photos: one in normal light and one in UV, same angle, no weird saturation. And ask what wavelength they used. Seriously, why guess? A seller who knows what they’re doing will say 365 nm or 395 nm, and if they used shortwave they should say that, too. That one detail saves a lot of disappointment.
Common Mistakes to Avoid
The biggest screw-up? Using a 395 nm “party blacklight,” waving it over a rock, and deciding nothing fluoresces. A lot of minerals really want 365 nm, and some that pop at 365 are basically dead-looking at 395. I found that out the annoying way after grabbing a cheap little torch, clicking it on, and thinking my whole box of fluorescent pieces had somehow gone dead overnight.
Second mistake: letting stray UV hit your eyes. People do it all the time without noticing because the room’s dark and the beam doesn’t look that bright. But UV will bounce. White labels, glossy cabinet doors, even a polished stone with a slick face can throw it right back at you. Wear proper glasses, and keep the setup tight and controlled.
And the last one is calling dirt “fluorescence.” Detergent residue from laundry soap on your hands, plain dust, and even some paper fibers will glow under UV. So wipe the specimen, wash your hands (seriously), then test again before you write “fluorescent” next to a stone in your own notes.
Identify Any Crystal Instantly
Snap a photo and get properties, value, care instructions, and healing meanings in seconds.